“`html
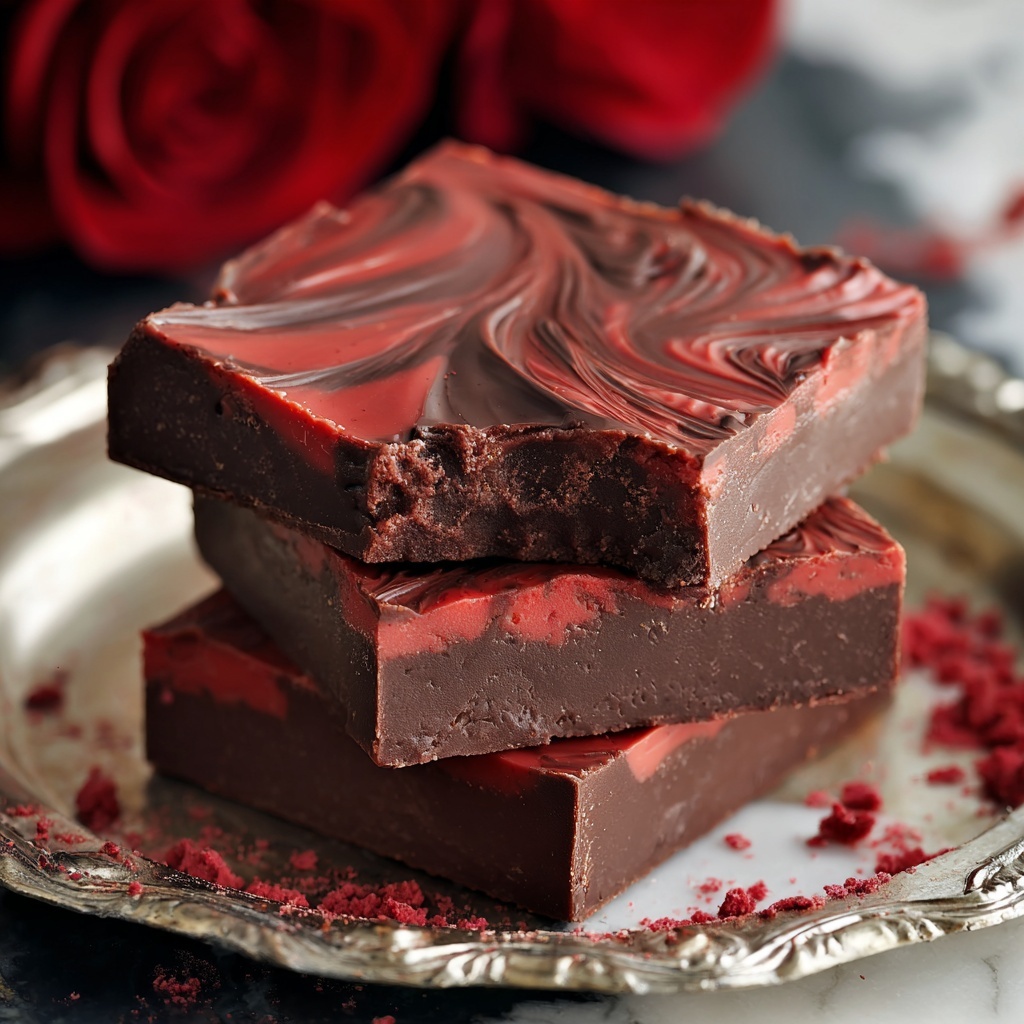
If you are craving a treat that not only looks spooky yet irresistibly delicious but also melts perfectly in your mouth, the Vampire Fudge Recipe is exactly what you need. This rich, creamy dessert layers decadent chocolate with a strikingly vibrant red fudge that’s as hauntingly beautiful as it is scrumptious. Whether you’re preparing for a festive gathering, Halloween bash, or simply want to surprise your loved ones with something special, this fudge ticks all the boxes for flavor, texture, and visual appeal.
Ingredients You’ll Need
The charm of the Vampire Fudge lies in its simple, carefully selected ingredients that each play a crucial role. From the smooth white chocolate chips to the burst of color from food coloring, every item contributes to a perfect blend of creaminess, sweetness, and that signature eerie appeal.
- White chocolate chips: These provide a velvety base that melts beautifully and pairs well with all the layers.
- Sweetened condensed milk: Adds luscious sweetness and helps create that soft, fudge-like consistency.
- Red food coloring: Infuses the iconic vampire-red hue, giving the fudge its dramatic flair.
- Vanilla extract: Enhances the depth of flavor, balancing the sweetness with subtle warmth.
- Cocoa powder: Introduces a rich, slightly bitter chocolate layer that contrasts perfectly with the sweet white chocolate.
- Butter: Adds smoothness and richness for that melt-in-your-mouth texture.
- Black food coloring (optional): Intensifies the chocolate layer’s color for an extra dark, mysterious look.
How to Make Vampire Fudge Recipe
Step 1: Prepare the Pan
Begin by lining an 8×8-inch baking pan with parchment paper, ensuring the paper extends beyond the edges to make removing the fudge a breeze later on. This simple prep step sets you up for a smooth finish and easy cleanup, two things every fudge lover appreciates.
Step 2: Make the Chocolate Layer
In a medium saucepan, combine 1 1/2 cups of white chocolate chips, half a can of sweetened condensed milk, the cocoa powder, and butter. Gently heat over low heat, stirring constantly until everything is melted and smooth. If you want a deeper, almost gothic shade, add the optional black food coloring here. Pour this luscious chocolate layer into your prepared pan and spread it out evenly. Pop it in the refrigerator for about 10 minutes to let it set slightly, which is the perfect foundation for the next step.
Step 3: Make the Red Fudge Layer
While the chocolate layer chills, melt the remaining white chocolate chips and remaining sweetened condensed milk together in a separate saucepan over low heat. Stir continuously until you achieve a silky smooth mixture. Stir in the vanilla extract to bring warmth and depth, then add red food coloring gradually until you reach that unmistakable vampire-red shade. This layer is the star of the show, so don’t be shy with the color!
Step 4: Assemble the Fudge
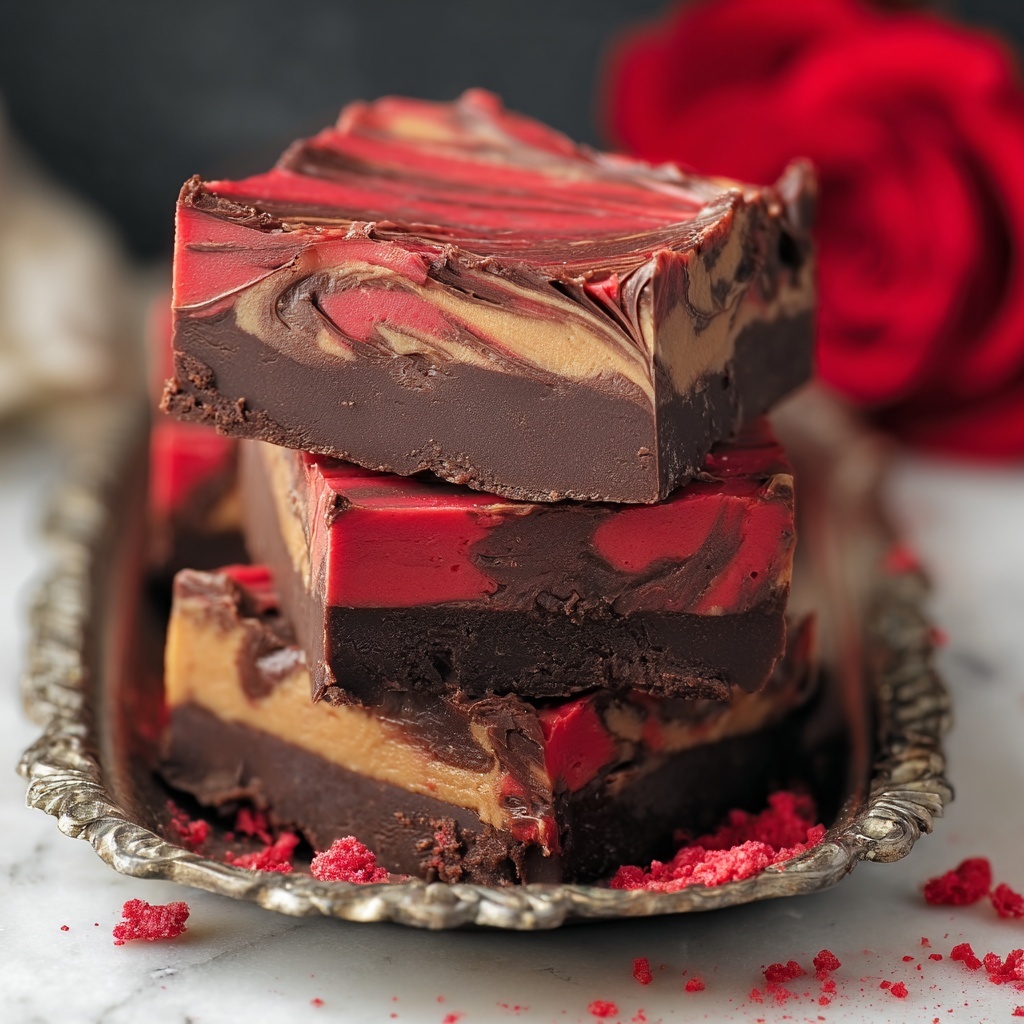
Pour the vibrant red fudge mixture gently over the slightly chilled chocolate layer. For a little creative twist, swirl the two layers together using a toothpick or skewer to create a mesmerizing marble effect. This not only looks fabulous but adds bursts of flavor with every bite. Return the pan to the refrigerator to let the fudge fully set—this usually takes about 2 hours. Patience here pays off handsomely!
How to Serve Vampire Fudge Recipe
Garnishes
To make your Vampire Fudge truly pop, try adding a sprinkle of edible glitter or red sanding sugar on top for sparkle and texture. Crushed freeze-dried raspberries or small chocolate bats made from candy melts are also fantastic choices that enhance the eerie theme without overpowering the rich flavors within.
Side Dishes
When serving your Vampire Fudge, pairing it with a light, refreshing side like a scoop of vanilla ice cream or fresh berries is a fantastic contrast. Coffee or a robust black tea also complements the deep chocolate and sweet red layers beautifully, perfect for an afternoon treat or a dessert centerpiece.
Creative Ways to Present
Try arranging your Vampire Fudge squares on a vintage platter decorated with faux spider webs and small pumpkins to set an unforgettable atmosphere. Wrapping individual pieces in clear cellophane tied with crimson ribbon makes for a charming gift or take-home favor at parties. Presentation is everything with this dramatic recipe, so have fun with it!
Make Ahead and Storage
Storing Leftovers
Leftover Vampire Fudge keeps wonderfully in an airtight container in the refrigerator for up to one week. Keeping it chilled preserves that fudgy texture and ensures every bite stays delightfully creamy and fresh. Bring it to room temperature briefly before serving for the best flavor experience.
Freezing
If you want to prepare this Vampire Fudge Recipe ahead of time or save some for later, it freezes really well. Wrap the fudge tightly in plastic wrap and then place it in a freezer-safe container. It can stay frozen for up to three months. When ready to enjoy, thaw it overnight in the refrigerator to maintain its perfect texture.
Reheating
Fudge is best enjoyed as is, but if you prefer it a bit softer, let it sit at room temperature briefly or warm it gently with your hands. Avoid microwave reheating as it can alter the smooth texture and cause graininess.
FAQs
Can I use dark or milk chocolate instead of white chocolate chips?
You can try, but the Vampire Fudge Recipe relies on white chocolate for its creamy texture and ability to absorb the red and black coloring beautifully. Milk or dark chocolate will change the color and texture drastically.
Is it possible to make this recipe vegan or dairy-free?
Replacing sweetened condensed milk and white chocolate with vegan alternatives can be tricky in this recipe because they are key to the classic fudge texture and sweetness. However, experimenting with coconut condensed milk and vegan white chocolate is a possibility if you want to try a dairy-free version.
Can I add flavors like peppermint or almond to the fudge?
Absolutely! Adding a few drops of peppermint or almond extract in place of vanilla can give the Vampire Fudge a unique twist. Just be mindful to not overpower the chocolate and sweet layers.
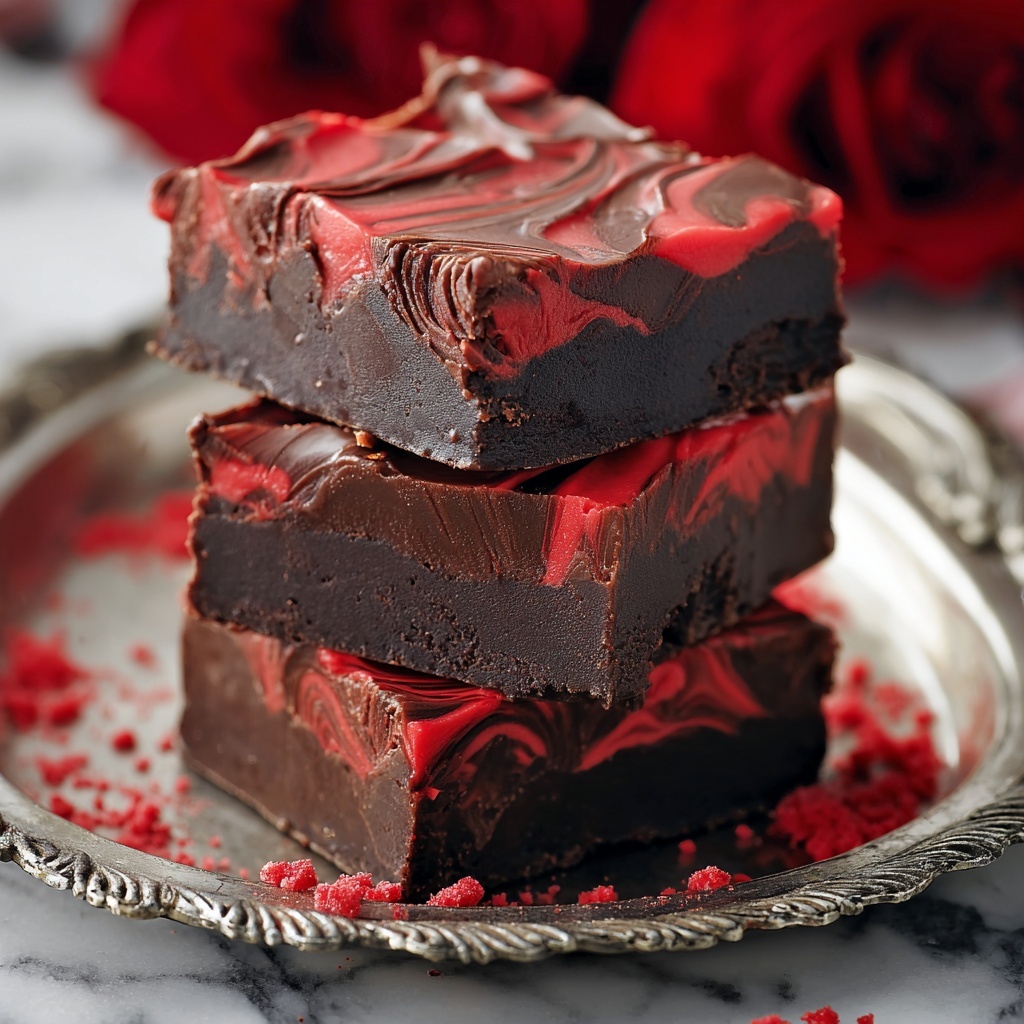
How do I get the perfect swirl between the red and chocolate layers?
The key is to pour the red layer gently over the chilled chocolate layer and then use a toothpick to drag back and forth lightly. Avoid mixing too vigorously, or the layers will blend completely.
What’s the best way to cut the fudge into neat squares?
For perfectly clean cuts, use a sharp knife warmed under hot water and wiped dry before slicing. This prevents sticking and helps create smooth edges for a professional look.
Final Thoughts
Making the Vampire Fudge Recipe is more than just whipping up a dessert: it’s a fun, visually stunning celebration of flavors and textures that brings friends and family together. Whether for a spooky occasion or a cozy night in, this fudge is sure to become a cherished favorite. So grab your ingredients and dive in—your taste buds (and your guests) will thank you!
“`
Print
Vampire Fudge Recipe
- Prep Time: 15 minutes
- Cook Time: 10 minutes
- Total Time: 2 hours 25 minutes
- Yield: 16 servings
- Category: Dessert
- Method: Stovetop
- Cuisine: American
- Diet: Vegetarian
Description
Vampire Fudge is a visually striking and indulgent treat featuring a rich chocolate base layered with a vibrant red white chocolate fudge top. This no-bake recipe combines creamy sweetness with a touch of cocoa and a hint of vanilla, making it perfect for festive occasions or a special dessert with a spooky twist.
Ingredients
Chocolate Layer
- 1 1/2 cups white chocolate chips
- 1/2 can (7 oz) sweetened condensed milk
- 1/4 cup cocoa powder
- 2 tablespoons butter
- 1/2 teaspoon black food coloring (optional for extra darkness)
Red Fudge Layer
- 1 1/2 cups white chocolate chips
- 1/2 can (7 oz) sweetened condensed milk
- Red food coloring, to desired color
- 1 teaspoon vanilla extract
Instructions
- Prepare the Pan: Line an 8×8-inch baking pan with parchment paper, leaving an overhang on the edges to easily lift the fudge out later.
- Make the Chocolate Layer: In a medium saucepan over low heat, combine 1 1/2 cups of white chocolate chips, 1/2 can of sweetened condensed milk, cocoa powder, and butter. Stir continuously until the mixture is completely smooth and melted. Stir in black food coloring if using for a darker chocolate tone. Pour this mixture evenly into the prepared pan. Chill in the refrigerator for 10 minutes to set slightly.
- Make the Red Fudge Layer: In another saucepan, melt the remaining 1 1/2 cups of white chocolate chips with the other 1/2 can of sweetened condensed milk over low heat, stirring until smooth. Remove from heat and stir in vanilla extract and red food coloring gradually until the desired vibrant red color is achieved.
- Assemble the Fudge: Pour the red fudge layer over the slightly set chocolate layer in the pan. For a decorative marbled effect, use a toothpick or skewer to gently swirl the two layers together.
- Chill and Serve: Refrigerate the assembled fudge for at least 2 hours or until fully set. Using the parchment paper overhang, lift the fudge out of the pan and cut into 16 squares before serving.
Notes
- To achieve a deeper chocolate color, add black food coloring to the chocolate layer.
- Ensure low heat when melting chocolate to prevent burning.
- Swirling the red and chocolate layers adds a decorative marbled effect but is optional.
- Store leftover fudge in an airtight container in the refrigerator for up to one week.
- Use high-quality white chocolate chips for best flavor and texture.


