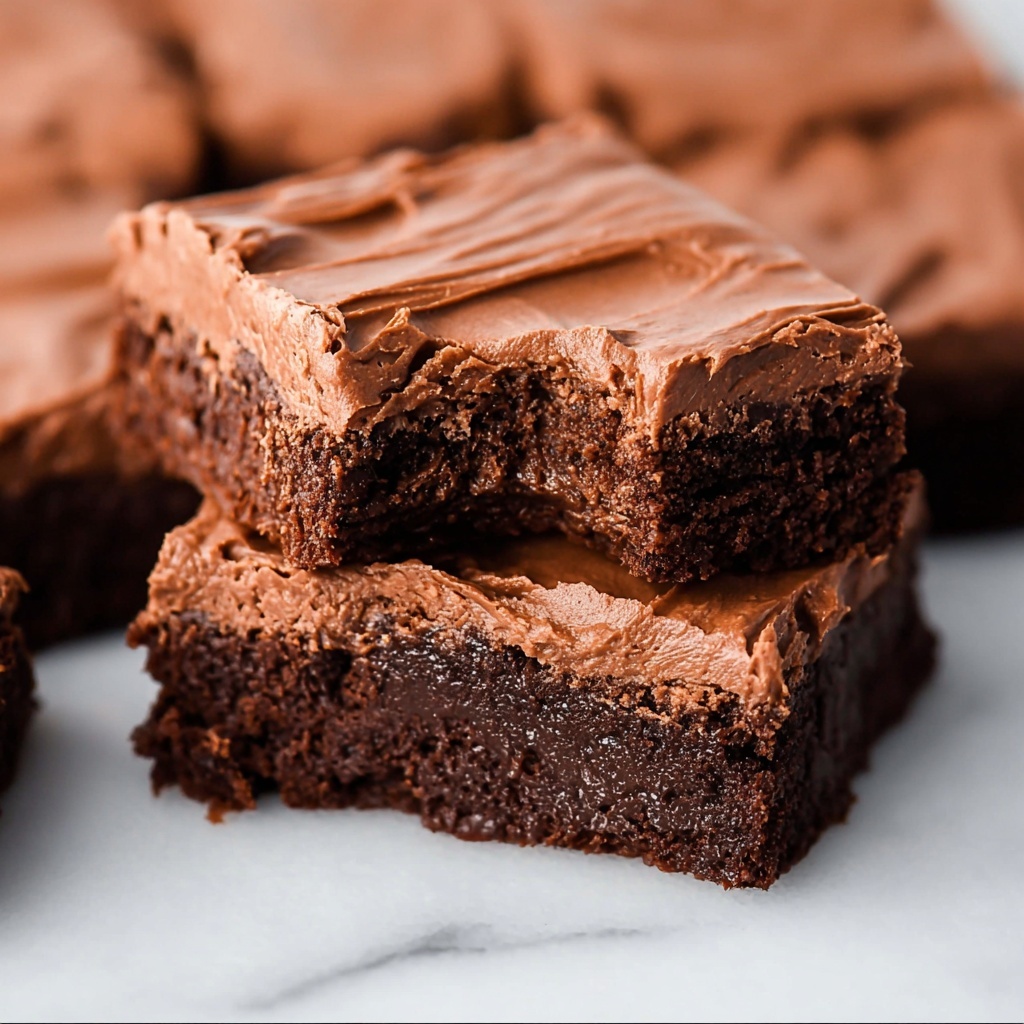
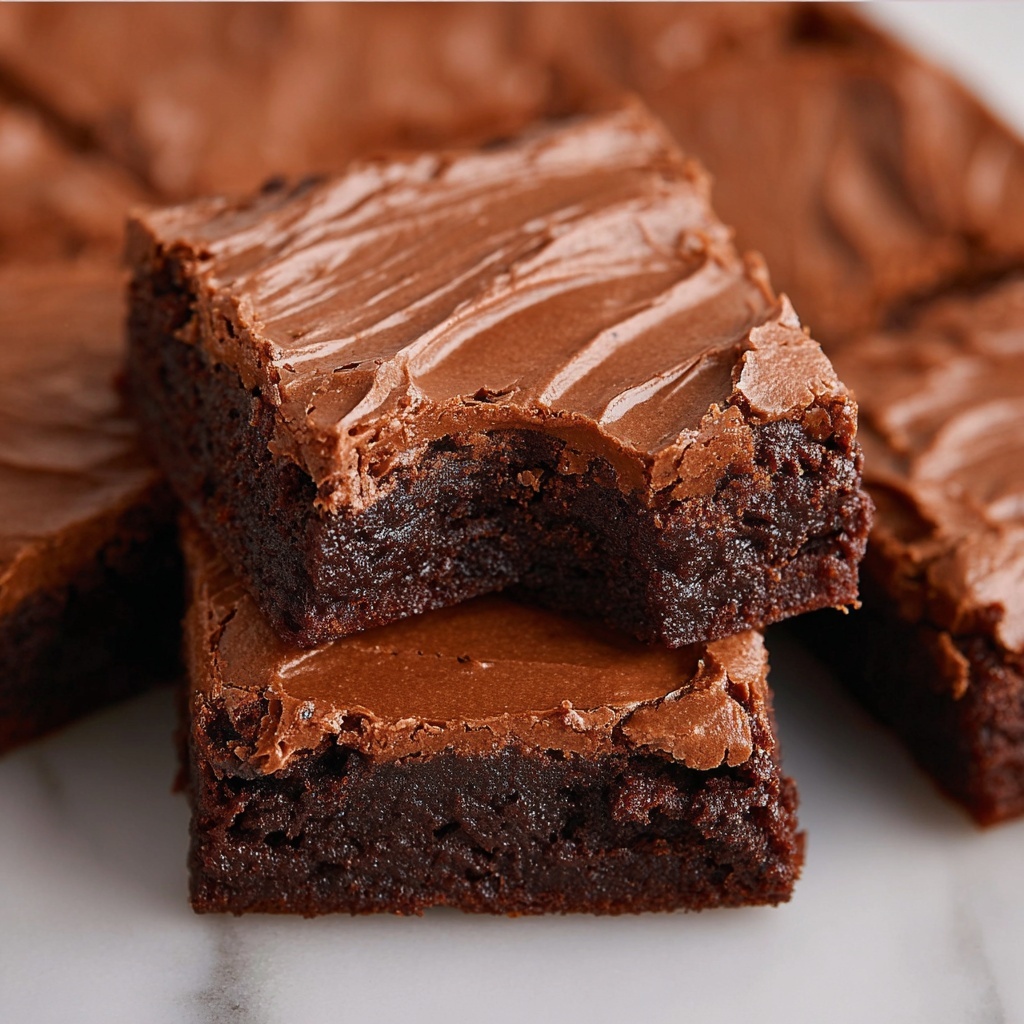
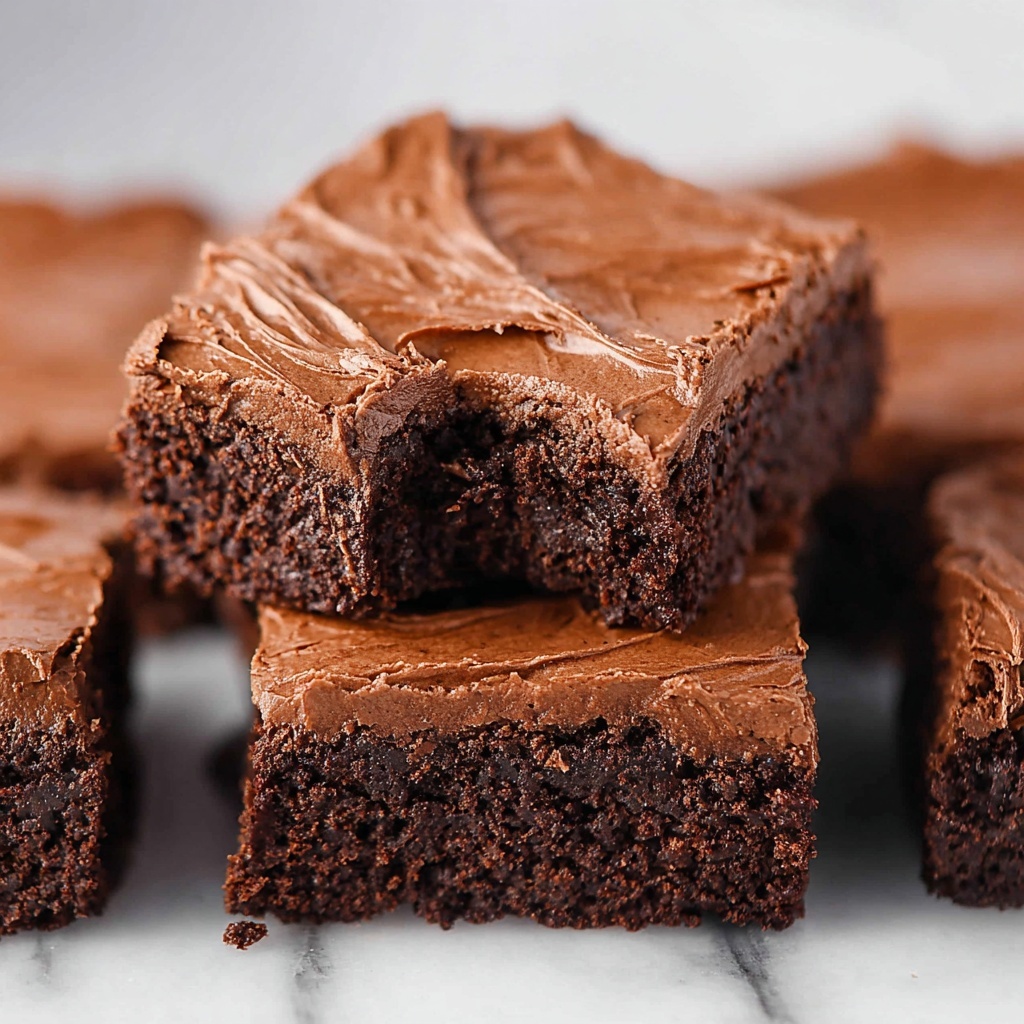
If you have a serious sweet tooth and crave that perfect fudgy, chocolatey treat, the Lunch Lady Brownies Recipe is exactly what you need in your baking repertoire. These brownies are famously decadent, tucking a rich cocoa flavor into every bite while offering a luscious, creamy frosting on top. With a texture that strikes the ideal balance between cakey and fudgy, this recipe is a classic crowd-pleaser that feels like a warm hug on a plate. Whether you’re making them for a school bake sale, a family get-together, or just because, these brownies bring a nostalgic, homey sweetness that’s hard to resist.
Ingredients You’ll Need
The magic of the Lunch Lady Brownies Recipe lies in its straightforward, pantry-friendly ingredients. Each component plays a crucial part: from the melted butter that lends richness, to the cocoa powder which packs that intense chocolate punch, and the eggs and vanilla that bring everything together with moisture and depth. Even the frosting ingredients are simple but create the perfect sweet finish.
- 1 cup salted butter (melted): Adds a creamy, buttery richness that keeps the brownies moist and flavorful.
- 1/2 cup unsweetened cocoa powder: Provides that deep chocolate intensity without any extra sweetness.
- 2 cups all-purpose flour: Builds the structure so your brownies have just the right amount of firmness.
- 2 cups granulated sugar: Sweetens the batter while helping create a tender crumb.
- 4 large eggs: Bind ingredients together and contribute to the fudgy texture.
- 4 teaspoons vanilla extract: Enhances the chocolate and adds a warm, inviting aroma.
- 1/4 cup salted butter (softened): Used in frosting to make it creamy and spreadable.
- 1/4 cup unsweetened cocoa powder: Powers the frosting with rich chocolate flavor.
- 1/4 cup milk (2% recommended): Smooths the frosting for easy spreading without making it runny.
- 3 cups powdered sugar: Sweetens and thickens the frosting to perfection.
How to Make Lunch Lady Brownies Recipe
Step 1: Preheat and Prepare
Start by preheating your oven to 350° F and lining a 9×13-inch baking dish with parchment paper. This simple step ensures your brownies won’t stick and will come out in perfect squares every time.
Step 2: Mix the Chocolate Base
Pour the melted butter and the first half cup of cocoa powder into a large bowl. Using an electric hand mixer, blend them until perfectly smooth—it should look glossy and velvety. This step is critical because the combined butter and cocoa form the rich chocolate foundation of your brownies.
Step 3: Combine the Dry and Wet Ingredients
Add the flour and granulated sugar to the bowl, then mix until they start to blend. Next, add the eggs and vanilla extract. Mix everything just until combined—over mixing can make the brownies tough, so keep the batter thick and lumpy. The batter’s dense texture is what creates that satisfying fudgy bite.
Step 4: Bake to Perfection
Spread the batter evenly into the prepared dish and slide it into the oven. Baking time ranges from 25 to 28 minutes—watch for a toothpick inserted in the center to come out mostly clean but with a few moist crumbs. Once out, let the brownies rest for 15 minutes so they stay slightly warm, which is perfect for the next step.
Step 5: Prepare the Chocolate Frosting
While the brownies are resting, whip together the softened butter, cocoa powder, milk, and powdered sugar until silky smooth. This creamy frosting is exactly what elevates the Lunch Lady Brownies Recipe to legendary status—spread it generously over the warm brownies, allowing it to melt slightly into the surface for an indulgent finish.
Step 6: Cool, Cut, and Enjoy
Allow the frosted brownies to cool completely before slicing into 16 generous squares. This final cooling step helps the frosting set perfectly and prevents messy slices. Get ready to experience a chocolate treat that’s just as wonderful as you remember from your favorite lunchroom memories!
How to Serve Lunch Lady Brownies Recipe
Garnishes
While these brownies stand splendidly on their own, if you want a little extra wow factor, sprinkle some mini chocolate chips or a light dusting of powdered sugar on top before serving. A few crushed nuts can add a nice textural contrast, or a dollop of whipped cream can complement the richness beautifully.
Side Dishes
Serve these brownies alongside a cold glass of milk or a scoop of vanilla ice cream for a classic combination. They also pair wonderfully with a fresh berry salad, which balances their sweetness with a juicy pop of tartness—perfect for impressing guests or spoiling yourself after a long day.
Creative Ways to Present
For a festive gathering, consider stacking the brownies on a tiered dessert tray or cutting them into bite-sized squares on decorative toothpicks. Wrapping individual brownies in parchment paper tied with a ribbon makes for charming edible gifts. You could even create a brownie sundae bar with toppings like nuts, sprinkles, and sauces for a fun interactive dessert station.
Make Ahead and Storage
Storing Leftovers
Once cooled, keep your brownies fresh by storing them in an airtight container at room temperature for up to 3 days. This preserves their moist texture and keeps the frosting soft. If your kitchen is warm, storing them in the fridge is fine but may firm up the frosting a bit.
Freezing
You can freeze the brownies either frosted or unfrosted. Wrap each piece tightly in plastic wrap and place them in a freezer-safe container or zip-top bag. They’ll keep beautifully for up to 3 months. Thaw overnight in the fridge or at room temperature before serving.
Reheating
If you’d like to enjoy them warm, pop brownies in the microwave for 10-15 seconds. This quickly softens the fudge and frosting layers for a fresh-from-the-oven feel. For a slightly crisper edge, gently reheat in a low oven for about 5 minutes.
FAQs
Can I use unsalted butter instead of salted butter?
Absolutely! If you use unsalted butter, just add a pinch of salt to the batter to balance the sweetness and enhance the chocolate flavor.
Is it necessary to use parchment paper?
While parchment paper is not mandatory, it makes removing the brownies from the pan super easy and helps prevent sticking or breaking during slicing.
Can I substitute the granulated sugar with brown sugar?
You can, but using brown sugar will add moisture and a slight caramel undertone, which changes the flavor profile slightly. For the classic Lunch Lady Brownies Recipe taste, stick to granulated sugar.
Why does the batter need to be thick?
The batter’s thickness ensures the brownies stay fudgy and dense rather than cakey. Over mixing can develop gluten and make brownies tough, so a thick, lumpy batter is perfect.
Can I make these gluten-free?
Yes! Using a 1-to-1 gluten-free flour blend should work well, but results may vary slightly in texture. Be sure your cocoa powder and other ingredients are gluten-free certified to avoid cross-contamination.
Final Thoughts
If you’re ready to bake something truly nostalgic and utterly delicious, the Lunch Lady Brownies Recipe is your new go-to. Its rich chocolate goodness coupled with that creamy frosting will have everyone asking for more, whether it’s a casual afternoon treat or a special occasion dessert. Give it a try, and I promise you’ll find yourself coming back to this recipe again and again.
Print
Lunch Lady Brownies Recipe
- Prep Time: 15 minutes
- Cook Time: 28 minutes
- Total Time: 1 hour 15 minutes
- Yield: 16 servings
- Category: Dessert
- Method: Baking
- Cuisine: American
Description
These classic Lunch Lady Brownies feature a rich, fudgy chocolate base topped with a creamy chocolate frosting. Perfectly balanced sweetness and texture make them a nostalgic treat for any occasion, baked to gooey perfection and finished with a luscious homemade frosting.
Ingredients
Brownies
- 1 cup salted butter (melted)
- 1/2 cup unsweetened cocoa powder
- 2 cups all-purpose flour
- 2 cups granulated sugar
- 4 large eggs
- 4 teaspoons vanilla extract
Chocolate Frosting
- 1/4 cup salted butter (softened)
- 1/4 cup unsweetened cocoa powder
- 1/4 cup milk (2%)
- 3 cups powdered sugar
Instructions
- Preheat and Prepare: Preheat your oven to 350°F (175°C). Line a 9×13-inch baking dish with parchment paper to prevent the brownies from sticking and set it aside.
- Mix Brownie Batter: In a large bowl, combine the melted salted butter and 1/2 cup of unsweetened cocoa powder. Using an electric hand mixer, blend until the mixture is smooth and fully incorporated.
- Add Dry Ingredients and Eggs: Stir in the 2 cups of all-purpose flour and 2 cups of granulated sugar. Once combined, add the 4 large eggs and 4 teaspoons of vanilla extract. Mix just until all ingredients come together to avoid overmixing, keeping the batter thick.
- Bake the Brownies: Pour the thick batter evenly into the prepared baking dish. Bake in the preheated oven for 25 to 28 minutes, or until a toothpick inserted near the center comes out mostly clean with a few moist crumbs attached. Remove from oven and let the brownies stand for 15 minutes to cool slightly yet remain warm for frosting.
- Prepare the Chocolate Frosting: In a medium bowl, beat together the softened butter, 1/4 cup unsweetened cocoa powder, 1/4 cup milk, and 3 cups powdered sugar until the frosting is smooth and creamy.
- Frost the Brownies: Spread the chocolate frosting evenly over the warm brownies. This ensures the frosting melts slightly into the surface, creating a rich layer of chocolate goodness.
- Cool and Serve: Allow the frosted brownies to cool completely at room temperature before cutting into squares. This helps the frosting set for neat slices. Serve and enjoy these nostalgic, classic brownies!
Notes
- For a fudgier brownie, reduce baking time slightly but be careful not to underbake too much.
- Use room temperature eggs for easier mixing and better texture.
- Ensure the frosting ingredients are well mixed to prevent lumps in the frosting.
- Store brownies in an airtight container at room temperature for up to 3 days or refrigerate for up to a week.
- For a dairy-free version, substitute butter with a vegan alternative and use a non-dairy milk.


