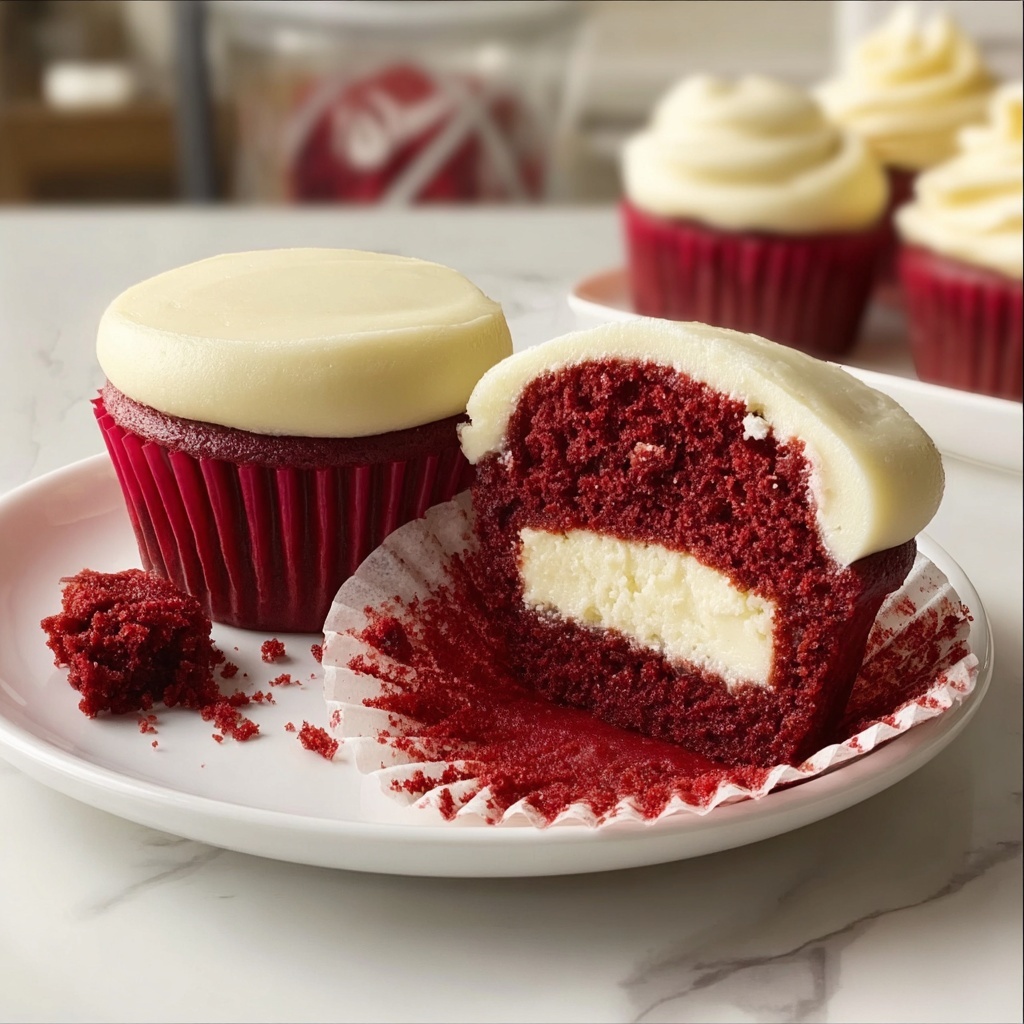
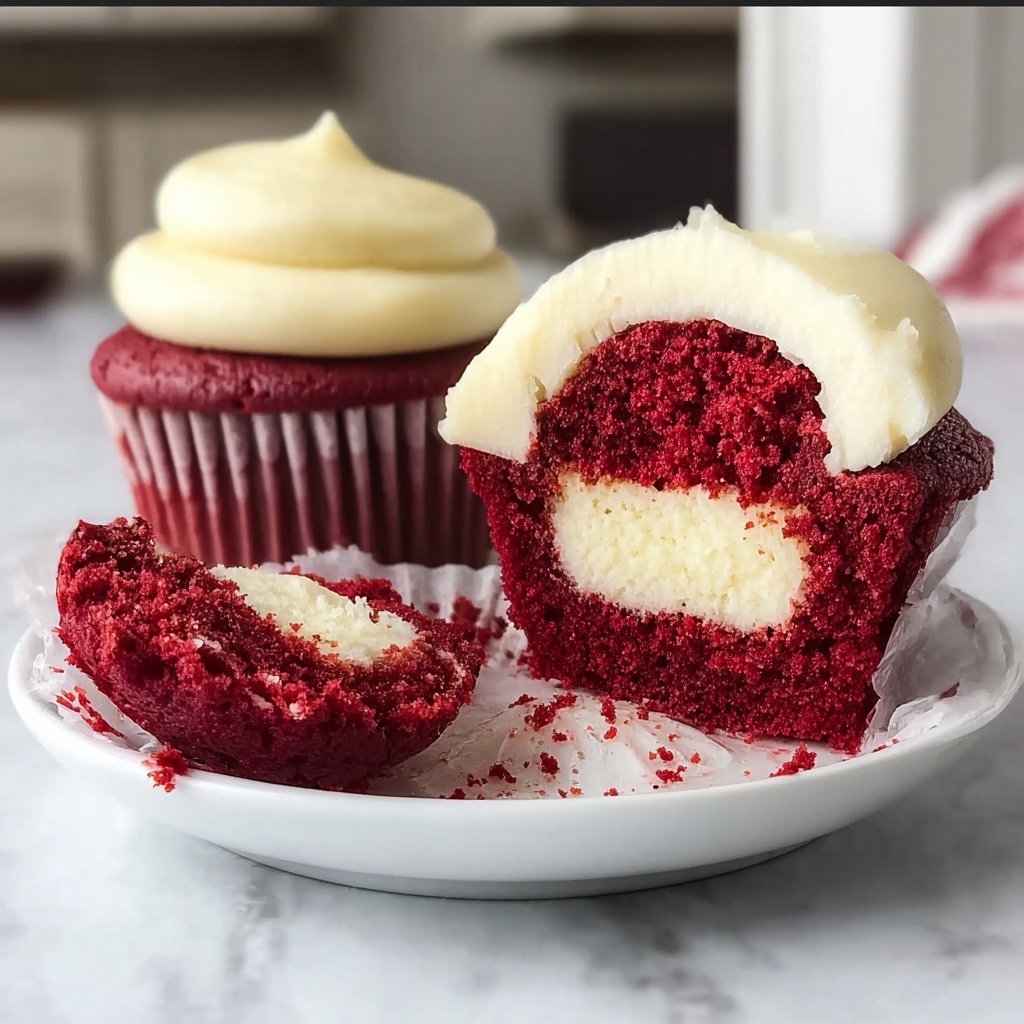
There is nothing quite as delightful and festive as these luscious Red Velvet Cookie Cups Recipe to brighten up your day or impress your guests. Imagine the rich, velvety red cookie baked into a perfect little cup, each filled with a smooth, tangy cream cheese frosting that melts in your mouth with every bite. This recipe blends the classic charm of red velvet with a playful twist on cookies, creating an irresistible treat that’s both unique and comforting. Whether for a special occasion or a sweet everyday indulgence, these cookie cups are guaranteed to steal the show!
Ingredients You’ll Need
Gathering the right ingredients is the first step to baking these scrumptious Red Velvet Cookie Cups. Each component is thoughtfully chosen to build the perfect balance of color, flavor, and texture, from the creamy butter to the vibrant red food coloring that gives these cookies their signature look.
- 1 cup unsalted butter, softened: Provides rich moisture and tenderness to the cookie dough.
- 1 cup granulated sugar: Adds sweetness and helps create a light cookie texture.
- 1 cup brown sugar, packed: Brings a deeper, caramel-like flavor and extra chewiness.
- 2 large eggs: Binds the ingredients together and adds richness.
- 2 teaspoons vanilla extract: Enhances the overall flavor with warm, sweet notes.
- 2 1/2 cups all-purpose flour: The structural base for tender, well-formed cookie cups.
- 1 tablespoon cocoa powder: Adds subtle chocolate depth, essential for authentic red velvet flavor.
- 1 teaspoon baking soda: Helps the cookies rise perfectly and achieve a soft texture.
- 1 teaspoon salt: Balances sweetness and enhances flavor complexity.
- 1 tablespoon red food coloring: Creates that iconic, eye-catching red that makes red velvet so special.
- 1 cup cream cheese, softened: The rich, creamy base for the luscious frosting filling.
- 1/2 cup powdered sugar: Sweetens and thickens the cream cheese frosting.
- 1 teaspoon vanilla extract for frosting: Adds a lovely aromatic finish to the frosting.
How to Make Red Velvet Cookie Cups Recipe
Step 1: Prepare the Oven and Combine Butter and Sugars
Start by preheating your oven to 350°F (175°C) so it’s ready to bake. Then, cream together the softened unsalted butter, granulated sugar, and brown sugar until the mixture is light and fluffy. This step is crucial for giving your cookie cups a tender texture and a rich flavor base.
Step 2: Add Eggs and Vanilla
Once the butter and sugars are perfectly creamed, add in the eggs one at a time, mixing well after each addition. The eggs add moisture and help the cookie cups hold their shape. Stir in the vanilla extract to bring a warm, inviting aroma that complements the red velvet flavor.
Step 3: Mix Dry Ingredients Separately
In another bowl, whisk together the all-purpose flour, cocoa powder, baking soda, and salt. This ensures the cocoa and baking soda are evenly distributed, which helps your cookie cups bake uniformly with the perfect lift and subtle chocolate undertone.
Step 4: Combine Dry and Wet Mixtures and Add Red Food Coloring
Gradually add the dry ingredient mixture to the wet ingredients, mixing until just combined to avoid overworking the dough. Then, mix in the red food coloring thoroughly until the dough reaches that iconic vivid red shade that instantly signals the classic red velvet treat you’re making.
Step 5: Shape and Bake
Lightly grease a muffin tin and scoop the cookie dough into each cup, filling them evenly. Pop them into the oven for 12 to 15 minutes until the edges set but the centers remain soft. This bake time yields the perfect texture that’s slightly chewy and tender—ideal for holding the luscious filling.
Step 6: Cool and Prepare the Frosting
Allow the cookie cups to cool completely in the muffin tin so they hold their shape. While they cool, whip up the frosting by combining softened cream cheese, powdered sugar, and vanilla extract until smooth and creamy—this frosting will be the crowning jewel of your cookie cups.
Step 7: Fill the Cookie Cups
Once the cookie cups are fully cooled, pipe or spoon generous dollops of the cream cheese frosting into each one. This contrast of the slightly warm, rich cookie with cool, tangy frosting is nothing short of heavenly.
How to Serve Red Velvet Cookie Cups Recipe
Garnishes
Adding a thoughtful garnish can turn these delightful cookie cups into even more eye-catching treats. Try sprinkling some mini white chocolate chips, red sugar crystals, or even a delicate drizzle of melted dark chocolate atop the frosting. These small touches add sparkle and extra texture with every bite.
Side Dishes
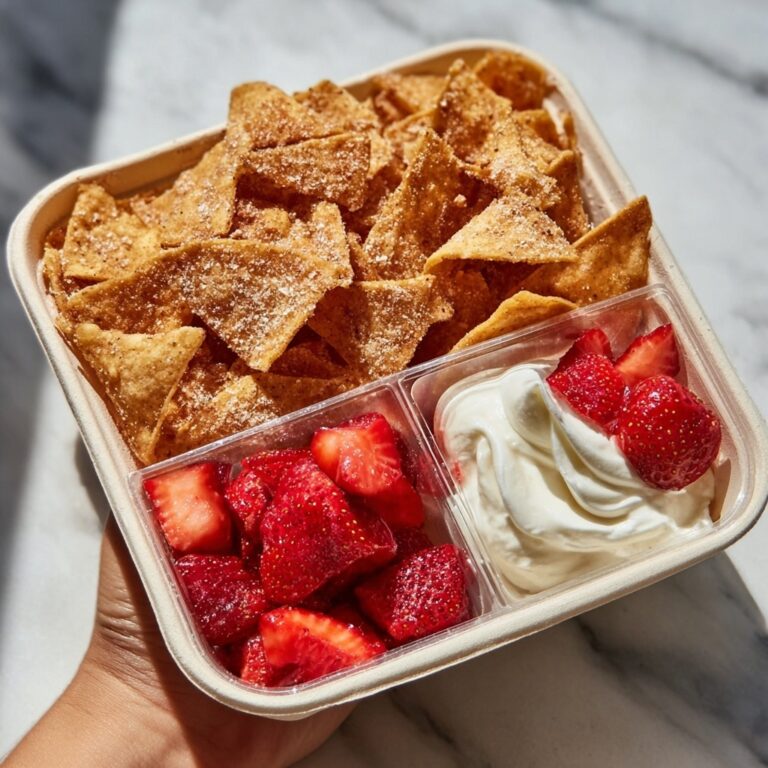
Pair your Red Velvet Cookie Cups with simple sides to elevate the experience. Fresh berries or a bowl of mixed nuts can be a perfect complement, balancing sweetness with a bit of freshness or crunch. And don’t forget a cozy cup of coffee, hot tea, or even a glass of cold milk to complete the indulgent treat.
Creative Ways to Present
Presentation matters, especially when sharing these tasty cookie cups with friends or family. Arrange them on a decorative platter lined with parchment paper or fresh greenery for a festive touch. Alternatively, serve them in mini cupcake liners or gift them in a beautiful box as a homemade treat that’s sure to impress.
Make Ahead and Storage
Storing Leftovers
If you’re lucky enough to have leftovers, store the cookie cups in an airtight container in the refrigerator. This keeps the cream cheese frosting fresh and maintains the cookies’ tender texture for up to 4 days, making every bite as enjoyable as the first.
Freezing
To keep these delicious treats longer, freeze the baked but unfrosted cookie cups in a single layer on a baking sheet, then transfer to a freezer-safe container. When you’re ready to enjoy, thaw them and add the frosting fresh. This method helps preserve the cookies’ moisture and flavor beautifully.
Reheating
If you prefer your cookie cups slightly warm, gently reheat thawed or refrigerated cookie cups in a low oven (around 300°F) for 5 to 7 minutes. Avoid reheating the frosting directly to maintain its creamy texture; instead, add or refresh the frosting after warming for the best experience.
FAQs
Can I use any food coloring for this Red Velvet Cookie Cups Recipe?
While any red food coloring will work, gel-based coloring tends to provide a more vibrant hue without altering the dough’s consistency. Liquid food coloring can also work but may require slightly more to achieve the classic red velvet color.
Is there a substitute for cream cheese in the frosting?
You can substitute cream cheese with mascarpone or a thick Greek yogurt mixed with a bit of powdered sugar for a tangy alternative. However, cream cheese gives the traditional richness and balance that pairs best with the cookie cups.
Can I make these cookie cups gluten-free?
Yes, by substituting the all-purpose flour with a gluten-free flour blend that measures cup-for-cup, you can make the Red Velvet Cookie Cups recipe gluten-free. Just be sure the blend includes xanthan gum or add it separately for the best texture.
How long do these cookie cups stay fresh?
When stored properly in an airtight container in the refrigerator, they stay fresh for up to 4 days. For longer storage, freezing is the best option, preserving their flavor and texture for several weeks.
Can I double the recipe?
Absolutely! The recipe scales well for larger batches. Just be sure to use multiple muffin tins or bake in batches to avoid overcrowding your oven and ensure even baking.
Final Thoughts
There is something truly magical about making and sharing the Red Velvet Cookie Cups Recipe. The combination of tender, vibrant red cookies with irresistibly smooth cream cheese frosting brings joy with every bite. It’s a dessert that’s sure to become a beloved favorite around your table, perfect for gatherings or simply treating yourself to a sweet moment. Give this recipe a try—you’ll be amazed at how quickly they disappear!
Print
Red Velvet Cookie Cups Recipe
- Prep Time: 10 minutes
- Cook Time: 15 minutes
- Total Time: 35 minutes
- Yield: 24 servings
- Category: Dessert
- Method: Baking
- Cuisine: American
- Diet: Vegetarian
Description
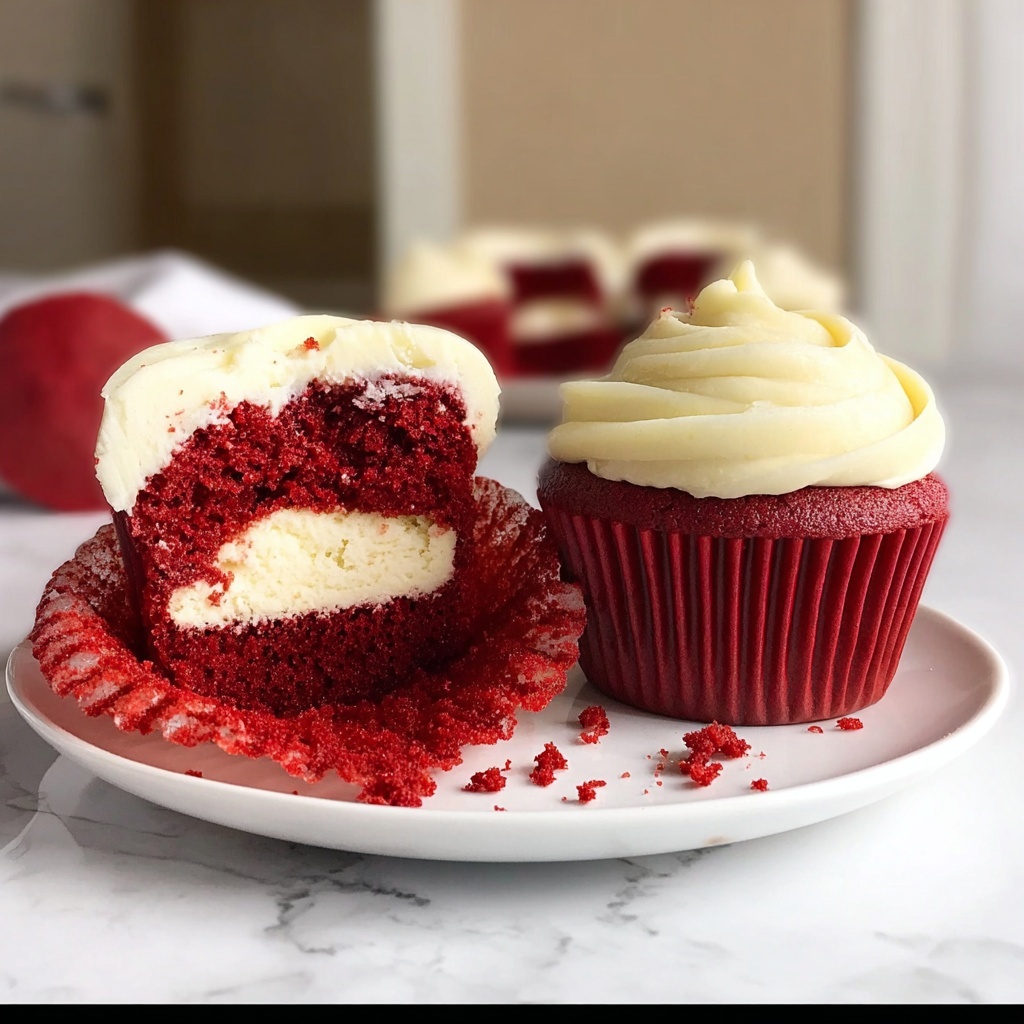
Delight in these irresistible Red Velvet Cookie Cups, combining the rich flavors of classic red velvet cake with a creamy cream cheese frosting. Perfectly soft and chewy, these cookie cups offer a unique twist, making them an indulgent treat that’s ideal for gatherings or whenever you crave a sweet delight.
Ingredients
Cookie Dough
- 1 cup unsalted butter, softened
- 1 cup granulated sugar
- 1 cup brown sugar, packed
- 2 large eggs
- 2 teaspoons vanilla extract
- 2 1/2 cups all-purpose flour
- 1 tablespoon cocoa powder
- 1 teaspoon baking soda
- 1 teaspoon salt
- 1 tablespoon red food coloring
Cream Cheese Frosting
- 1 cup cream cheese, softened
- 1/2 cup powdered sugar
- 1 teaspoon vanilla extract
Instructions
- Preheat Oven: Preheat your oven to 350°F (175°C) ensuring it reaches the right temperature for baking.
- Cream Butter and Sugars: In a large mixing bowl, cream together the softened butter, granulated sugar, and brown sugar until the mixture is light and fluffy, setting the base for your cookie dough.
- Add Eggs and Vanilla: Beat in the eggs one at a time, followed by the vanilla extract, mixing thoroughly to combine all wet ingredients.
- Mix Dry Ingredients: In a separate bowl, whisk together the all-purpose flour, cocoa powder, baking soda, and salt until evenly distributed.
- Combine Wet and Dry: Gradually add the dry ingredient mixture to the wet ingredients, mixing gently to avoid overworking the dough.
- Add Red Food Coloring: Stir in the red food coloring fully until the dough takes on a vibrant red velvet hue.
- Prepare Muffin Tin: Grease a muffin tin to prevent sticking and then scoop the cookie dough evenly into each cup, shaping as necessary.
- Bake: Place the muffin tin in the preheated oven and bake for 12-15 minutes, or until the cookie edges are set but centers remain soft.
- Cool Completely: Remove from oven and allow the cookie cups to cool completely in the tin to maintain their shape.
- Make Frosting: In a separate bowl, beat together the softened cream cheese, powdered sugar, and vanilla extract until smooth and creamy.
- Frost Cookie Cups: Using a piping bag or spoon, fill the cooled cookie cups with the cream cheese frosting, decorating as desired before serving.
Notes
- Ensure butter and cream cheese are softened for easier mixing and smoother texture.
- Do not overbake the cookie cups to keep them soft in the center.
- Red food coloring is key to achieving the classic red velvet color—gel or liquid can be used as per availability.
- Allowing cookie cups to cool in the pan helps them keep their shape and makes frosting easier.
- Use a piping bag fitted with a star tip to create a decorative frosting swirl for presentation.


