
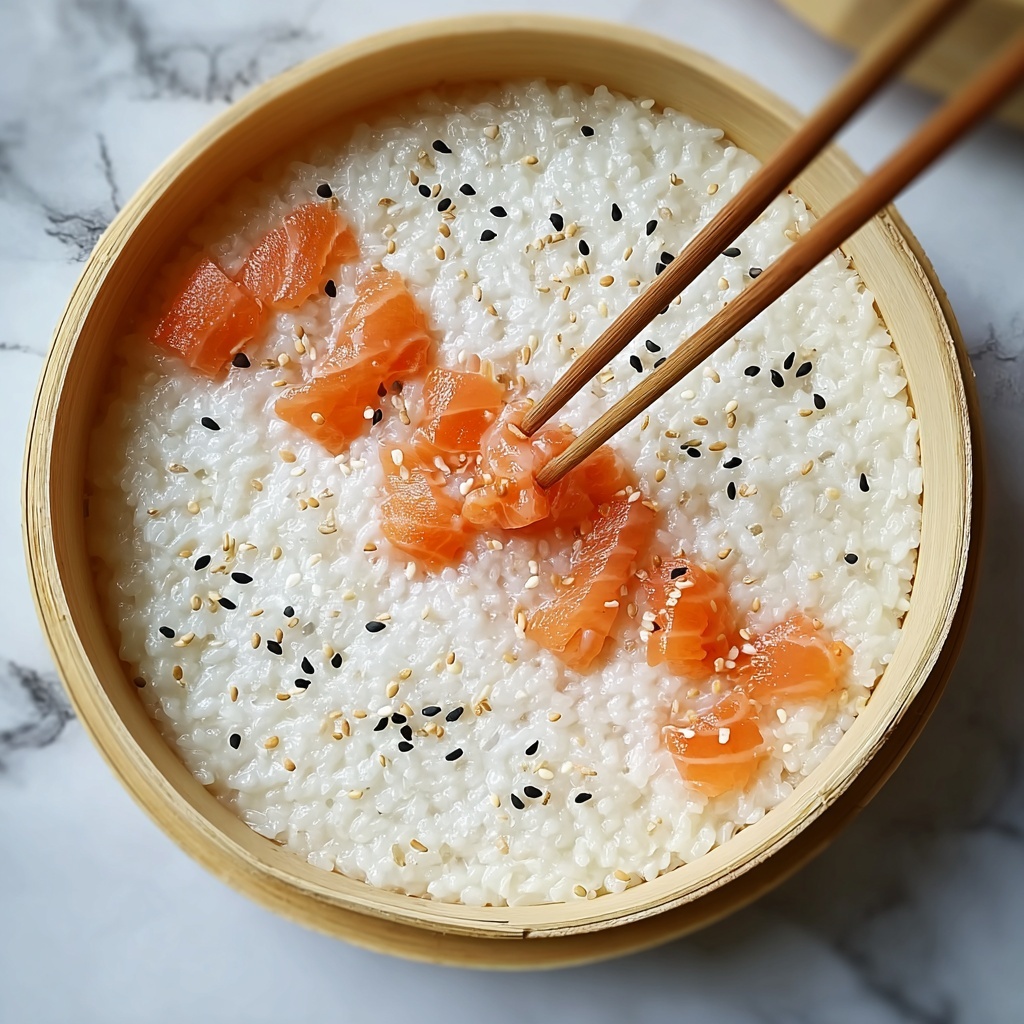
If you’ve ever wondered how to get that perfectly sticky, flavorful base for all your sushi dreams, look no further than this Perfect Homemade Sushi Rice in 33 Minutes Flat Recipe. It’s a game changer that brings restaurant-quality sushi rice right to your kitchen without the fuss or guesswork. The magic is in the balance of vinegar, sugar, and salt, combined with perfectly cooked short-grain rice that hits just the right note in every bite. Whether you’re making classic rolls or experimenting with new toppings, this recipe will be your go-to secret weapon for flawless sushi every time.
Ingredients You’ll Need
Getting the ingredients right is key to nailing your sushi rice texture and flavor. These simple, everyday pantry staples come together to create a subtly sweet and tangy foundation that makes sushi rice so irresistible.
- 2 cups Sushi rice: Use short-grain rice for that essential sticky texture that holds sushi together perfectly.
- 2 cups Water: The exact amount of water ensures the rice cooks evenly and stays tender without getting mushy.
- 1/4 cup Rice vinegar: This gives the sushi rice its signature tang, brightening the flavors beautifully.
- 2 tablespoons Sugar: Balances the sharpness of the vinegar with a gentle sweetness for a nuanced taste.
- 1 teaspoon Salt: Enhances all the flavors, making the rice pop without overwhelming it.
How to Make Perfect Homemade Sushi Rice in 33 Minutes Flat Recipe
Step 1: Rinse and Prepare the Rice
Start by rinsing your sushi rice under cold running water. This crucial step removes excess starch that can make your rice gummy. Gently stir the grains with your hand while rinsing until the water runs clear. It only takes a few minutes but makes a huge difference in texture.
Step 2: Cook the Rice
Combine your rinsed rice with the measured water in a medium saucepan. Bring it to a boil over medium-high heat, then immediately reduce the heat to low. Cover the pot tightly and let it simmer for exactly 18 minutes. Resist the urge to peek; this careful timing lets the rice absorb just the right amount of moisture for perfect softness.
Step 3: Prepare the Vinegar Mixture
While the rice cooks, whisk together rice vinegar, sugar, and salt in a small bowl. If your sugar isn’t dissolving well, warms the mixture gently—but don’t boil it! This step ensures the seasoning blends seamlessly into the hot rice later on.
Step 4: Season the Rice
Once your rice is done cooking, transfer it into a wide bowl or a traditional wooden tub called a hangiri if you have one. Drizzle the vinegar mixture evenly over the rice. Use a spatula to fold the seasoning into the rice gently, taking care not to mash the grains. This technique distributes flavor while keeping the rice fluffy.
Step 5: Cool the Rice
Allow your freshly seasoned sushi rice to cool at room temperature. Fan it lightly during this time to help it cool evenly and develop a glossy finish. This usually takes about 10 minutes. Avoid refrigeration, as it can harden the rice and ruin the texture you worked so hard to achieve.
How to Serve Perfect Homemade Sushi Rice in 33 Minutes Flat Recipe
Garnishes
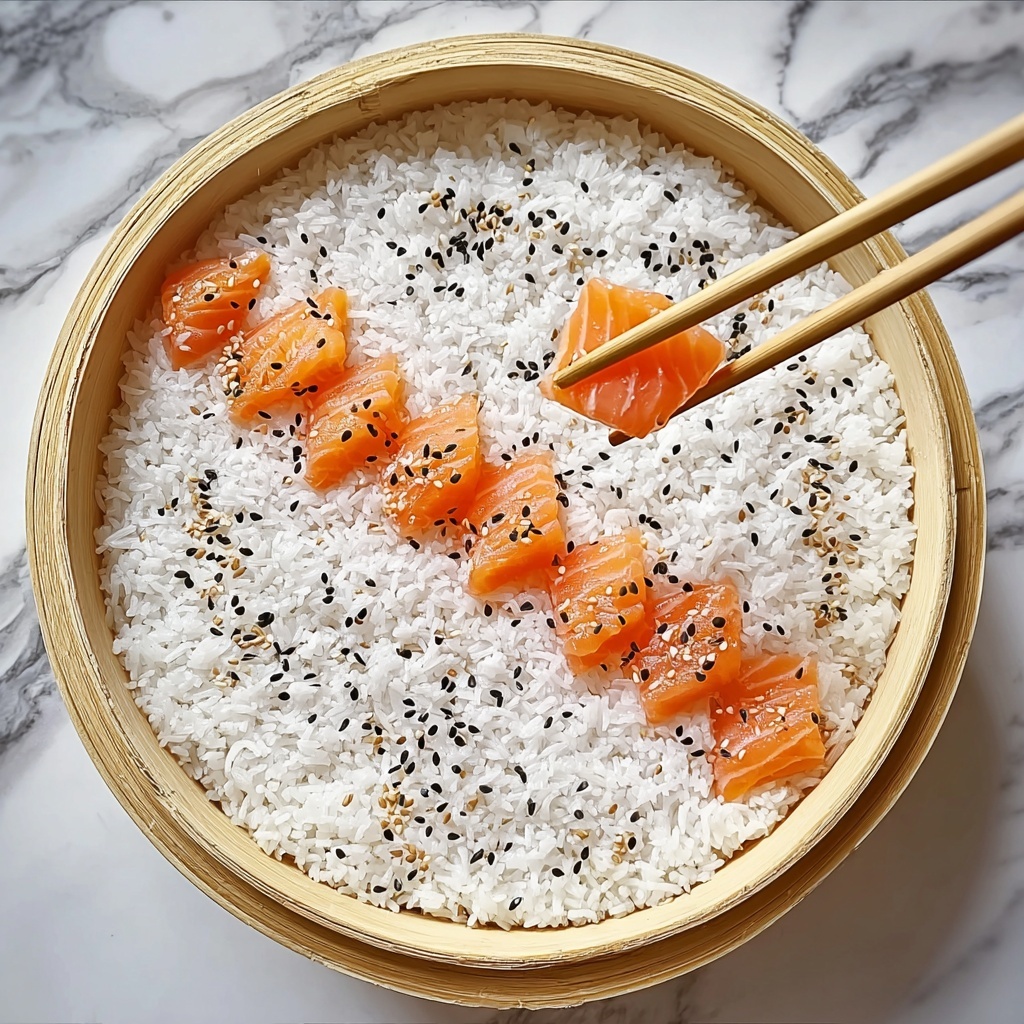
Sushi rice is a perfect canvas for so many beautiful toppings and garnishes. Sprinkle with toasted sesame seeds, slivers of pickled ginger, or a touch of finely chopped scallions. These add a pop of color, texture, and a flavor boost that complements the lightly seasoned rice wonderfully.
Side Dishes
Sushi rice pairs beautifully with classic accompaniments like miso soup, seaweed salad, and edamame. These fresh, light sides balance the rich flavors of your sushi rolls or nigiri, turning your meal into a well-rounded feast that feels thoughtful and satisfying.
Creative Ways to Present
Think beyond traditional sushi rolls. Use your Perfect Homemade Sushi Rice in 33 Minutes Flat Recipe to make vibrant poke bowls, layered sushi parfaits, or even crispy rice cakes topped with avocado and spicy mayo. Presentation can be as fun and inventive as your taste buds allow!
Make Ahead and Storage
Storing Leftovers
If you have leftover sushi rice, store it in an airtight container at room temperature for no more than a day. Keep in mind, sushi rice is best enjoyed fresh and loses its ideal texture quickly after cooking.
Freezing
Freezing sushi rice is not recommended because it tends to lose its delicate texture and can become dry or mushy once thawed. For the best experience, prepare only as much rice as you plan to use immediately.
Reheating
If you must reheat, do so gently in a microwave with a damp paper towel over the rice to restore moisture. Avoid overheating to prevent drying out or hardening the grains. Still, fresh rice is always the tastiest with sushi.
FAQs
Can I use long-grain rice for sushi?
While you technically can, long-grain rice lacks the stickiness and texture needed for sushi. Short-grain sushi rice is specifically designed to hold together well and absorb the vinegar seasoning beautifully.
Why do I need to rinse the rice?
Rinsing removes surface starch from the rice grains, preventing clumping and resulting in that perfect, separate grain texture that is so important for sushi rice.
Can I substitute regular vinegar for rice vinegar?
Rice vinegar has a milder, sweeter profile compared to regular vinegar. Using other types can overpower the delicate sushi rice flavor, so it’s best to stick with rice vinegar whenever possible.
How important is the fanning step?
Fanning cools the rice quickly and helps evaporate excess moisture, giving the rice a shiny finish and ideal texture. It’s a small step that truly elevates your sushi rice game.
Can I prepare sushi rice in a rice cooker?
Absolutely! Use the same water-to-rice ratio and cook according to your rice cooker’s instructions. Be sure to fluff the rice and fold in the vinegar mixture just like in the stovetop method for best results.
Final Thoughts
Making sushi rice at home can feel intimidating, but this Perfect Homemade Sushi Rice in 33 Minutes Flat Recipe proves it doesn’t have to be complicated. With just a handful of ingredients and some simple steps, you can create sushi rice that tastes like it came from your favorite sushi bar. Dive in, experiment with your favorite fillings and toppings, and enjoy the joyful process of homemade sushi that’s fresh, flavorful, and utterly satisfying.
Print
Perfect Homemade Sushi Rice in 33 Minutes Flat Recipe
- Prep Time: 10 minutes
- Cook Time: 18 minutes
- Total Time: 33 minutes
- Yield: 4 servings
- Category: Side Dish
- Method: Stovetop
- Cuisine: Japanese
Description
This recipe provides a step-by-step guide to making perfect homemade sushi rice with the ideal sticky texture and balanced tangy flavor in just 33 minutes. Using short-grain sushi rice, the method ensures fluffy yet sticky rice essential for sushi rolls, nigiri, or other Japanese dishes.
Ingredients
Rice
- 2 cups Sushi rice (Short-grain rice for sticky texture)
- 2 cups Water (To cook the rice)
Seasoning
- 1/4 cup Rice vinegar (Adds tangy flavor)
- 2 tablespoons Sugar (Balances acidity)
- 1 teaspoon Salt (Enhances flavor)
Instructions
- Rinse the rice: Rinse the sushi rice under cold running water by gently stirring it with your hand until the water runs clear. This step removes excess starch to prevent overly sticky or mushy rice.
- Cook the rice: Combine the rinsed sushi rice and 2 cups of water in a medium pot. Bring the mixture to a boil over medium-high heat, then reduce the heat to low, cover the pot with a lid, and let it simmer for 18 minutes until the water is absorbed and the rice is tender.
- Prepare seasoning mixture: While the rice cooks, mix together rice vinegar, sugar, and salt in a small bowl. Optionally, warm the mixture slightly to ensure the sugar and salt dissolve completely, creating a smooth seasoning liquid.
- Season the rice: Once the rice is cooked, transfer it to a large mixing bowl. Drizzle the prepared vinegar mixture evenly over the rice, then gently fold the rice with a spatula to combine while being careful not to smash the grains.
- Cool the rice: Let the seasoned rice cool at room temperature for about 10 minutes. During this time, fan the rice lightly to help it cool quickly and develop the proper shiny texture essential for sushi.
- Use as desired: The sushi rice is now ready to be used immediately for making sushi rolls, nigiri, or any other sushi dishes.
Notes
- Rinsing the rice thoroughly is crucial to removing excess starch for the perfect texture.
- Use short-grain sushi rice specifically for stickiness and authenticity.
- Do not refrigerate the rice after seasoning, as it affects texture and moisture.
- Fanning the rice while cooling helps maintain the ideal glossy appearance.
- Adjust sugar levels in seasoning based on personal preference for sweetness.


