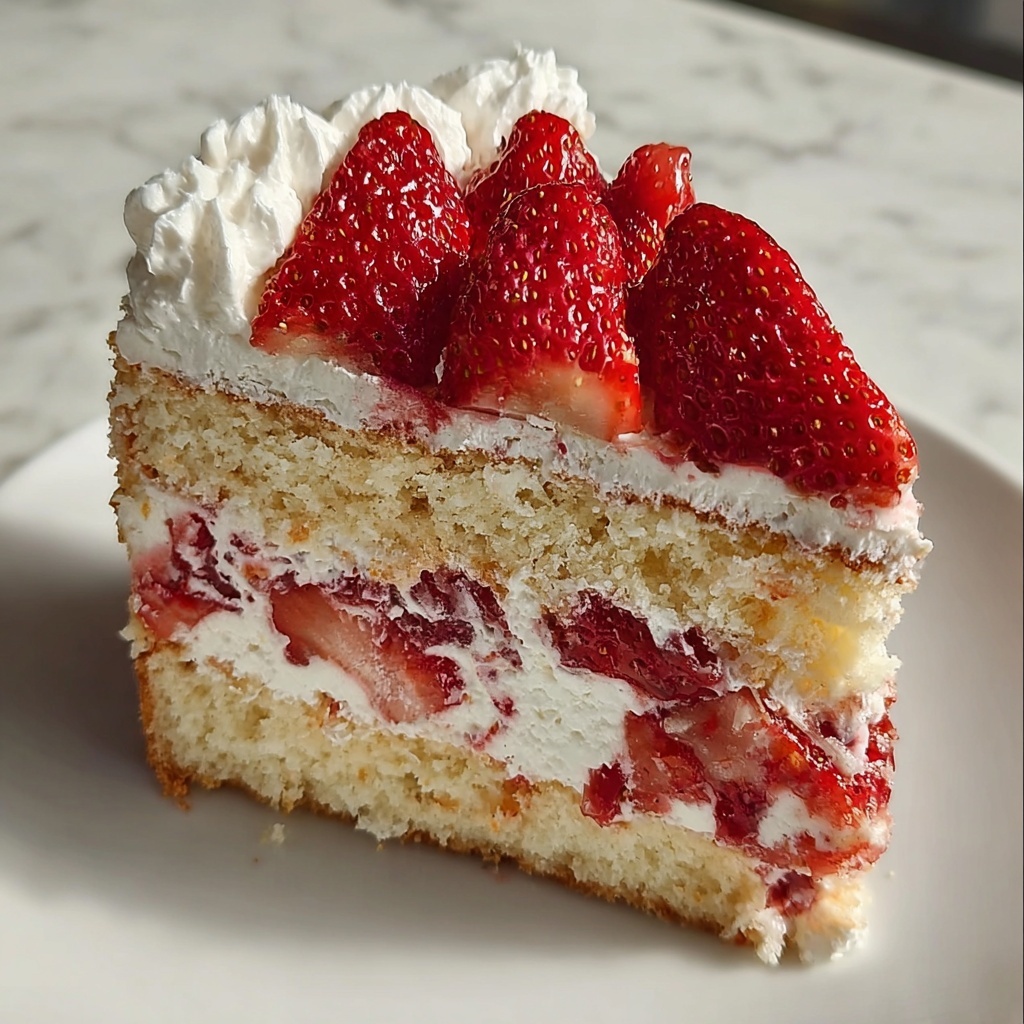
If you’re craving a dessert that feels like a warm hug from the past, the Heavenly Strawberry Cake: 7 Joyful Bites of Nostalgia Recipe is exactly what you need. This cake combines the fresh, vibrant sweetness of pureed strawberries with tender, fluffy layers of cake and a cloud of whipped cream frosting. Each bite brings a joyful burst of flavor that’s both refreshingly light and decadently comforting. It’s a celebration of simple ingredients coming together to create a memorable dessert that’s perfect for gatherings, celebrations, or just because you deserve a little happiness today.
Ingredients You’ll Need
These straightforward ingredients are the backbone of this delightful cake, each chosen to bring out the best in taste, texture, and appearance. From the fruit-forward flavor of fresh strawberries to the creamy richness of butter and heavy cream, you’ll be amazed at how effortless these components work together.
- All-purpose flour: Provides the perfect structure to keep the cake tender yet sturdy enough to hold the layers.
- Sugar: Sweetens the batter and helps to achieve a lovely golden crust during baking.
- Unsalted butter: Adds moisture and richness, enhancing the cake’s soft crumb.
- Milk: Keeps the cake moist and combines with other ingredients for a smooth batter.
- Large eggs: Act as a binder and leavening aid, contributing to the cake’s rise and texture.
- Baking powder: Ensures the cake is light and fluffy by helping it rise perfectly.
- Vanilla extract: Brings a warm, comforting aroma that complements the strawberries beautifully.
- Fresh strawberries, pureed: The star ingredient that infuses the cake with natural sweetness and a lovely pink hue.
- Heavy cream: Whipped into a luscious frosting that adds a creamy finish without overpowering the fruitiness.
- Powdered sugar: Sweetens the whipped cream gently and helps it hold stiff peaks.
How to Make Heavenly Strawberry Cake: 7 Joyful Bites of Nostalgia Recipe
Step 1: Prep Your Oven and Pans
Begin by heating your oven to 350°F (175°C). While it warms up, grease and flour two 9-inch round cake pans to ensure your cakes come out with perfectly smooth edges every time. This prep step sets you up for success right from the start.
Step 2: Cream Butter and Sugar
In a mixing bowl, beat the unsalted butter and sugar together until the mixture turns light and fluffy. This process is essential as it incorporates air, contributing to the cake’s tender texture and sweet flavor.
Step 3: Add Eggs
Incorporate the eggs one at a time, mixing thoroughly after each addition. This gradual method helps maintain the batter’s volume and prevents it from curdling, ensuring a smooth, cohesive mixture.
Step 4: Stir in Vanilla and Strawberry Puree
Now, pour in the vanilla extract and freshly pureed strawberries. Their fruity aroma mingles beautifully with the vanilla, transforming the batter into a fragrant promise of the delicious cake to come.
Step 5: Combine Dry Ingredients and Batter
Whisk the flour and baking powder together in a separate bowl. Then, gradually add the dry ingredients to the wet mixture, alternating with milk. This careful folding helps maintain a light batter that will rise beautifully during baking.
Step 6: Bake the Cake Layers
Pour the velvety batter into your prepared pans and smooth the tops. Bake for 30-35 minutes, or until a toothpick inserted into the center comes out clean. The aroma filling your kitchen at this point will already have you excited to taste the final product.
Step 7: Cool and Prepare Whipped Cream Frosting
Let the cakes cool in their pans for about 10 minutes, then transfer them to wire racks to cool completely. Meanwhile, whip the heavy cream with powdered sugar until stiff peaks form — this frosting is light, airy, and the perfect complement to your strawberry cake.
Step 8: Assemble Your Heavenly Strawberry Cake: 7 Joyful Bites of Nostalgia Recipe
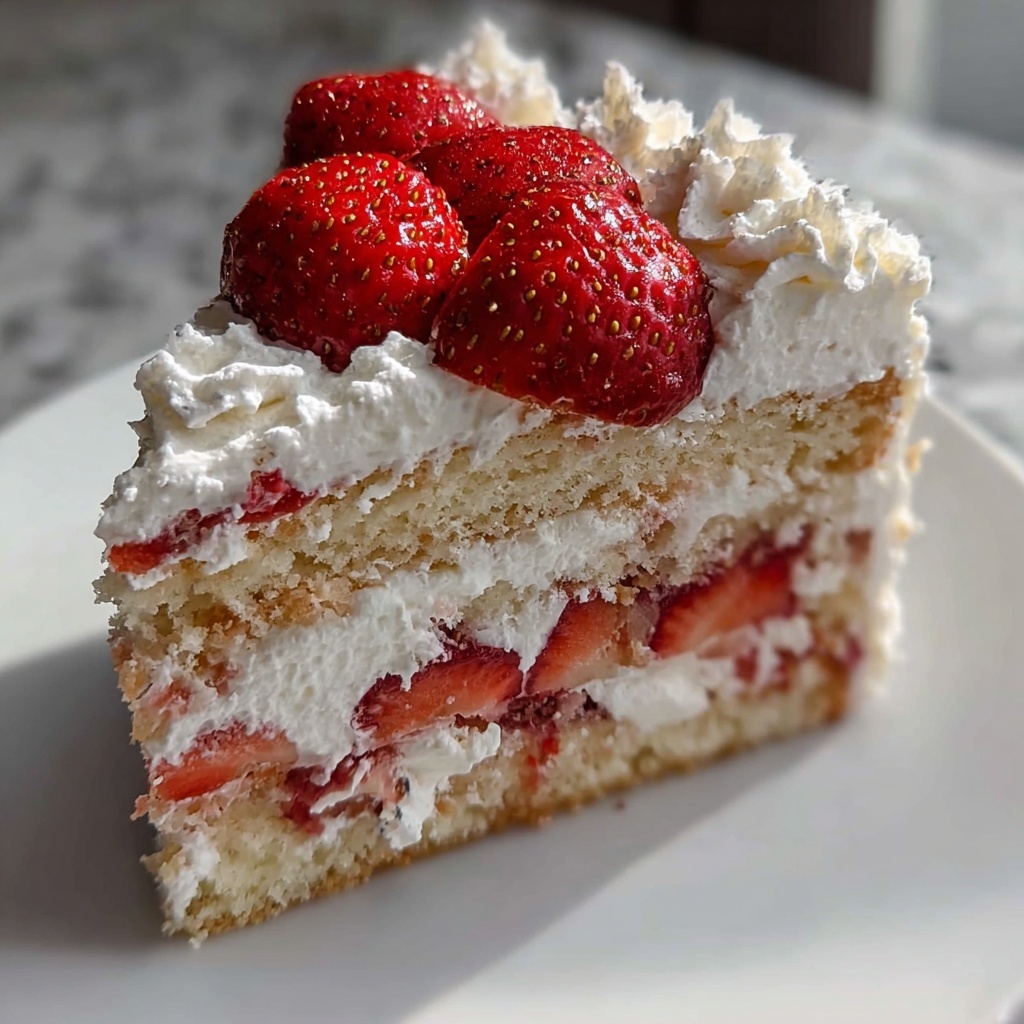
Once the cake layers are fully cooled, spread whipped cream over the top of one layer, then add fresh sliced strawberries for added texture and flavor. Carefully place the second layer on top and cover the entire cake with the remaining whipped cream. Your show-stopping dessert is now ready to be enjoyed!
How to Serve Heavenly Strawberry Cake: 7 Joyful Bites of Nostalgia Recipe
Garnishes
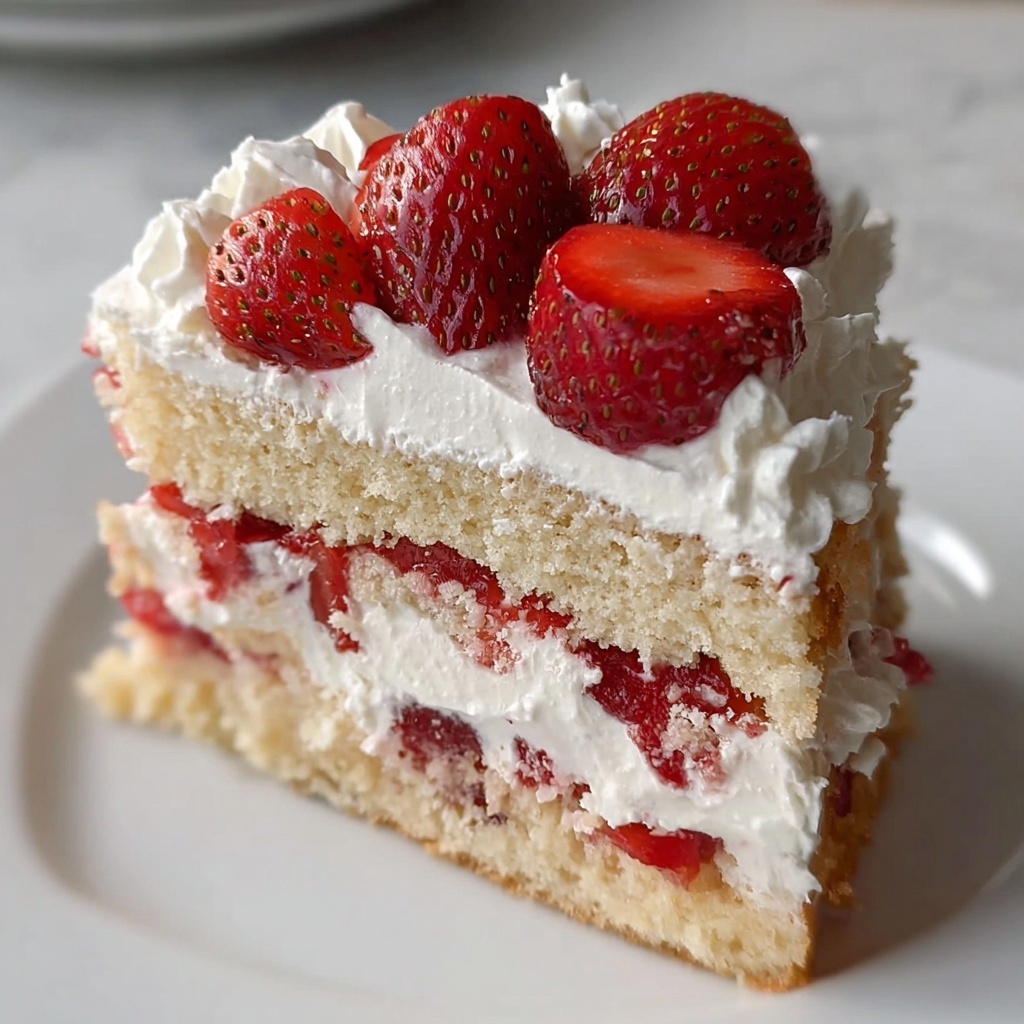
Adding a few fresh strawberry slices or a sprinkle of finely chopped mint leaves on top of the whipped cream can elevate the visual appeal and add a burst of freshness. A dusting of powdered sugar over the cake just before serving also creates a delicate, elegant look that’s perfect for any occasion.
Side Dishes
This Heavenly Strawberry Cake pairs wonderfully with a scoop of vanilla ice cream or a light, fruity sorbet. A cup of freshly brewed coffee or a glass of cold milk also complements the sweetness, balancing every bite as you savor those joyful nostalgic flavors.
Creative Ways to Present
For a fun twist, serve the cake as individual mini trifles by layering cake cubes, whipped cream, and strawberry slices in glass jars. This not only looks charming but makes sharing and portion control effortless at parties. Alternatively, try decorating the cake with edible flowers to give it an extra-special touch.
Make Ahead and Storage
Storing Leftovers
Cover your cake with plastic wrap or keep it in an airtight container, and store it in the refrigerator. It will stay fresh for about 3-4 days, allowing you to enjoy this lovely dessert even after the celebration winds down.
Freezing
You can freeze the unfrosted cake layers wrapped tightly in plastic wrap and foil. When you’re ready to serve, thaw them overnight in the refrigerator before assembling and frosting. This way, you can prepare layers ahead of time without sacrificing freshness.
Reheating
Since this cake is best enjoyed chilled due to its fruity and creamy elements, reheating is not recommended. However, letting the slices sit at room temperature for 20 minutes before serving will allow the flavors to shine beautifully.
FAQs
Can I use frozen strawberries instead of fresh?
Yes, you can use frozen strawberries; just be sure to thaw and drain them well before pureeing to avoid excess moisture affecting the cake batter.
Is it okay to use low-fat milk?
Whole milk is preferred for a richer texture, but low-fat milk can be used if needed—just expect a slightly less moist cake.
Can I make this cake gluten-free?
You can substitute all-purpose flour with a gluten-free baking blend, but be mindful that the texture might differ slightly. Make sure the blend includes xanthan gum or a similar binder for best results.
How long does the whipped cream frosting hold up?
Whipped cream frosting is best eaten within 24 hours of making, as it may start to lose stability after that, especially if left unrefrigerated.
Can I add other fruits to the recipe?
Absolutely! Berries like raspberries or blueberries pair wonderfully alongside strawberries or can be mixed into the whipped cream for extra flavor and color.
Final Thoughts
There is something so wonderfully reassuring about making and enjoying the Heavenly Strawberry Cake: 7 Joyful Bites of Nostalgia Recipe. Its inviting strawberry aroma, velvety texture, and light whipped cream frosting come together to create a slice of happiness. Whether you’re serving it for a special occasion or a weekend treat, this cake is bound to become a beloved classic in your home, filled with joyful memories in every bite. I can’t wait for you to try it and make your own beautiful moments with this recipe!
Print
Heavenly Strawberry Cake: 7 Joyful Bites of Nostalgia Recipe
- Prep Time: 20 minutes
- Cook Time: 35 minutes
- Total Time: 55 minutes
- Yield: 8 servings
- Category: Dessert
- Method: Baking
- Cuisine: American
- Diet: Vegetarian
Description
This Heavenly Strawberry Cake is a delightful and nostalgic treat featuring layers of moist strawberry-infused cake, whipped cream frosting, and fresh strawberries. Perfect for celebrations or a sweet indulgence, this recipe combines the freshness of pureed berries with a tender crumb and creamy topping.
Ingredients
Cake
- 2 cups all-purpose flour
- 1 ½ cups sugar
- ½ cup unsalted butter
- 1 cup milk
- 3 large eggs
- 1 tablespoon baking powder
- 1 teaspoon vanilla extract
- 2 cups fresh strawberries, pureed
Frosting
- 1 cup heavy cream
- ½ cup powdered sugar
- Fresh sliced strawberries for garnish
Instructions
- Preheat Oven: Preheat your oven to 350°F (175°C) to ensure it reaches the right temperature for baking the cake evenly.
- Prepare Pans: Grease and flour two 9-inch round cake pans to prevent the cake from sticking and allow easy removal after baking.
- Cream Butter and Sugar: In a mixing bowl, cream together the unsalted butter and sugar using an electric mixer or by hand until the mixture is light and fluffy, which helps incorporate air for a tender cake texture.
- Add Eggs: Add the eggs one at a time to the creamed mixture, beating well after each addition to fully integrate and create a smooth batter.
- Mix in Flavorings: Stir in the vanilla extract and pureed fresh strawberries to infuse the batter with natural strawberry flavor and aroma.
- Combine Dry Ingredients: In a separate bowl, whisk together the all-purpose flour and baking powder, ensuring even distribution of the leavening agent.
- Alternate Adding Dry and Wet Ingredients: Gradually add the flour mixture to the wet ingredients alternately with the milk. Start and end with the dry ingredients, mixing gently to avoid overworking the batter which would make the cake dense.
- Fill Pans: Pour the prepared batter evenly into the two greased and floured cake pans and smooth the tops with a spatula to ensure uniform baking.
- Bake: Bake the cakes in the preheated oven for 30-35 minutes. Check doneness by inserting a toothpick in the center; it should come out clean when the cake is fully baked.
- Cool Cakes: Let the cakes cool in their pans for about 10 minutes to firm up, then transfer them to wire racks to cool completely to prevent sogginess and prepare for frosting.
- Whip Cream: In a chilled bowl, whip the heavy cream together with the powdered sugar until stiff peaks form. This will be used as the frosting to complement the strawberry flavor.
- Assemble Cake: Once completely cooled, frost the top of one cake layer with the whipped cream, spread sliced fresh strawberries over it, then carefully place the second cake layer on top.
- Final Frosting: Frost the top and sides of the entire cake with the remaining whipped cream, smoothing it with a spatula for an elegant finish.
Notes
- Ensure strawberries are fresh and ripe for best flavor in the puree and garnish.
- Do not overmix the batter after adding the flour to keep the cake light and airy.
- Chilling the bowl and beaters before whipping cream helps achieve stiff peaks more effectively.
- The cake can be refrigerated for up to 2 days, covered to maintain moisture and freshness.
- For a more intense strawberry flavor, consider adding a light strawberry syrup between layers before frosting.


