
If you have a soft spot for sweet, creamy treats but want something natural, refreshing, and guilt-free, then you are absolutely going to love this Creamy Banana Ice Cream in 4 Easy Steps Recipe. It’s a simple yet satisfying dessert that transforms ripe bananas into a luscious frozen delight without any added sugars, dairy, or complicated ingredients. Perfect for a quick snack or a healthy dessert fix, this recipe brings the dreamy creaminess you crave with none of the fuss, making it a must-try for banana lovers everywhere.
Ingredients You’ll Need
Getting this recipe right is all about the bananas—and just bananas! These humble fruits are the star, providing the natural sweetness, creamy texture, and beautiful golden color that make this dessert shine.
- 4 ripe bananas: The riper, the better—look for bananas with lots of brown spots for maximum sweetness and creaminess.
How to Make Creamy Banana Ice Cream in 4 Easy Steps Recipe
Step 1: Prepare and Slice Your Bananas
Start by peeling your bananas and slicing them into small pieces. This is key because smaller chunks freeze faster and are easier to blend smoothly later on. Plus, taking this little extra moment now means less waiting and a better texture when mixing.
Step 2: Freeze the Banana Slices
Lay out your banana slices in a single layer on a baking sheet or plate. Spreading them out prevents the pieces from sticking together, making it easier to pulse them individually for that perfect creamy consistency. Freeze for at least two hours—or until completely solid—for best results.
Step 3: Blend Until Smooth and Creamy
Once frozen, transfer the banana slices to a food processor. Blend them on high, pausing occasionally to scrape down the sides, until the mixture turns into a velvety smooth ice cream. At first, it may look crumbly or chunky, but keep blending—you’ll be amazed at how quickly it transforms into creamy perfection.
Step 4: Serve Immediately or Freeze for Later
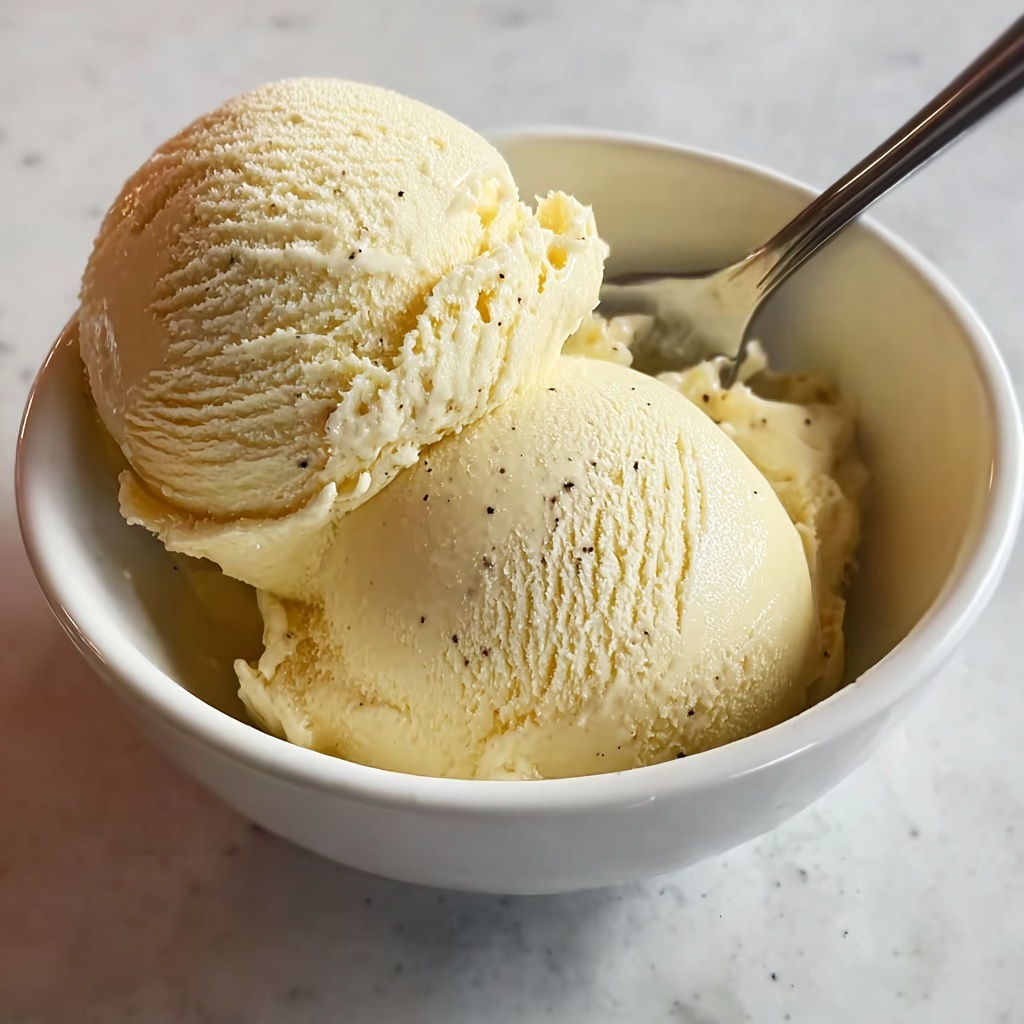
And just like that, your homemade creamy banana ice cream is ready! You can enjoy it right away—soft and scoopable like soft serve—or pop it into a container and freeze it if you prefer a firmer texture later on. Either way, it’s pure bliss in a bowl.
How to Serve Creamy Banana Ice Cream in 4 Easy Steps Recipe
Garnishes
Add a little flair and texture by trying some chopped nuts like walnuts or pecans, a sprinkle of cinnamon, or a drizzle of honey or maple syrup. Fresh berries or grated dark chocolate also make delicious toppings that complement the natural banana sweetness beautifully.
Side Dishes
This banana ice cream pairs wonderfully with a slice of warm homemade banana bread, crunchy granola, or a fresh fruit salad for a wholesome dessert experience. It’s light enough to enjoy after a meal without feeling heavy but indulgent enough to satisfy that sweet tooth.
Creative Ways to Present
For a fun twist, serve your creamy banana ice cream in colorful waffle cones or hollowed-out pineapple bowls for an eye-catching tropical vibe. You can also layer it in parfait glasses with layers of yogurt and fruit for an elegant touch that’s perfect for entertaining.
Make Ahead and Storage
Storing Leftovers
If you have any leftovers, store them in an airtight container in the freezer. To keep your ice cream’s creamy texture, press a piece of parchment paper or plastic wrap directly on the surface before sealing the container to prevent ice crystals from forming.
Freezing
This recipe freezes exceptionally well. After making your ice cream, transfer it to a freezer-safe container and freeze for a few hours if you prefer a firmer texture. When you’re ready to indulge, allow it to sit at room temperature for 5 to 10 minutes to soften slightly before scooping.
Reheating
Reheating isn’t necessary with banana ice cream, but if it’s frozen solid after storage, letting it thaw a bit at room temperature will bring back that dreamy creaminess. Unlike traditional ice cream, this one never loses its smooth texture, even after freezing and thawing multiple times.
FAQs
Can I use unripe bananas for this recipe?
Unripe bananas won’t work as well because they are less sweet and have a harder texture, which results in less creamy ice cream. It’s best to use bananas that are very ripe with brown spots to get that natural sweetness and smooth finish.
Do I need a special food processor to make this?
No special equipment is needed! A standard food processor or a powerful blender will do the job. Just be sure to pulse and scrape down the sides to help everything blend evenly as the bananas soften.
Can I add flavors or mix-ins to this banana ice cream?
Absolutely! While the Creamy Banana Ice Cream in 4 Easy Steps Recipe is delicious on its own, you can easily mix in vanilla extract, cocoa powder, or nut butters during blending. Adding chocolate chips, berries, or nuts once blended can give extra texture and flavor too.
Is this ice cream suitable for people with dietary restrictions?
Yes, this recipe is naturally vegan, dairy-free, gluten-free, and refined sugar-free, making it a great option for many dietary needs and preferences. It’s pure banana bliss without any added ingredients, so it’s gentle and wholesome.
How long does the ice cream stay fresh in the freezer?
When stored properly in an airtight container, your banana ice cream should stay fresh and tasty for up to two weeks. Beyond that, it may develop freezer burn or texture changes, but it’s usually best enjoyed within that timeframe.
Final Thoughts
I truly hope you fall in love with this Creamy Banana Ice Cream in 4 Easy Steps Recipe as much as I have. It is wonderfully simple, surprisingly versatile, and just downright comforting—like a little hug in a bowl. Next time you have ripe bananas on hand, give this easy recipe a whirl and treat yourself to something healthy and irresistible. You deserve it!
Print
Creamy Banana Ice Cream in 4 Easy Steps Recipe
- Prep Time: 10 minutes
- Cook Time: 0 minutes
- Total Time: 2 hours 10 minutes
- Yield: 2 servings
- Category: Dessert
- Method: Blending
- Cuisine: American
- Diet: Vegan
Description
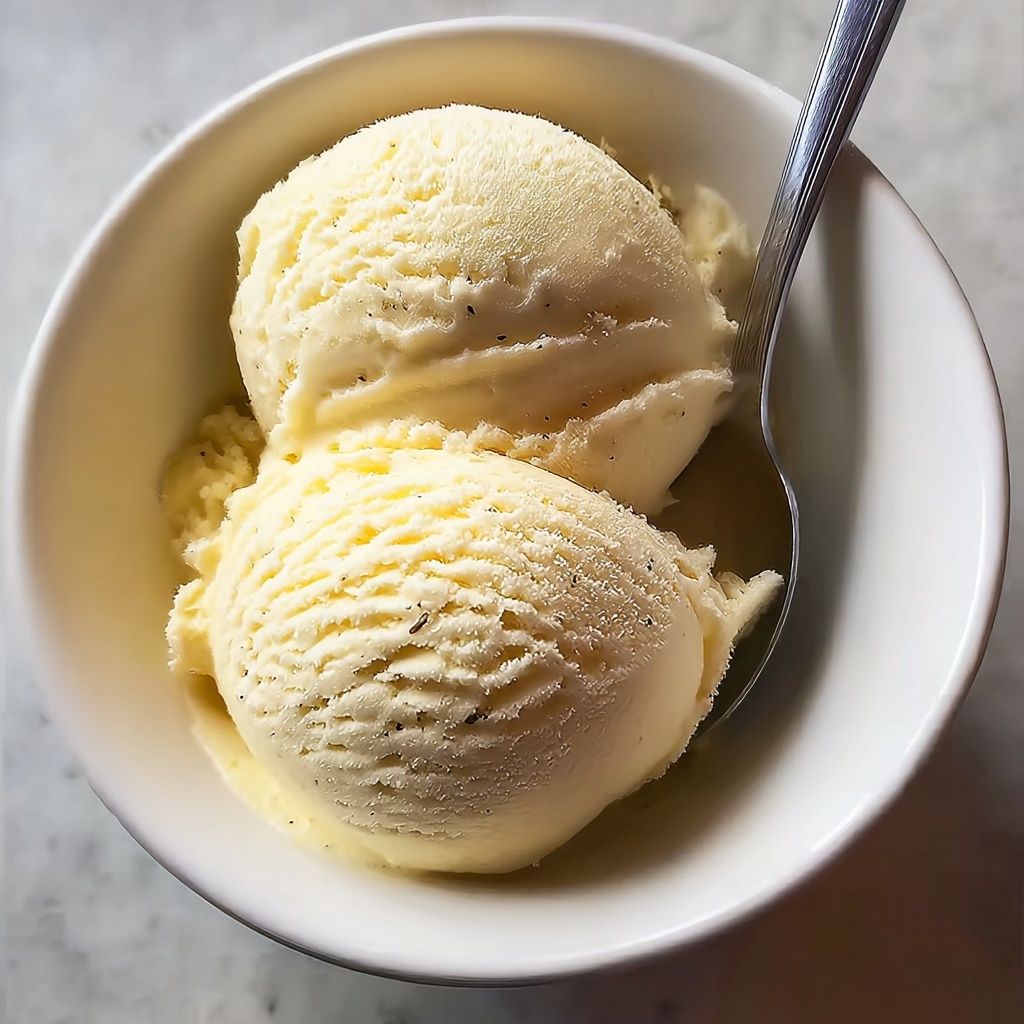
This simple and healthy Banana “Ice Cream” recipe offers a guilt-free dessert made from just ripe bananas, transformed into a creamy, soft-serve style treat. Perfect for those seeking a naturally sweet, dairy-free frozen dessert, this recipe requires no added sugar or additives and can be enjoyed immediately or stored for later.
Ingredients
Ingredients
- 4 ripe bananas
Instructions
- Prepare Bananas: Peel the bananas and slice them into small pieces to ensure even freezing and easy blending.
- Freeze Banana Slices: Arrange the banana slices in a single layer on a baking sheet to prevent them from sticking together, then place in the freezer for at least 2 hours until completely frozen.
- Blend Frozen Bananas: Transfer the frozen banana slices to a food processor and blend until the mixture becomes smooth and creamy, scraping down the sides as needed.
- Serve or Store: Enjoy the banana ice cream immediately for a soft-serve texture, or transfer to an airtight container and freeze further for a firmer consistency.
Notes
- Use ripe bananas with brown spots for maximum sweetness and creaminess.
- You can add flavorings like vanilla extract, cocoa powder, or peanut butter during blending for variety.
- If the bananas don’t blend easily, let them sit at room temperature for a few minutes to soften slightly before blending again.
- For a firmer texture, freeze the blended ice cream for 1-2 hours before serving.

