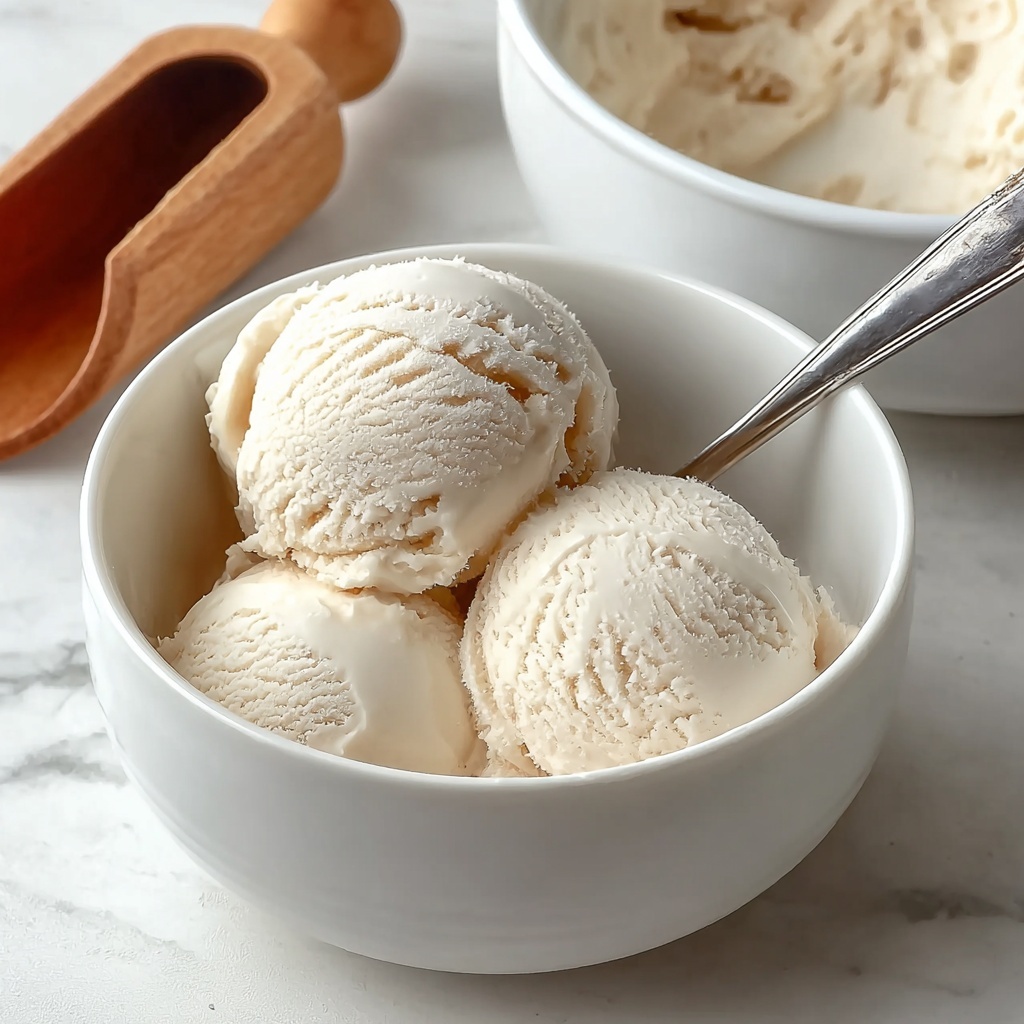
If you have been dreaming of a luscious, creamy dessert that checks all the boxes for flavor and dietary preferences, this Vanilla Vegan Ice Cream Recipe is exactly what you need. Bursting with the natural richness of full-fat coconut milk and perfectly balanced with just a touch of sweetness and real vanilla, this homemade treat feels indulgent without any dairy. It’s a revelation for anyone craving that classic smooth vanilla scoop, but with a plant-based twist that makes it lighter on the conscience and delightful for all tastes.
Ingredients You’ll Need
This recipe calls for a handful of straightforward ingredients, each chosen to build the perfect texture and depth of flavor in your vegan ice cream. Every element plays a vital role, from the creaminess of the coconut milk to the warm hint of vanilla.
- Full-fat coconut milk (2 cans, 14 ounces each): Provides the rich, creamy base that makes this vegan ice cream so satisfyingly smooth.
- Granulated sugar or coconut sugar (3/4 cup): Sweetens the ice cream naturally while complementing the coconut’s flavor.
- Pure vanilla extract (1 tablespoon): Adds that authentic vanilla aroma and taste that is key to this recipe’s charm.
- Salt (1/4 teaspoon): Enhances all the flavors, balancing sweetness and deepening the overall profile.
- Cornstarch mixed with water (1 tablespoon cornstarch + 2 tablespoons water – optional): Gives the ice cream a thicker, creamier texture if you prefer a denser scoop.
How to Make Vanilla Vegan Ice Cream Recipe
Step 1: Prepare the Creamy Base
Begin by whisking together the coconut milk, sugar, and salt in a medium saucepan over medium heat. This gentle heating dissolves the sugar and allows the flavors to start melding, but be careful not to let the mixture boil. This step is essential to create that silky smooth foundation for your ice cream.
Step 2: Thicken the Mixture (Optional)
If you want a thicker and creamier texture, slowly whisk in the cornstarch slurry at this stage. Cook for 2 to 3 minutes, stirring constantly until the mixture thickens slightly. This little trick elevates the mouthfeel and makes each scoop feel even more indulgent.
Step 3: Add the Vanilla and Cool
Remove the saucepan from the heat and stir in the vanilla extract. The natural warmth of the vanilla infuses the mix with authentic flavor. Let the mixture cool to room temperature before transferring it to the fridge. Chill it for at least 2 hours or until it’s completely cold to ensure the best texture during churning.
Step 4: Churn Into Ice Cream
Pour your chilled mixture into your ice cream maker and churn according to the manufacturer’s instructions until it reaches a soft-serve consistency. This process aerates the ice cream and builds that irresistibly creamy texture.
Step 5: Freeze to Set
Transfer the churned ice cream to a freezer-safe container and freeze for 3 to 4 hours. This final chill helps it firm up perfectly, so you get a scoopable, dreamy vanilla vegan ice cream every time.
How to Serve Vanilla Vegan Ice Cream Recipe
Garnishes
Simple toppings can make your vanilla vegan ice cream shine. Try fresh berries, a sprinkle of crushed nuts, or a drizzle of dairy-free caramel or chocolate sauce. These add texture and bursts of flavor without overpowering the delicate vanilla.
Side Dishes
This ice cream pairs beautifully with warm fruit crisps, vegan brownies, or even a slice of spiced cake. The cool creaminess perfectly balances warm, textured desserts for an unforgettable treat.
Creative Ways to Present
For a fun twist, serve your vanilla vegan ice cream in waffle cones or hollowed-out fruit shells like coconut halves. You could even use it as the base for a vegan ice cream sandwich with your favorite plant-based cookies. Making this dessert unique adds an element of delight to every bite.
Make Ahead and Storage
Storing Leftovers
If you find yourself with some leftover vanilla vegan ice cream, store it in an airtight container in the freezer. This keeps it fresh and prevents freezer burn, so it’s ready to enjoy whenever the craving strikes.
Freezing
When freezing homemade vegan ice cream, using a tightly sealed container is key to preserving texture and flavor. If you don’t have an ice cream maker, try freezing the mixture in a shallow dish and stir vigorously every 30 minutes to reduce ice crystals until firm.
Reheating
Ice cream doesn’t need reheating, of course, but if it becomes too hard in the freezer, let it sit at room temperature for 10 to 15 minutes before scooping. This softens it enough to scoop easily without melting it too much.
FAQs
Can I make the Vanilla Vegan Ice Cream Recipe without an ice cream maker?
Absolutely! You can pour the chilled mixture into a shallow container and freeze it. Stir vigorously every 30 minutes for 2 to 3 hours to break up ice crystals and mimic the churned texture.
Is full-fat coconut milk necessary?
Yes, full-fat coconut milk gives the ice cream its creamy richness. Using light coconut milk will result in a thinner texture and less satisfying mouthfeel.
Can I use other sweeteners besides granulated sugar?
Yes, coconut sugar works wonderfully for a deeper flavor, or you could use maple syrup, though it may slightly change the texture and sweetness level.
How long does this vegan ice cream keep in the freezer?
Stored properly in an airtight container, it’s best enjoyed within 1 to 2 weeks for optimal flavor and texture.
Can I add mix-ins like nuts or chocolate chips?
Definitely! Add your favorite dairy-free chocolate chips, crushed cookies, or nuts in the last few minutes of churning to evenly distribute them without crushing the texture.
Final Thoughts
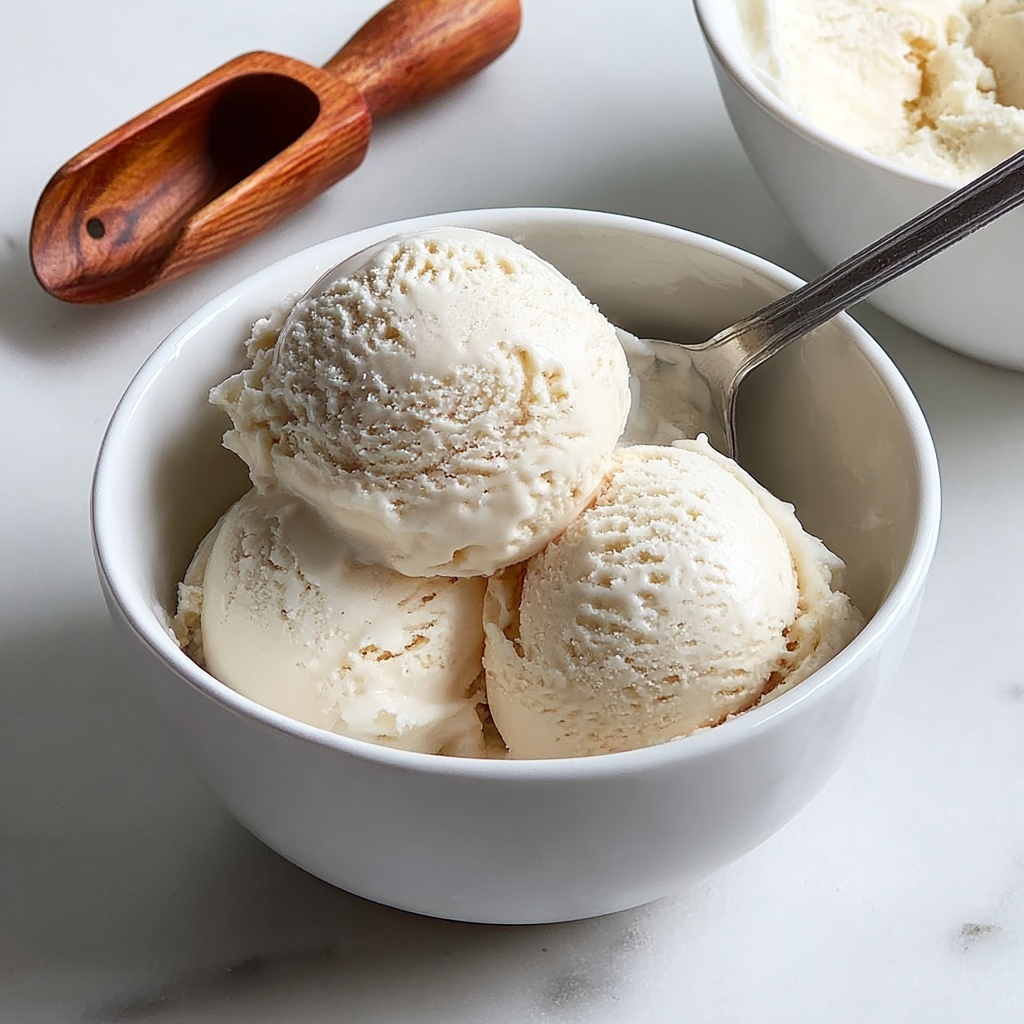
I cannot recommend this Vanilla Vegan Ice Cream Recipe enough to anyone looking for a simple yet utterly delicious way to enjoy a dairy-free sweet treat at home. It’s rich, creamy, and perfectly smooth, capturing everything you love about classic vanilla ice cream but with a wholesome plant-based twist. So grab those cans of coconut milk and start churning your way to happiness—you’ll be hooked after the very first scoop!
Print
Vanilla Vegan Ice Cream Recipe
- Prep Time: 10 minutes
- Cook Time: 5 minutes
- Total Time: 3 hours 15 minutes
- Yield: 6 servings
- Category: Dessert
- Method: Ice Cream Maker
- Cuisine: American
- Diet: Vegan
Description
This delicious vanilla vegan ice cream is a creamy, dairy-free treat made with full-fat coconut milk, natural sweeteners, and pure vanilla extract. It’s perfect for anyone craving a smooth, homemade frozen dessert that is both vegan and rich in flavor. With an optional cornstarch addition for extra thickness, this recipe is simple to make and customizable with your favorite mix-ins.
Ingredients
Base Ingredients
- 2 cans (14 ounces each) full-fat coconut milk
- 3/4 cup granulated sugar or coconut sugar
- 1 tablespoon pure vanilla extract
- 1/4 teaspoon salt
Optional Thickener
- 1 tablespoon cornstarch mixed with 2 tablespoons water (optional for thicker texture)
Instructions
- Combine Ingredients: In a medium saucepan over medium heat, whisk together the coconut milk, sugar, and salt until smooth. This initial step ensures all ingredients are well incorporated.
- Heat Mixture: Gently heat the mixture, stirring occasionally, until the sugar fully dissolves and the liquid is warm but not boiling. This helps meld the flavors and dissolve the sweetener completely.
- Add Cornstarch (Optional): If using, slowly whisk the cornstarch slurry into the warm mixture and continue cooking for 2 to 3 minutes until it has slightly thickened, which will give the ice cream a creamier texture.
- Remove from Heat and Add Vanilla: Take the saucepan off the heat and stir in the pure vanilla extract. This preserves the vanilla flavor from cooking off.
- Cool and Chill: Allow the mixture to cool to room temperature, then refrigerate for at least 2 hours or until completely chilled. Chilling is key for the churning process.
- Churn in Ice Cream Maker: Pour the chilled mixture into an ice cream maker and churn according to the manufacturer’s instructions until it reaches a soft-serve consistency.
- Freeze Until Firm: Transfer the churned ice cream to a freezer-safe container and freeze for 3 to 4 hours or until firm enough to scoop.
Notes
- For the creamiest texture, use full-fat coconut milk and chill the base thoroughly before churning.
- If you do not have an ice cream maker, pour the mixture into a shallow container and freeze, stirring every 30 minutes for 2 to 3 hours to reduce ice crystals.
- Add mix-ins such as dairy-free chocolate chips or crushed cookies during the last few minutes of churning for extra flavor.


