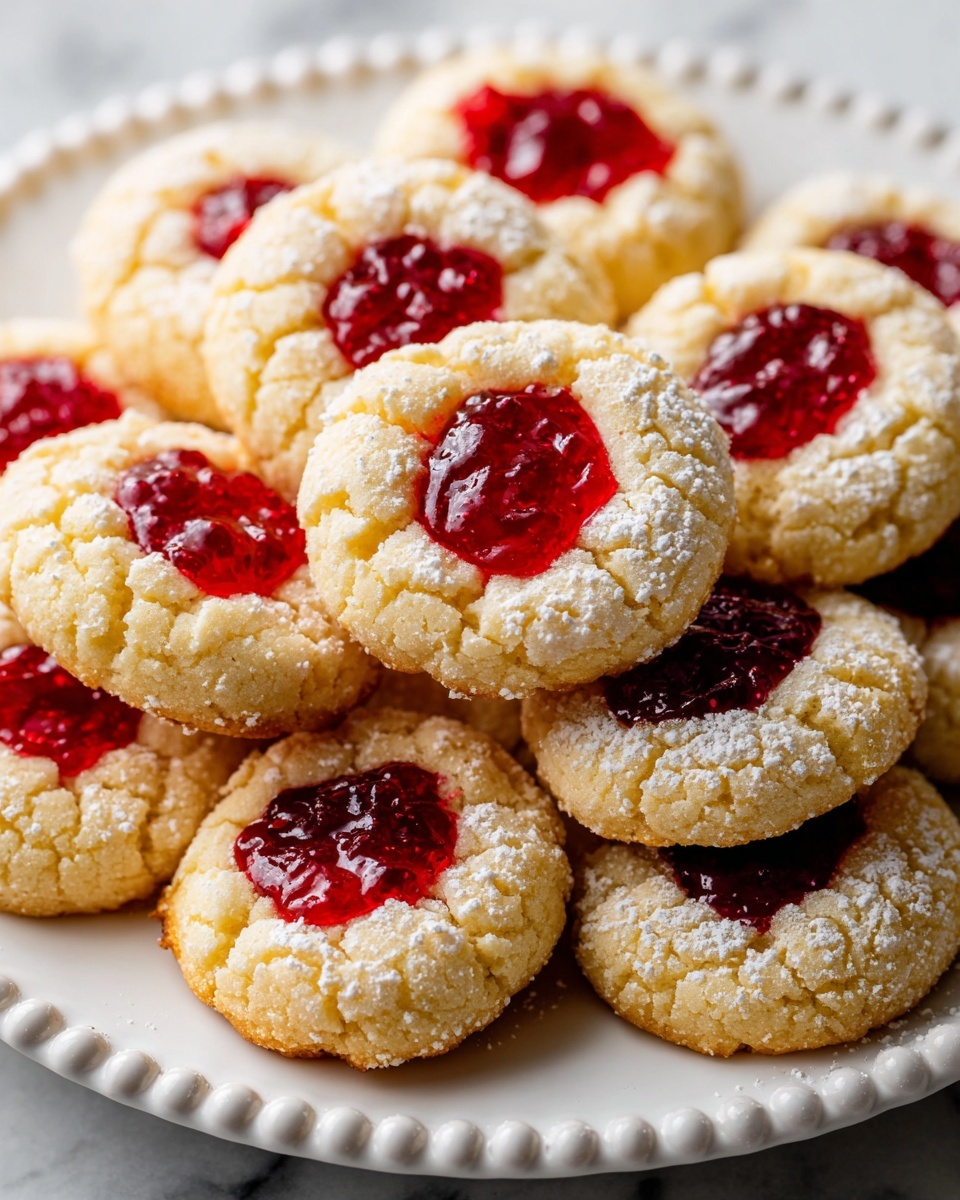
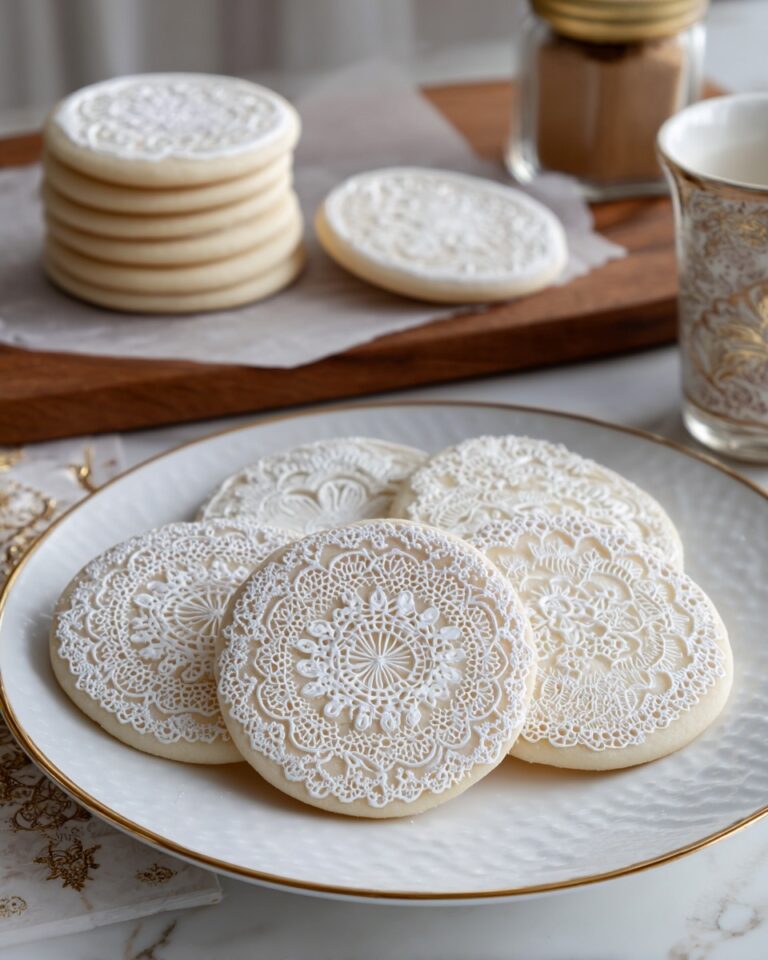
If you have a soft spot for nostalgic, buttery treats that burst with fruity goodness, then this Thumbprint Cookies Recipe is your new go-to dessert. These delightful cookies are simple yet utterly charming, combining a tender, melt-in-your-mouth dough with a jewel-like center of sweet jam. Whether you’re baking for a holiday gathering or just craving a cozy afternoon snack, these thumbprint cookies bring that perfect homey vibe and look as wonderful as they taste. I’m excited to share how easy these little beauties are to whip up and how they can quickly become a beloved staple in your recipe collection.
Ingredients You’ll Need
One of the reasons this Thumbprint Cookies Recipe is so beloved is because it uses straightforward, pantry-friendly ingredients that come together effortlessly. Each component plays a vital role in creating the cookie’s delicate texture and luscious flavor.
- 1 cup unsalted butter, room temperature: This gives the dough richness and a tender crumb, so make sure it’s soft enough to cream well.
- 1/2 cup granulated sugar: Adds sweetness and helps create that crisp yet tender exterior as the cookies bake.
- 1 large egg yolk: Binds the dough and adds a bit of golden color and richness.
- 1 teaspoon vanilla extract: Infuses the dough with warm, comforting aroma and depth.
- 2 cups all-purpose flour: The foundation of the cookie, providing structure while keeping it soft.
- 1/4 teaspoon salt: Balances the sweetness and enhances the overall flavor.
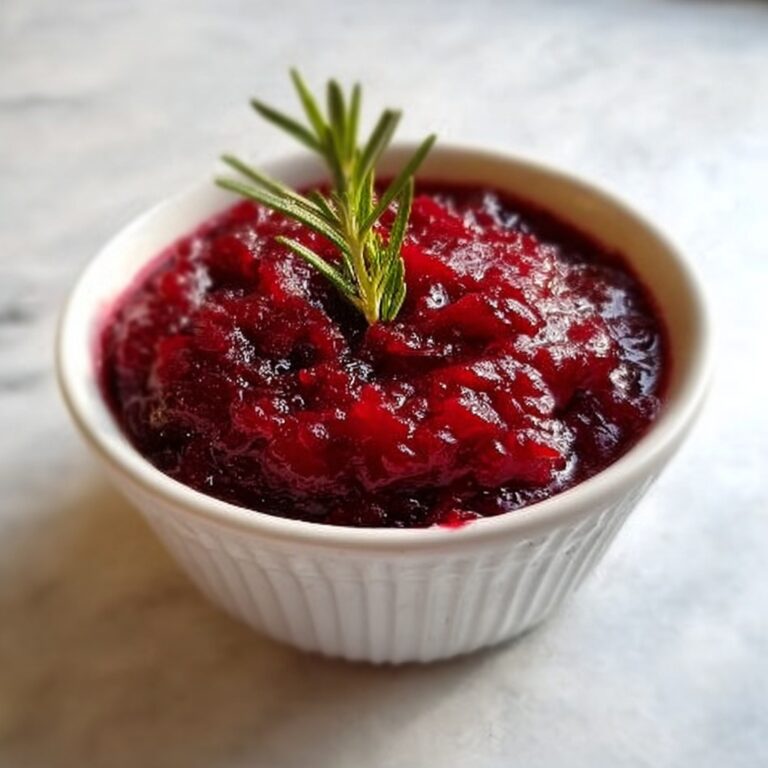
- 1/2 cup fruit preserves or jam of choice: The star in the thumbprint indentation, offering a burst of fruity sweetness in every bite.
How to Make Thumbprint Cookies Recipe
Step 1: Prepare Your Oven and Baking Sheet
Begin by preheating your oven to 350°F (175°C). This ensures the cookies bake evenly from the moment they go in. Line a baking sheet with parchment paper to prevent sticking and make cleanup a breeze.
Step 2: Cream the Butter and Sugar
In a large bowl, beat the room temperature butter and sugar together until the mixture is light, fluffy, and slightly pale. This creaming step is crucial because it incorporates air, which helps the cookies rise and creates that tender texture you love.
Step 3: Add the Egg Yolk and Vanilla
Mix in the egg yolk and vanilla extract until the mixture is smooth and fragrant. The yolk enriches the dough, while the vanilla adds a beautiful, warm flavor foundation that pairs perfectly with fruit jam.
Step 4: Combine the Dry Ingredients
In a separate bowl, whisk together the flour and salt. Gradually add this dry mix to the wet ingredients, stirring just enough to bring everything together. Overmixing here can lead to a tougher cookie, so gentle is the key.
Step 5: Shape and Make Your Thumbprints
Roll the dough into 1-inch balls and place them spaced apart on your prepared baking sheet. Using your thumb, gently press an indentation into the center of each ball—this is where the magic happens as it creates the perfect little well for jam.
Step 6: Fill with Fruit Preserves
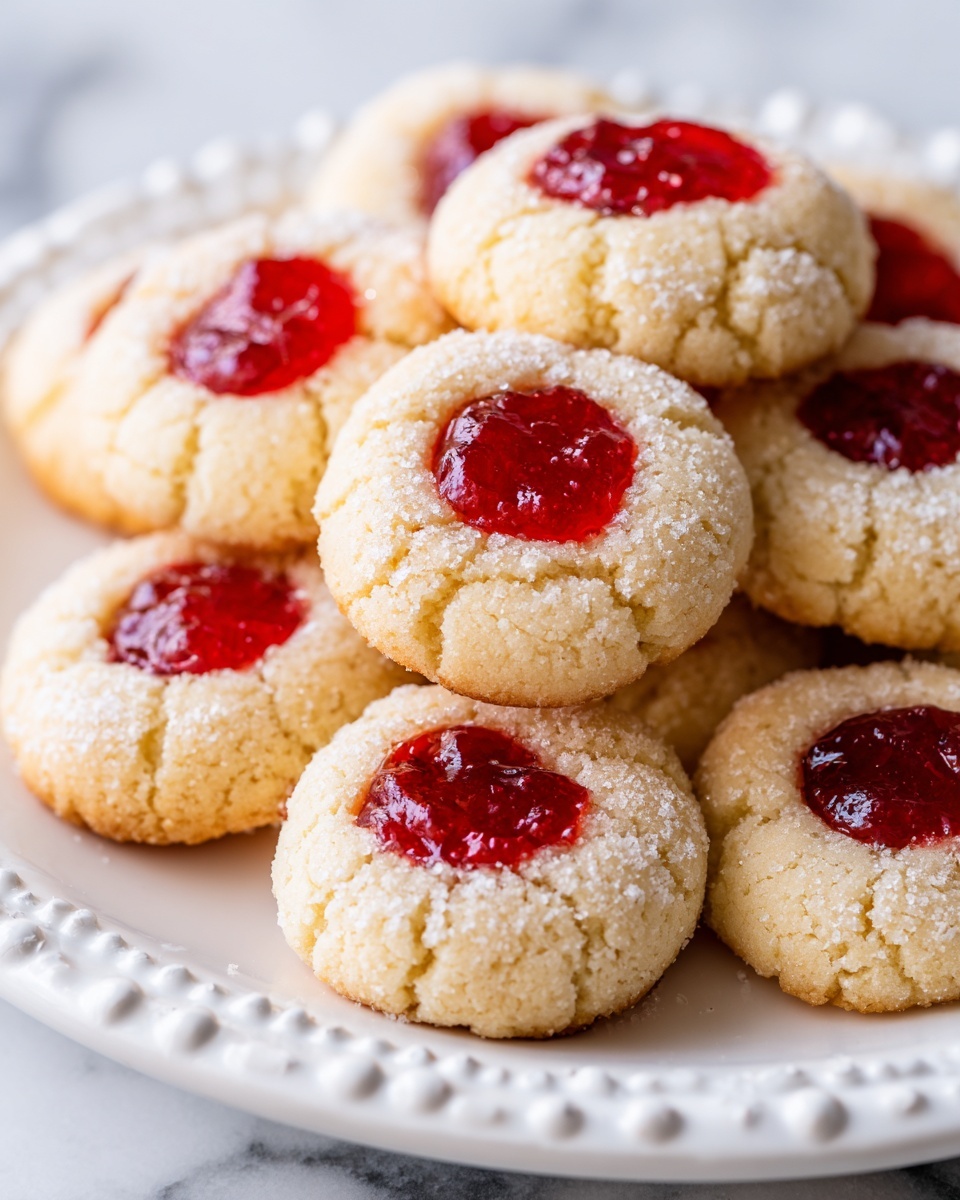
Fill each thumbprint indentation with about 1/2 teaspoon of your favorite fruit preserves or jam. Feel free to mix it up with raspberry, apricot, or strawberry—it’s a fun way to customize colors and flavors.
Step 7: Bake Until Lightly Golden
Place your tray in the oven and bake for 12 to 15 minutes, watching as the cookie edges turn just golden. This gentle browning signals that the dough is cooked through but still tender in the middle.
Step 8: Cool and Enjoy
Let the cookies rest on the baking sheet for a few minutes before transferring them to a wire rack. Cooling allows the jam to set slightly and the cookies to finish firming up, so they hold their shape perfectly when you bite in.
How to Serve Thumbprint Cookies Recipe
Garnishes
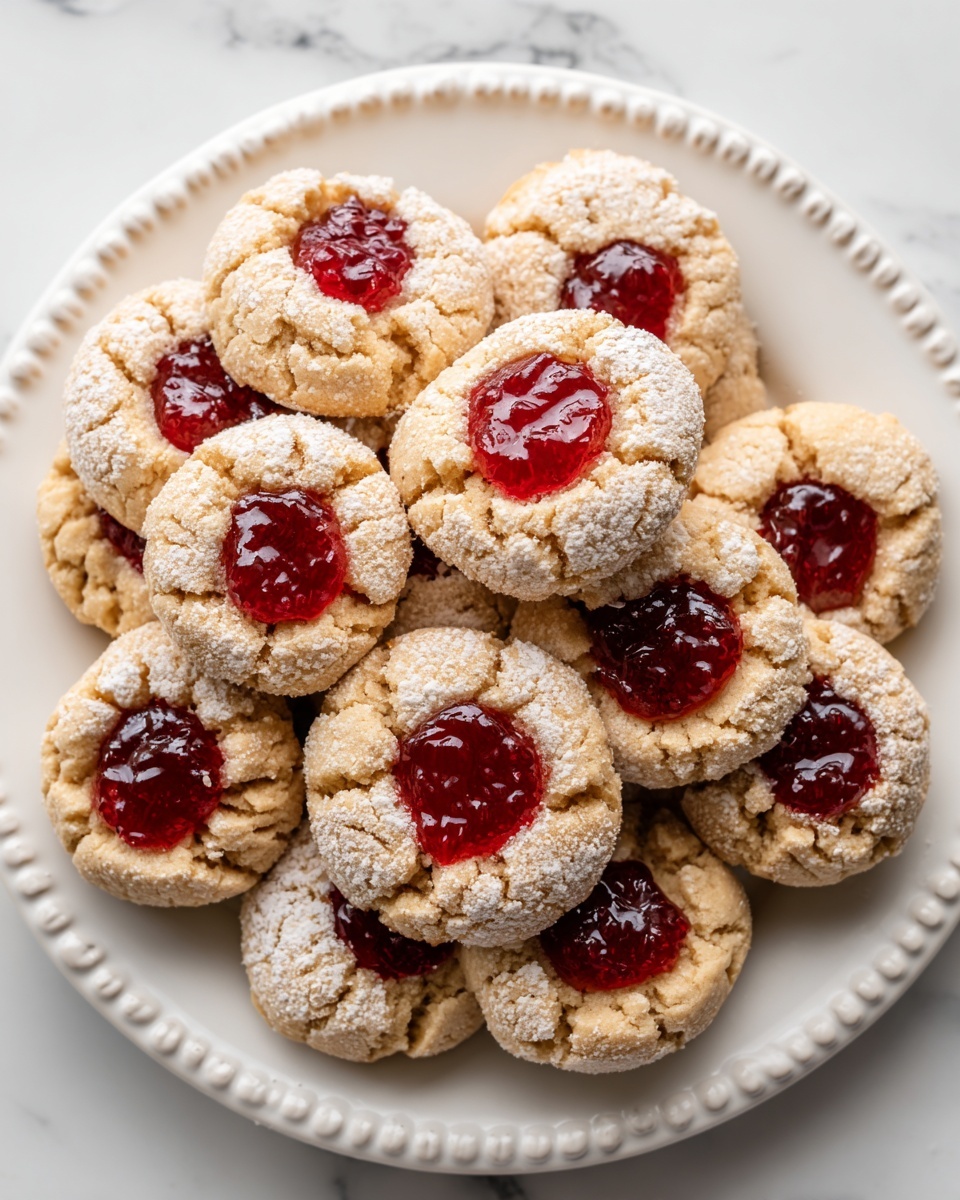
These cookies are a delight as they are but sprinkling a light dusting of powdered sugar right before serving adds an elegant touch of sweetness and a snowy look that’s perfect for festive occasions. For an extra burst of flavor, garnish with finely chopped nuts or a tiny mint leaf on top of the jam.
Side Dishes
Thumbprint cookies pair beautifully with a hot cup of tea or freshly brewed coffee, making them ideal companions for a cozy afternoon break. They also work wonderfully alongside a glass of cold milk or even a scoop of vanilla ice cream for a dessert treat that feels like a warm hug.
Creative Ways to Present
For gatherings, arrange these cookies on a colorful platter with alternating jam flavors creating a rainbow effect. Wrapping them individually in cellophane tied with a ribbon makes for charming handouts or gifts. You can even sandwich two cookies together with extra jam for an irresistible thumbprint cookie sandwich.
Make Ahead and Storage
Storing Leftovers
Stored in an airtight container at room temperature, your thumbprint cookies stay fresh and chewy for up to a week. Placing wax or parchment paper between layers prevents sticking and keeps the preserves lovely and contained.
Freezing
If you want to prep ahead or save some for later, these cookies freeze beautifully. Place them in a single layer on a baking sheet to freeze until firm, then transfer to a freezer-safe container with parchment sheets between layers. They’ll keep deliciously frozen for up to 3 months.
Reheating
To enjoy frozen thumbprint cookies, thaw them on the counter at room temperature. If you prefer them warm, pop them in a preheated 300°F oven for about 5 minutes. This gently refreshes the cookie’s softness without melting the jam too much.
FAQs
Can I use homemade jam for this Thumbprint Cookies Recipe?
Absolutely! Homemade jam adds a wonderful personal touch and fresh flavor to your cookies. Just ensure your jam isn’t too runny, or it might spread too much while baking.
What if I don’t have unsalted butter? Can I use salted butter instead?
Yes, you can swap in salted butter, but be mindful to reduce or skip the additional salt in the recipe to keep the flavors balanced.
Can these cookies be made gluten-free?
You can substitute the all-purpose flour with a gluten-free flour blend, preferably one meant for baking. Just keep in mind the texture might vary slightly depending on the blend you use.
Is it possible to use margarine instead of butter?
While you can, butter offers the best flavor and texture for thumbprint cookies. Margarine may affect the richness and could result in a less tender cookie.
How can I prevent the jam from spreading too much during baking?
Make sure the jam isn’t too liquidy. You can gently heat it to thicken slightly before filling, or use a thicker preserve. Also, avoid overfilling the thumbprint indentations to keep the jam contained.
Final Thoughts
This Thumbprint Cookies Recipe is one of my absolute favorites to bake whenever I want something sweet, simple, and irresistibly charming. The contrast of buttery cookie and vibrant jam is pure happiness in every bite. Don’t hesitate to try this recipe—you’ll find that it quickly becomes a classic treat in your home that’s perfect any time of year. Get your apron ready and enjoy every moment of baking and savoring these delightful goodies!
Print
Thumbprint Cookies Recipe
- Prep Time: 15 minutes
- Cook Time: 15 minutes
- Total Time: 30 minutes
- Yield: 24 cookies
- Category: Dessert
- Method: Baking
- Cuisine: American
- Diet: Vegetarian
Description
These classic Thumbprint Cookies are buttery, tender, and filled with your favorite fruit preserves or jam. Perfectly crisp around the edges with a soft, sweet center, they make a delightful treat for any occasion or holiday gathering.
Ingredients
Cookie Dough
- 1 cup unsalted butter, room temperature
- 1/2 cup granulated sugar
- 1 large egg yolk
- 1 teaspoon vanilla extract
- 2 cups all-purpose flour
- 1/4 teaspoon salt
Filling
- 1/2 cup fruit preserves or jam of choice
Instructions
- Preheat Oven: Preheat your oven to 350°F (175°C) and line a baking sheet with parchment paper to prevent sticking and ensure even baking.
- Cream Butter and Sugar: In a large bowl, beat together the unsalted butter and granulated sugar until the mixture is light in color and fluffy in texture, which helps create a tender cookie.
- Add Egg Yolk and Vanilla: Mix in the egg yolk and vanilla extract thoroughly, ensuring that they are completely incorporated for flavor and texture.
- Combine Dry Ingredients: In a separate bowl, whisk together the all-purpose flour and salt. Gradually add this mixture to the butter mixture, stirring just until combined to avoid overworking the dough.
- Shape Dough Balls: Roll the dough into 1-inch balls and place them evenly spaced on the prepared baking sheet. Use your thumb to gently press an indentation into the center of each ball without breaking through the dough.
- Fill Indentations: Spoon approximately 1/2 teaspoon of your chosen fruit preserves or jam into each thumbprint indentation, filling them generously but avoiding overflow during baking.
- Bake Cookies: Bake the cookies in the preheated oven for 12 to 15 minutes, or until the edges are lightly golden, indicating they are cooked through but still tender.
- Cool Cookies: Allow the cookies to cool on the baking sheet for a few minutes to set before transferring them to a wire rack to cool completely, preventing them from breaking apart.
Notes
- Use room temperature butter to ensure smooth mixing and a soft dough texture.
- You can substitute the fruit preserves with chocolate chips or nut butter for a different twist.
- Ensure not to overmix the dough once the flour is added to keep the cookies tender.
- For a more uniform shape, chill the dough for 30 minutes before rolling into balls.
- Store cookies in an airtight container at room temperature for up to 5 days.


