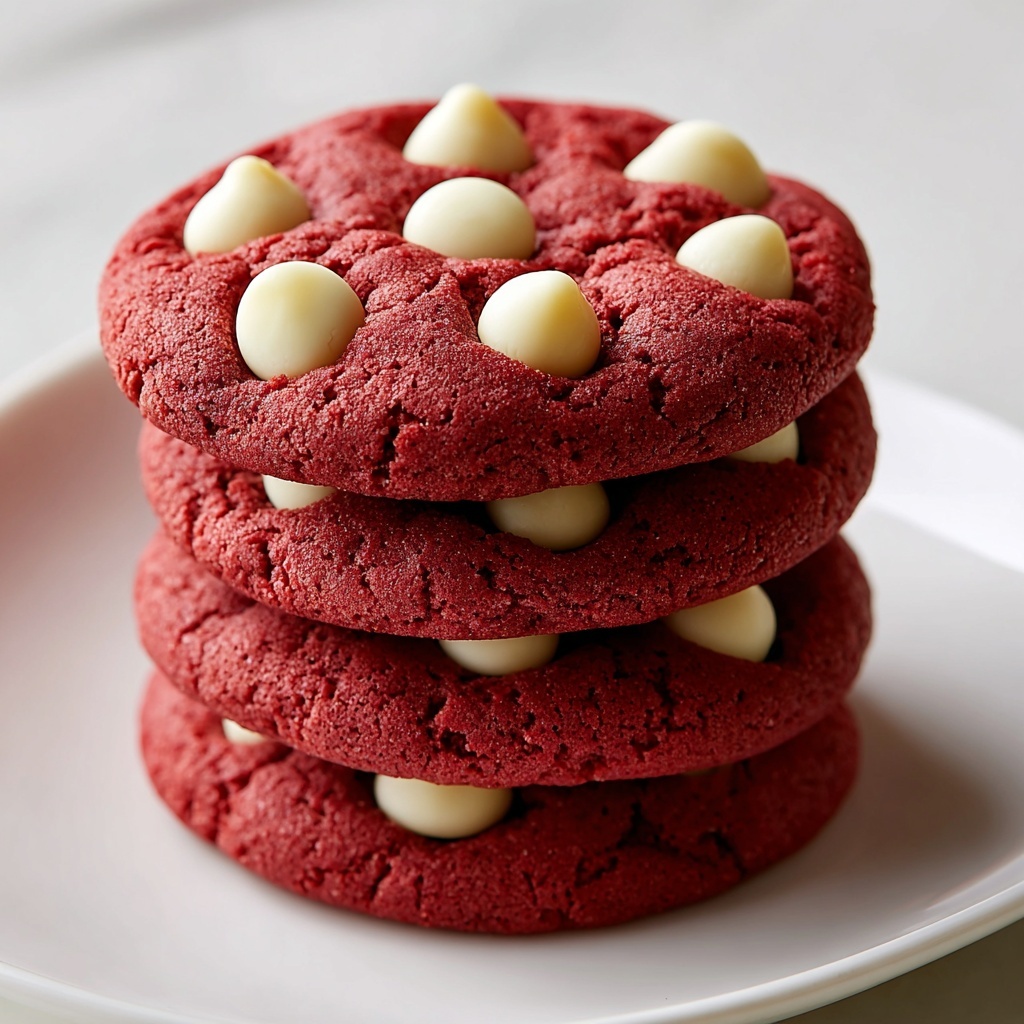
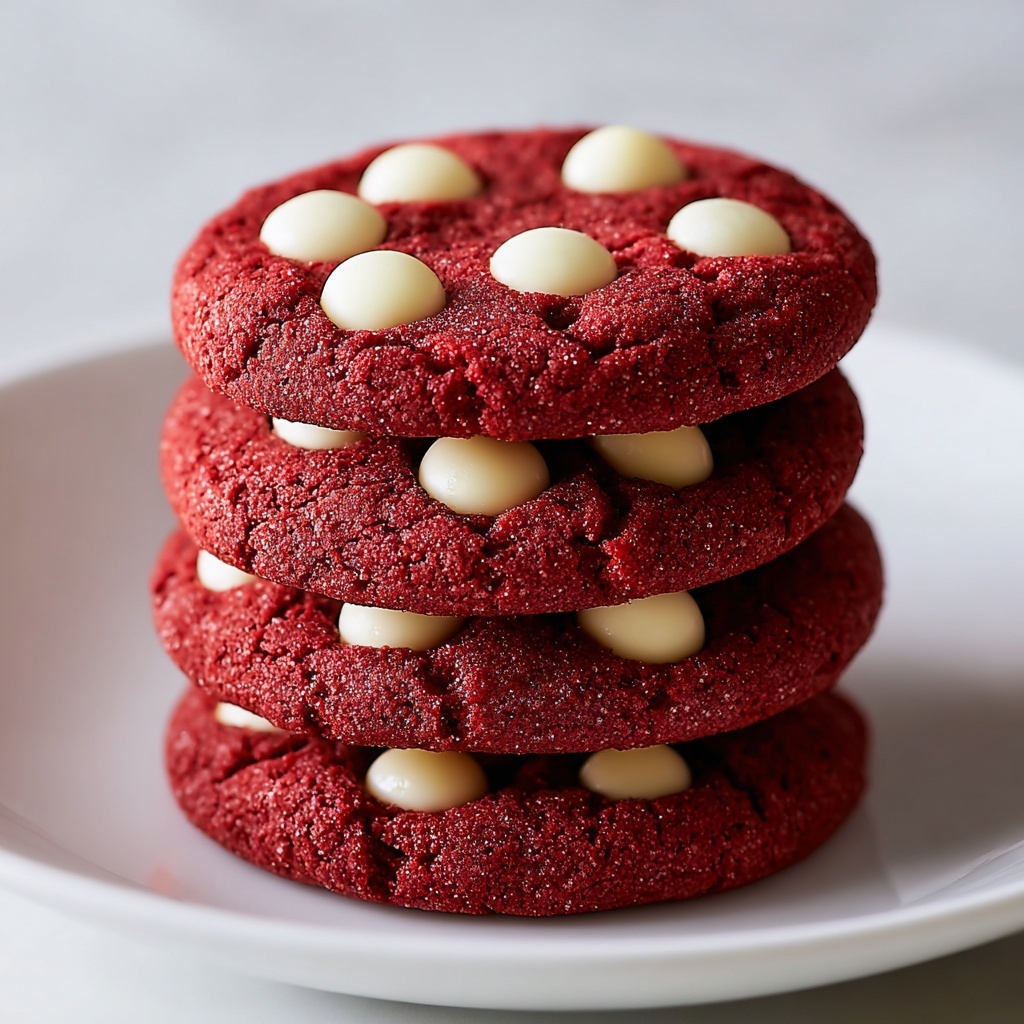
If you love the rich, velvety taste of classic red velvet cake but want a fun and portable twist, this Red Velvet Cookies Recipe is about to become your new favorite go-to treat. These cookies capture the luscious flavor and tender crumb you adore, packed with that iconic deep red hue and just the right amount of cocoa undertones. Soft, slightly chewy, and perfectly balanced between buttery sweetness and a hint of cocoa, these cookies are an irresistible play on tradition that you’ll want to bake again and again.
Ingredients You’ll Need
Gathering simple, pantry-friendly ingredients is all it takes to whip up these delicious Red Velvet Cookies. Each component plays an essential role in delivering the perfect flavor, texture, and signature color that makes these cookies stand out.
- All-purpose flour: The sturdy base that provides structure without overpowering the tender crumb.
- Granulated sugar: Sweetens the dough while helping create a delightful crisp edge on the cookies.
- Unsalted butter (softened): Adds richness and moisture, ensuring the cookies stay soft and chewy.
- Unsweetened cocoa powder: Just a touch gives the cookies their subtle chocolate depth without overwhelming the red velvet flavor.
- Large egg: Binds all the ingredients together and adds extra moisture.
- Buttermilk: Adds a slight tanginess and reacts with cocoa powder to enhance tenderness.
- Red food coloring: The star ingredient that gives these cookies their iconic and vibrant red color.
- Vanilla extract: Rounds out the flavors with a comforting, warm aroma.
- Pinch of salt: Balances sweetness and brightens the overall flavor.
How to Make Red Velvet Cookies Recipe
Step 1: Prepare and Warm Up Your Oven
Begin by preheating your oven to 350°F (175°C). While it’s warming up, line your baking sheets with parchment paper for easy cleanup and to keep your cookies from sticking. Setting this up ahead ensures your cookies bake evenly and have a perfect bottom crust every time.
Step 2: Cream Butter and Sugar
Take your softened butter and granulated sugar and beat them together in a large bowl until the mixture turns light and fluffy. This step is critical — it incorporates air into the dough, which helps your cookies rise slightly and become wonderfully tender.
Step 3: Mix in Wet Ingredients
Next, add in the egg, buttermilk, vanilla extract, and red food coloring to your butter and sugar mixture. Beat these ingredients together until they are fully combined and the dough takes on that signature rich red tint. This colorful step is what makes these cookies so distinctive and visually striking.
Step 4: Combine Dry Ingredients
In a separate bowl, whisk your all-purpose flour, cocoa powder, and salt. This ensures that your cocoa and salt are evenly distributed throughout the flour to prevent any unpleasant clumps. Gradually add this dry mixture into your wet ingredients, folding gently until just combined to keep the dough tender.
Step 5: Bake to Perfection
Finally, drop spoonfuls of your cookie dough onto the prepared baking sheets, spacing them apart to allow for gentle spreading. Bake for 10 to 12 minutes, or until the edges are set but the centers still look slightly soft. This subtle doneness ensures a moist chewiness inside that is absolutely divine. Once baked, let the cookies cool on the sheets briefly before transferring to a wire rack.
How to Serve Red Velvet Cookies Recipe

Garnishes
You can take these cookies up a notch by adding a simple garnish. A sprinkle of powdered sugar makes for a delicate, sweet dusting, while a dollop of cream cheese frosting on top adds creamy tang and extra indulgence, making them feel like a mini dessert in cookie form.
Side Dishes
Serve your Red Velvet Cookies alongside a cold glass of milk or a warm mug of coffee or tea. The richness of the cookies beautifully complements these beverages and makes for a comforting snack or dessert pairing that’s perfect anytime.
Creative Ways to Present
For a festive touch, stack these cookies and tie them with a vibrant red ribbon to gift friends and family. Or sandwich a luscious layer of cream cheese frosting between two cookies for an irresistible cookie sandwich, transforming this recipe into a show-stopping treat that’s sure to delight.
Make Ahead and Storage
Storing Leftovers
Once completely cooled, store your Red Velvet Cookies in an airtight container at room temperature. They’ll stay fresh and soft for up to 4 days, making them a perfect make-ahead treat to enjoy throughout the week.
Freezing
If you want to enjoy these cookies later, freeze the baked cookies in a sealed container or freezer bag for up to 3 months. Just make sure they are well separated with parchment paper to prevent sticking.
Reheating
To bring back that fresh-baked warmth, pop frozen cookies in the microwave for about 15 seconds or place them in a warm oven at 300°F (150°C) for a few minutes. You’ll get that soft texture and gooey center all over again.
FAQs
Can I use regular milk instead of buttermilk?
Yes, you can substitute regular milk with a tablespoon of lemon juice or vinegar added to it to mimic buttermilk’s acidity. This helps maintain the tender crumb and flavor in the Red Velvet Cookies Recipe.
Is it possible to make these cookies without food coloring?
While the classic red hue comes from food coloring, you could omit it if you prefer a more subtle color, but the cookies won’t have that signature red velvet appeal. For a natural alternative, beet juice works too, but it might slightly alter flavor and texture.
Can I add mix-ins like chocolate chips or nuts?
Absolutely! Add chocolate chips for extra chocolatey bursts or chopped nuts for crunch. Just fold them into the dough in the final step before baking for a delightful twist on the original recipe.
Why are my cookies spreading too much?
If your cookies spread too thin, try chilling the dough for 20-30 minutes before baking. Also, ensure your butter isn’t too melted during creaming to help hold the shape better.
How do I make these cookies vegan?
To veganize this Red Velvet Cookies Recipe, substitute butter with vegan margarine, egg with flax egg or chia egg, and use plant-based milk mixed with lemon juice instead of buttermilk. It’s a fantastic way to enjoy this treat if you follow a plant-based diet.
Final Thoughts
This Red Velvet Cookies Recipe is a charming, easy, and utterly scrumptious way to enjoy all the best parts of red velvet cake with the convenience of a cookie. Whether for a cozy afternoon snack, a holiday gift, or a festive dessert, these cookies are guaranteed to bring smiles and satisfy those sweet cravings. Trust me, once you make them, they’ll quickly become a beloved staple in your baking repertoire!
Print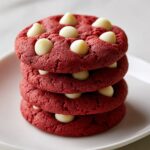
Red Velvet Cookies Recipe
- Prep Time: 15 minutes
- Cook Time: 12 minutes
- Total Time: 27 minutes
- Yield: 24 cookies
- Category: Dessert
- Method: Baking
- Cuisine: American
Description
These Red Velvet Cookies are a delightful twist on the classic cake, featuring a rich cocoa flavor, vibrant red color, and a soft, chewy texture. Perfect for parties or a sweet treat, they bake quickly into deliciously tender cookies with just the right balance of sweetness and cocoa.
Ingredients
Dry Ingredients
- 2 cups all-purpose flour
- 2 tablespoons unsweetened cocoa powder
- Pinch of salt
Wet Ingredients
- ½ cup unsalted butter (softened)
- 1 cup granulated sugar
- 1 large egg
- ¼ cup buttermilk
- 2 tablespoons red food coloring
- 1 teaspoon vanilla extract
Instructions
- Preheat Oven: Preheat your oven to 350°F (175°C) and line baking sheets with parchment paper to prepare for baking.
- Cream Butter and Sugar: In a large bowl, cream together the softened butter and granulated sugar until the mixture becomes light and fluffy, which will help give the cookies a tender texture.
- Mix Wet Ingredients: Beat in the egg, buttermilk, vanilla extract, and red food coloring until everything is well combined, creating a vibrant red batter.
- Combine Dry Ingredients: In a separate bowl, whisk together the all-purpose flour, cocoa powder, and salt to evenly distribute the dry elements.
- Fold Dry into Wet: Gradually fold the dry ingredients into the wet mixture until just combined to avoid overmixing, which could make the cookies tough.
- Shape and Bake: Drop spoonfuls of dough onto the prepared baking sheets spaced apart to allow spreading. Bake in the preheated oven for 10-12 minutes or until the cookie edges are set but the centers remain soft.
- Cool Down: Remove the cookies from the oven and allow them to cool on the baking sheets before transferring them to a wire rack to cool completely, ensuring they set properly for the perfect texture.
Notes
- Do not overmix the dough to maintain a tender cookie texture.
- Use good quality red food coloring for the best vibrant color.
- Allow cookies to cool fully to avoid breaking when moving.
- Buttermilk can be substituted with milk plus a teaspoon of lemon juice if unavailable.
- Store cookies in an airtight container to keep them fresh for up to 5 days.


