
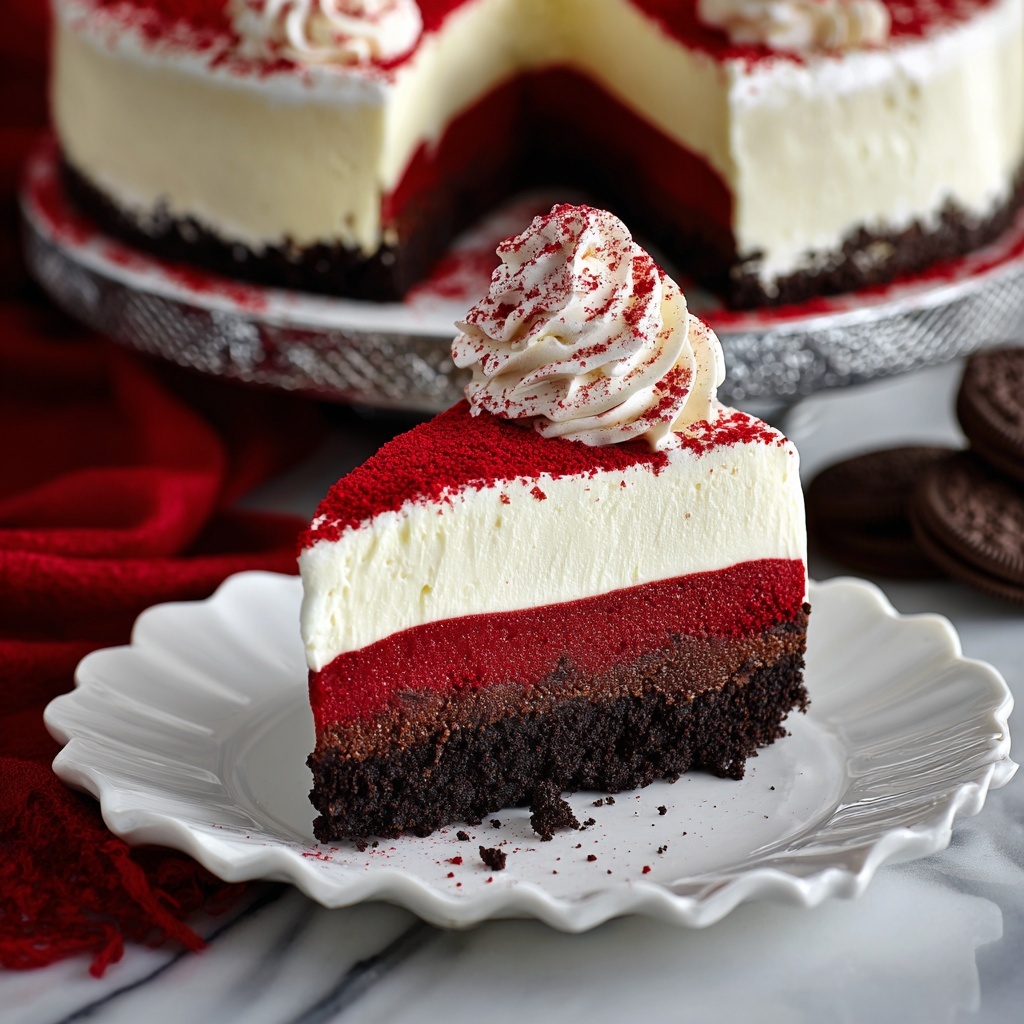
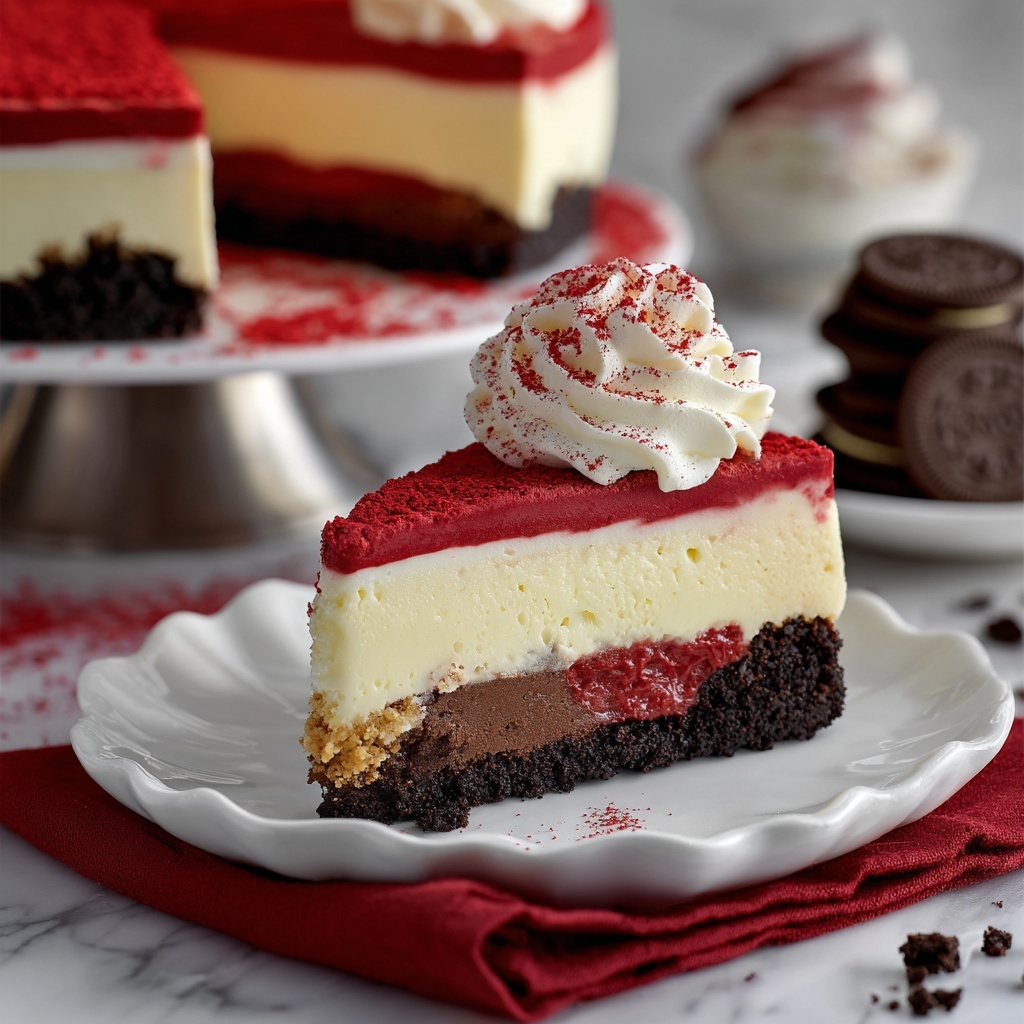
If you have ever dreamed of combining the rich, velvety texture of cheesecake with the iconic flavor and vibrant color of red velvet cake, then you will adore this Red Velvet Cheesecake Recipe. It perfectly balances the tangy cream cheese filling with a subtle chocolate undertone and the signature red hue that makes red velvet so irresistible. This dessert is as stunning to look at as it is delightful to eat, making it an unforgettable centerpiece for any celebration or simple treat-yourself moment.
Ingredients You’ll Need
Don’t be intimidated by the length of this recipe’s name. The ingredients are straightforward, each playing a crucial role in creating that perfect balance of flavor, texture, and color that defines the Red Velvet Cheesecake Recipe.
- Chocolate sandwich cookie crumbs (1 1/2 cups): These form the rich, crumbly crust and add the perfect crunch to your cheesecake base.
- Unsalted butter, melted and softened (1/4 cup + 1/4 cup): Essential for binding the crust and creating the smooth frosting texture later on.
- Cream cheese (24 ounces softened for cheesecake + 8 ounces softened for frosting): The star ingredient that gives the cheesecake its creamy, tangy body.
- Granulated sugar (1 cup): Sweetens the cheesecake filling and balances the tanginess of the cream cheese.
- Sour cream (1/4 cup): Adds moisture and slight tartness for richness in the cheesecake batter.
- Vanilla extract (1 teaspoon + 1 teaspoon): Enhances and rounds out the overall flavor profile.
- Large eggs (3): Provide structure and help the cheesecake set perfectly.
- Unsweetened cocoa powder (1 tablespoon): Gives that subtle chocolate flavor characteristic of red velvet.
- Red gel food coloring (1 teaspoon): Delivers the iconic, vibrant red color without altering the texture.
- Powdered sugar (1 1/2 cups): Used in the frosting for smooth sweetness and a silky finish.
How to Make Red Velvet Cheesecake Recipe
Step 1: Prepare the Crust
Begin by preheating your oven to 325°F (160°C). Grease your 9-inch springform pan and wrap the bottom in aluminum foil to prevent leaks. Combine the chocolate sandwich cookie crumbs with melted butter until the mixture resembles wet sand. Press this firmly into the bottom of the pan to form your crust, then bake it for 10 minutes. This step ensures a crunchy, sturdy base that contrasts perfectly with the creamy filling.
Step 2: Make the Cheesecake Layer
In a large bowl, beat together the softened cream cheese and granulated sugar until smooth and creamy. Add the sour cream and vanilla extract, mixing until fully combined. Incorporate the eggs one at a time, blending well after each addition to maintain a silky batter. Stir in the cocoa powder and red gel food coloring, which will lend your cheesecake that unmistakable deep red color and subtle chocolate flavor. Pour the batter evenly over the baked crust.
Step 3: Bake the Cheesecake
Prepare a water bath by placing the springform pan inside a larger baking dish with hot water reaching halfway up the sides of the pan. This technique helps the cheesecake bake evenly and prevents cracks. Bake for 55 to 65 minutes until the edges are set but the center still has a slight wobble. After baking, cool the cheesecake in the oven with the door slightly ajar for about an hour to avoid sudden temperature changes. Then refrigerate for at least 6 hours or overnight to let the cheesecake fully set and flavors meld beautifully.
Step 4: Prepare the Frosting
While the cheesecake chills, beat together the softened cream cheese and butter until smooth and fluffy. Gradually add the powdered sugar, mixing well to avoid lumps. Stir in the vanilla extract, creating a rich and creamy frosting that perfectly complements the cheesecake’s tangy flavor.
Step 5: Assemble and Serve
Once your cheesecake is fully chilled, carefully remove it from the springform pan. Spread the cream cheese frosting evenly over the top, creating a luscious, smooth finish. This final touch not only adds extra indulgence but also makes your Red Velvet Cheesecake Recipe look picture-perfect and ready to impress!
How to Serve Red Velvet Cheesecake Recipe
Garnishes
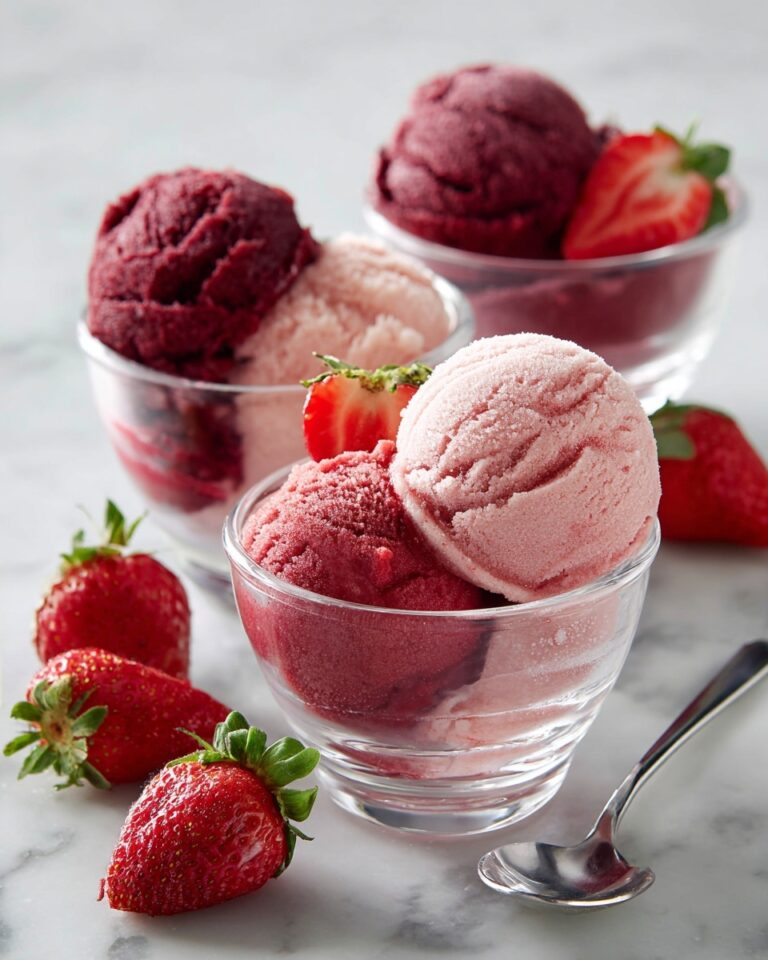
To elevate your Red Velvet Cheesecake Recipe presentation, consider garnishing with fresh raspberries or strawberries for a pop of color and brightness. A dusting of cocoa powder or a handful of chocolate shavings can add a sophisticated flair without overpowering the flavors.
Side Dishes
This cheesecake pairs wonderfully with a light and refreshing salad, such as a mixed greens salad with a tangy vinaigrette to balance the rich sweetness. Alternatively, a scoop of vanilla bean ice cream or a dollop of lightly whipped cream makes for a heavenly companion on your dessert plate.
Creative Ways to Present
For a festive occasion, serve individual mini red velvet cheesecakes in jars or ramekins, layered with crushed cookie crumbs and frosting for a playful twist. Another idea is to pipe piped whipped cream rosettes around the edges before adding your final garnish, making the dessert feel extra special and inviting.
Make Ahead and Storage
Storing Leftovers
Leftover Red Velvet Cheesecake Recipe keeps best when stored in an airtight container in the refrigerator. Properly covered, it stays fresh and delicious for up to 5 days, allowing you to savor every bite over several days without losing that amazing creamy texture.
Freezing
You can freeze this cheesecake to enjoy later by wrapping it tightly in plastic wrap and then in aluminum foil. Freeze for up to 2 months. When you’re ready to enjoy, thaw it overnight in the refrigerator for the best texture and flavor.
Reheating
Since cheesecake is best served chilled, reheating is generally not recommended. However, if you prefer it slightly warmer, let it sit at room temperature for 15 to 20 minutes before serving to soften the texture without compromising the taste.
FAQs
Can I use regular chocolate cookies instead of sandwich cookies for the crust?
Absolutely! While sandwich cookies add a touch of sweetness and texture, any chocolate cookie crumbs will work. Just make sure they’re finely crushed and mixed well with the melted butter to hold the crust together.
Is it possible to make this recipe without red food coloring?
You can skip the red food coloring, but the traditional red velvet look won’t be the same. The cocoa powder will still provide the subtle chocolate flavor, but the cheesecake will be more of a chocolate cream cheese flavor without that signature red color.
What is the purpose of the water bath during baking?
The water bath provides gentle, even heat that helps prevent cracking and overbaking. It keeps the cheesecake moist and results in a smooth, creamy texture — essential for nailing this Red Velvet Cheesecake Recipe.
Can I make this cheesecake gluten-free?
Yes! Simply substitute the chocolate sandwich cookies with a gluten-free alternative. Be sure to check labels, especially for the cookie crumbs, to keep the recipe gluten-friendly without compromising flavor.
How do I know when the cheesecake is done?
The edges should be set and look firm, while the center will still have a slight wobble when you gently shake the pan. Remember, it will continue to set as it cools, so avoid overbaking for a perfect creamy texture.
Final Thoughts
This Red Velvet Cheesecake Recipe is a wonderful way to impress friends and family with something truly special yet wonderfully approachable. Its rich, creamy texture paired with that unmistakable red velvet charm makes it a dessert worth making time and time again. Dive in, enjoy every bite, and let this cheesecake become your new favorite indulgence.
Print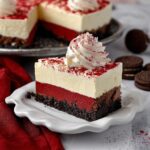
Red Velvet Cheesecake Recipe
- Prep Time: 20 minutes
- Cook Time: 1 hour 15 minutes
- Total Time: 8 hours 35 minutes
- Yield: 12 servings
- Category: Dessert
- Method: Baking
- Cuisine: American
Description
This decadent Red Velvet Cheesecake combines the rich flavors of classic red velvet cake with a creamy, smooth cheesecake layer. Featuring a chocolate cookie crumb crust and a luscious cream cheese frosting, this dessert is perfect for special occasions or a delightful treat. Baked in a water bath to ensure a creamy texture, then chilled and topped with a velvety frosting, this cheesecake offers a perfect balance of flavors and textures.
Ingredients
Crust
- 1 1/2 cups chocolate sandwich cookie crumbs (e.g., Oreos)
- 1/4 cup unsalted butter, melted
Cheesecake Layer
- 24 ounces (3 blocks) cream cheese, softened
- 1 cup granulated sugar
- 1/4 cup sour cream
- 1 teaspoon vanilla extract
- 3 large eggs
- 1 tablespoon unsweetened cocoa powder
- 1 teaspoon red gel food coloring
Frosting
- 8 ounces cream cheese, softened
- 1/4 cup unsalted butter, softened
- 1 1/2 cups powdered sugar
- 1 teaspoon vanilla extract
Instructions
- Prepare the Crust: Preheat your oven to 325°F (160°C). Grease a 9-inch springform pan and wrap its bottom with aluminum foil to prevent water from seeping in during baking.
- Make the Crust: Combine the chocolate sandwich cookie crumbs with the melted unsalted butter until well mixed. Press this mixture firmly into the bottom of the prepared springform pan to create an even crust. Bake the crust for 10 minutes, then remove and allow it to cool.
- Prepare the Cheesecake Batter: In a large bowl, beat the softened cream cheese with granulated sugar until smooth and creamy. Add the sour cream and vanilla extract, mixing thoroughly. Incorporate the eggs one at a time, ensuring each is blended before adding the next.
- Add Flavor and Color: Stir in the unsweetened cocoa powder and red gel food coloring until the batter is evenly colored and combined. Pour this batter over the prepared and cooled crust in the springform pan.
- Bake the Cheesecake: Place the springform pan into a larger baking dish. Pour hot water into the outer dish until it reaches halfway up the sides of the springform pan, creating a water bath. Bake in the preheated oven for 55 to 65 minutes until the edges are set and the center slightly jiggles. Turn off the oven and let the cheesecake cool inside for 1 hour to prevent cracking. Afterwards, refrigerate the cheesecake for at least 6 hours to fully set.
- Prepare the Frosting: Beat the softened cream cheese and unsalted butter together until smooth. Gradually add the powdered sugar while continuing to beat until the frosting is creamy. Mix in the vanilla extract for flavor.
- Assemble and Serve: Remove the chilled cheesecake from the springform pan. Spread the prepared cream cheese frosting evenly over the top. Garnish as desired and serve chilled for the best flavor and texture experience.
Notes
- Using a water bath while baking helps prevent cracks and ensures a creamy texture in the cheesecake.
- Make sure all cream cheese is softened to avoid lumps in the batter and frosting.
- Allow the cheesecake to chill for at least 6 hours or overnight for optimal firmness and flavor development.
- Red gel food coloring provides vibrant color without altering the batter’s consistency.
- This recipe yields a rich dessert; small slices are recommended.
- Wrap the bottom of the springform pan with foil tightly to avoid water leaks from the water bath.


