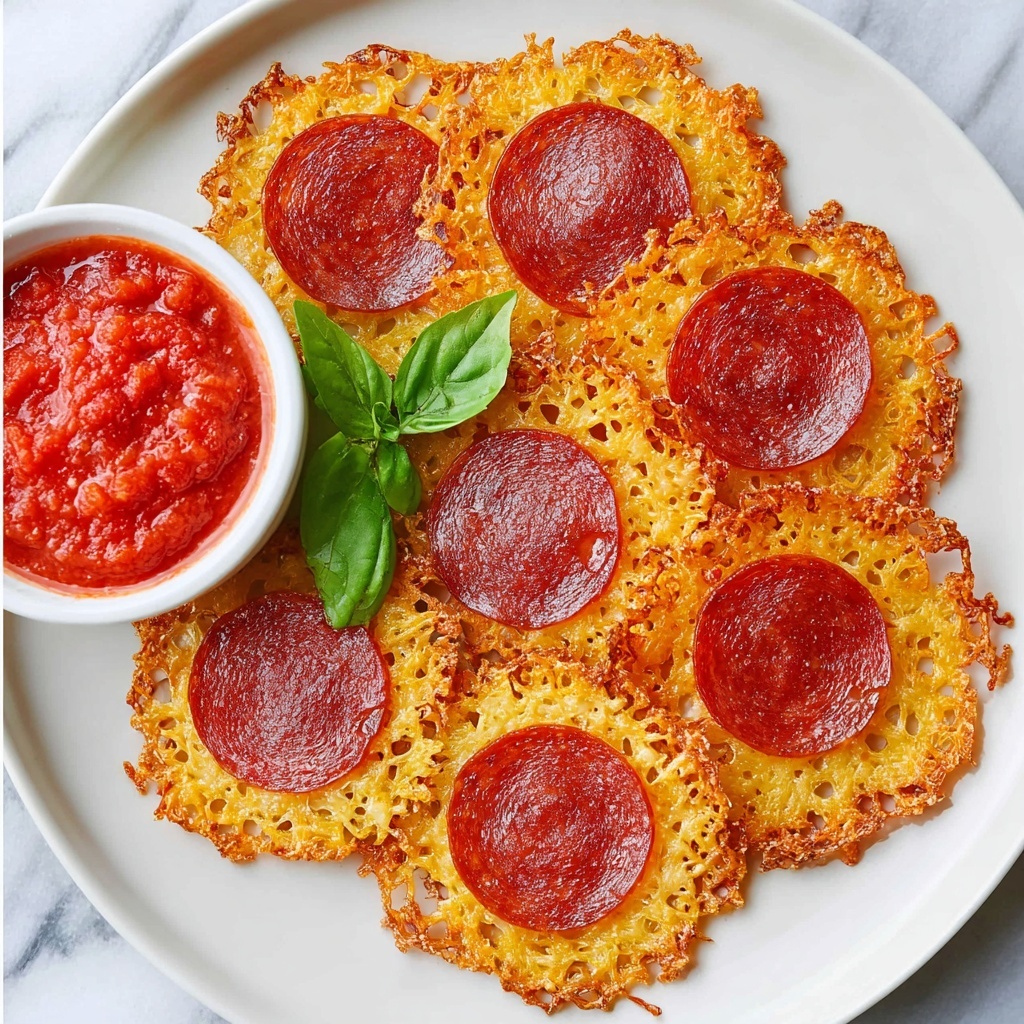
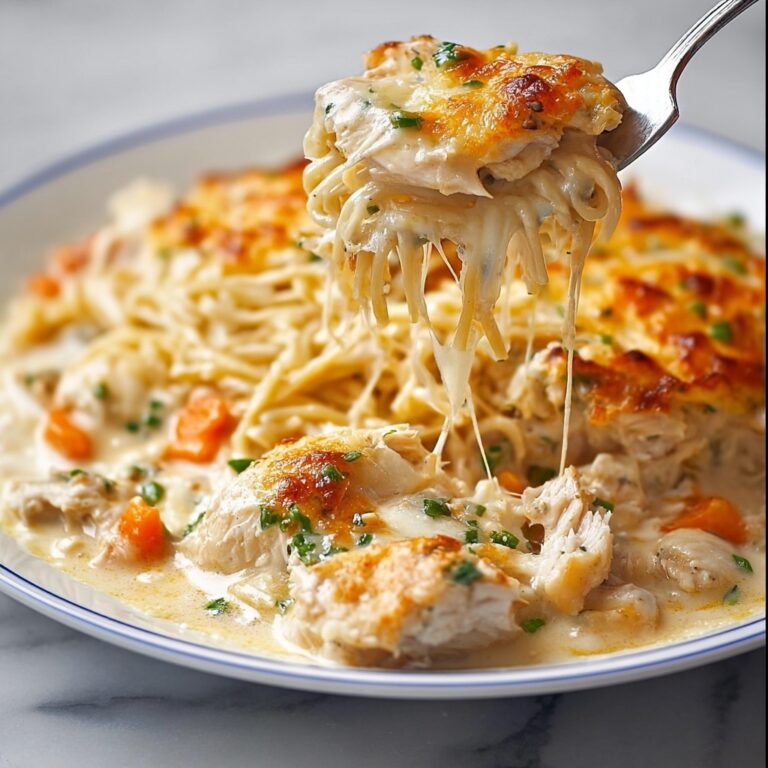
If you love snacking on something crispy, cheesy, and packed with bold flavors, you will absolutely adore this Pepperoni and Cheese Crisps Recipe. These little bites are a game-changer for anyone seeking a low-carb, gluten-free treat that satisfies that savory craving. Combining the spicy, savory punch of pepperoni with gooey melted cheese, and a hint of Italian seasoning, this recipe transforms simple ingredients into something truly addictive. Whether you’re looking for a quick appetizer or a snack to nibble on throughout the day, these crisps deliver a crunchy, cheesy delight that’s impossible to resist.
Ingredients You’ll Need
With just a handful of ingredients, this Pepperoni and Cheese Crisps Recipe comes together quickly and easily. Each element plays a vital role — from the pepperoni’s rich, smoky flavor to the cheese’s luscious meltiness and the optional seasonings that amp up every bite.
- Pepperoni slices: Opt for 24 slices of your favorite pepperoni, which provide a crispy, flavorful base for the crisps.
- Shredded mozzarella cheese: Use 1 cup for that perfect gooey melt; you can substitute cheddar, parmesan, or a blend for different flavor profiles.
- Italian seasoning (optional): Adds a fragrant herbaceous touch that complements the pepperoni beautifully.
- Red pepper flakes or chopped parsley (optional): Great for garnishing and adding a pop of color or a subtle spicy kick to your crisps.
How to Make Pepperoni and Cheese Crisps Recipe
Step 1: Prep Your Oven and Baking Sheet
Preheat your oven to 400°F and line a baking sheet with parchment paper or a silicone baking mat. This setup ensures your crisps bake evenly and won’t stick, making cleanup a breeze.
Step 2: Arrange Pepperoni Slices
Place the pepperoni slices in neat rows on your prepared baking sheet, leaving a little space between each slice. This spacing helps the heat circulate, giving you evenly crispy edges all around.
Step 3: Add the Cheese and Seasoning
Sprinkle about 1 to 1½ teaspoons of shredded cheese on top of each pepperoni slice. If you want to, this is the perfect moment to dust on some Italian seasoning for that herbaceous hit.
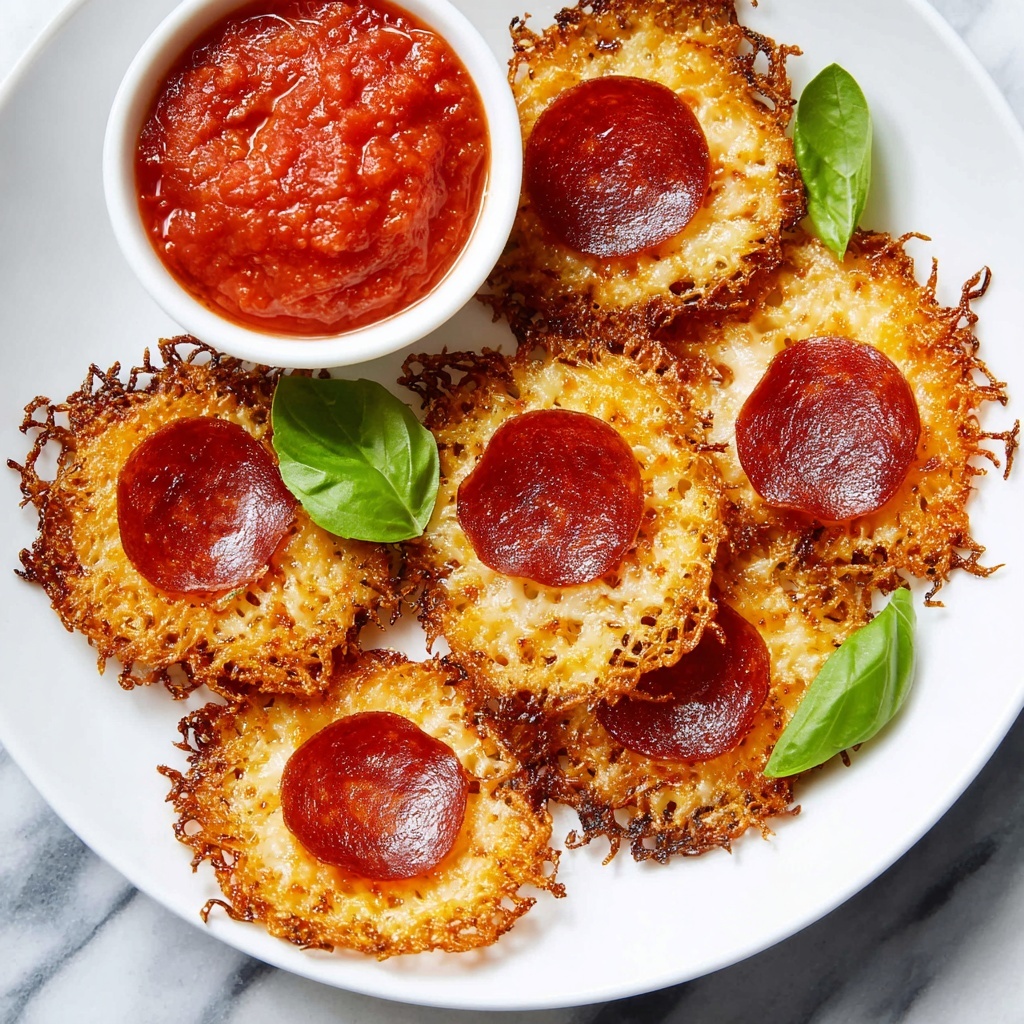
Step 4: Bake Until Crispy and Bubbling
Pop your baking sheet into the oven and bake for 6 to 8 minutes. Watch carefully — you’re aiming for melted, bubbly cheese that crisps at the edges but doesn’t burn. That golden edge is where all the magic happens!
Step 5: Cool and Drain Excess Grease
Once baked, let your crisps cool on the baking sheet for 5 minutes; this pause helps them set perfectly. Then gently transfer them to a paper towel-lined plate to soak up any extra grease, keeping your crisps less oily and even more enjoyable.
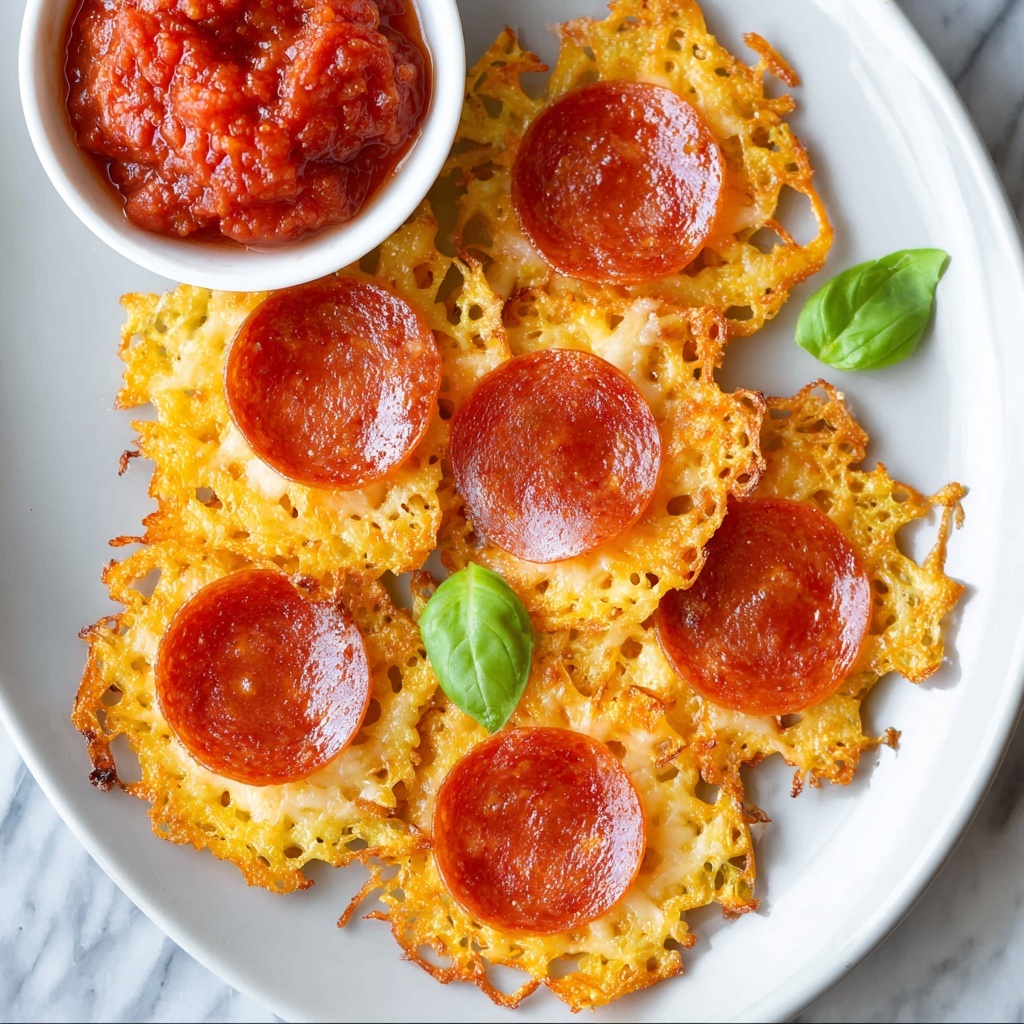
How to Serve Pepperoni and Cheese Crisps Recipe
Garnishes
Adding a sprinkle of red pepper flakes or a touch of fresh chopped parsley right before serving brightens these crisps with color and enhanced flavor. The red pepper flakes can add a welcome heat, while parsley gives a fresh balance to the savory richness.
Side Dishes
These crisps pair wonderfully with a fresh garden salad or a bowl of creamy tomato soup for a comforting bite. They also work as a crunchy contrast alongside roasted veggies or a charcuterie board filled with olives, nuts, and cheeses.
Creative Ways to Present
Consider stacking them on a rustic wooden platter for guests or serving them alongside dipping sauces like marinara, ranch dressing, or a spicy sriracha mayo. You can also use them as crunchy croutons tossed into soups or salads for an exciting twist.
Make Ahead and Storage
Storing Leftovers
If you have any leftovers — which might be rare because these crisps disappear fast — store them in an airtight container at room temperature for up to 2 days. This keeps them crisp and ready for a quick snack whenever you want.
Freezing
You can freeze these crisps by laying them flat in a single layer on a baking sheet, freezing until solid, then transferring them into a freezer-safe bag. When you want a snack, just thaw or reheat directly from frozen to retain that crispy texture.
Reheating
To bring back their fresh-from-the-oven crunch, reheat the crisps in a 350°F oven for about 5 minutes or until warm. Avoid microwaving as it tends to soften the crispiness, and nobody wants soggy cheese bites!
FAQs
Can I use different types of cheese in this Pepperoni and Cheese Crisps Recipe?
Absolutely! While mozzarella is a classic choice for melting and mild flavor, cheddar, parmesan, or a cheese blend works wonderfully too. Each option will create a slightly different taste and texture, so feel free to experiment.
Is this recipe suitable for keto or low-carb diets?
Yes, these crisps are an excellent low-carb, keto-friendly snack since they use no flour or bread and are high in fat and protein. They make for a perfect guilt-free indulgence when following these diets.
Can I make the pepperoni and cheese crisps spicy?
Definitely! Try adding slices of jalapeño on top before baking or sprinkle a bit of red pepper flakes over each crisp. These tweaks introduce a delightful kick that pairs beautifully with the cheese and pepperoni flavors.
How do I prevent the crisps from becoming greasy?
Allowing the crisps to cool on a paper towel not only helps them set but also absorbs excess oil. Using a quality non-stick liner on your baking sheet helps reduce sticking, and using turkey pepperoni can also cut down grease for a leaner option.
Can I double or halve the recipe?
Yes, this Pepperoni and Cheese Crisps Recipe is very flexible. You can easily adjust the quantities based on how many crisps you want to make, just keep the cheese-to-pepperoni ratio consistent for best results.
Final Thoughts
There is something truly joyful about biting into these crunchy, cheesy, savory Pepperoni and Cheese Crisps Recipe snacks, and they are so quick to whip up that you’ll want to keep them on hand for anytime cravings strike. Whether you’re hosting friends, need a simple appetizer, or just want a delicious nibble with your coffee, these crisps deliver incredible flavor and satisfying texture every single time. Give them a try — trust me, this snack will quickly become a beloved favorite in your kitchen.
Print
Pepperoni and Cheese Crisps Recipe
- Prep Time: 5 minutes
- Cook Time: 8 minutes
- Total Time: 13 minutes
- Yield: 24 crisps
- Category: Snack
- Method: Baking
- Cuisine: American
- Diet: Low Carb, Gluten Free
Description
These Pepperoni and Cheese Crisps are a delicious low-carb, keto-friendly snack perfect for any time of day. Made by baking pepperoni slices topped with melted cheese and optional Italian seasoning, they offer a crispy, flavorful bite that’s easy to prepare and great for gatherings or a quick treat.
Ingredients
Ingredients
- 24 slices pepperoni
- 1 cup shredded mozzarella cheese (or cheddar, parmesan, or a mix)
- ½ teaspoon Italian seasoning (optional)
- Red pepper flakes or chopped parsley for garnish (optional)
Instructions
- Preheat Oven: Preheat the oven to 400°F (205°C) and line a baking sheet with parchment paper or a silicone baking mat to prevent sticking and aid clean-up.
- Arrange Pepperoni: Lay out the pepperoni slices in rows on the prepared baking sheet, spacing them slightly apart so they crisp evenly without sticking together.
- Add Cheese and Seasoning: Sprinkle about 1 to 1½ teaspoons of shredded cheese over each pepperoni slice. If you like, add a pinch of Italian seasoning on top for extra flavor.
- Bake: Place the baking sheet in the oven and bake for 6 to 8 minutes until the cheese is melted, bubbly, and the edges of the pepperoni are crispy. Keep a close eye to prevent burning.
- Cool: Remove the crisps from the oven and let them cool on the baking sheet for 5 minutes to firm up.
- Drain Excess Grease: Use a spatula to transfer the crisps to a plate lined with paper towels to absorb any leftover grease.
- Serve: Enjoy warm as a chewy snack or allow to cool completely for a crunchier texture. Garnish with red pepper flakes or chopped parsley if desired.
Notes
- Perfect as a low-carb or keto-friendly snack.
- Use turkey pepperoni for a leaner option.
- Add a slice of jalapeño on top for a spicy kick.
- Store leftovers in an airtight container for up to 2 days.
