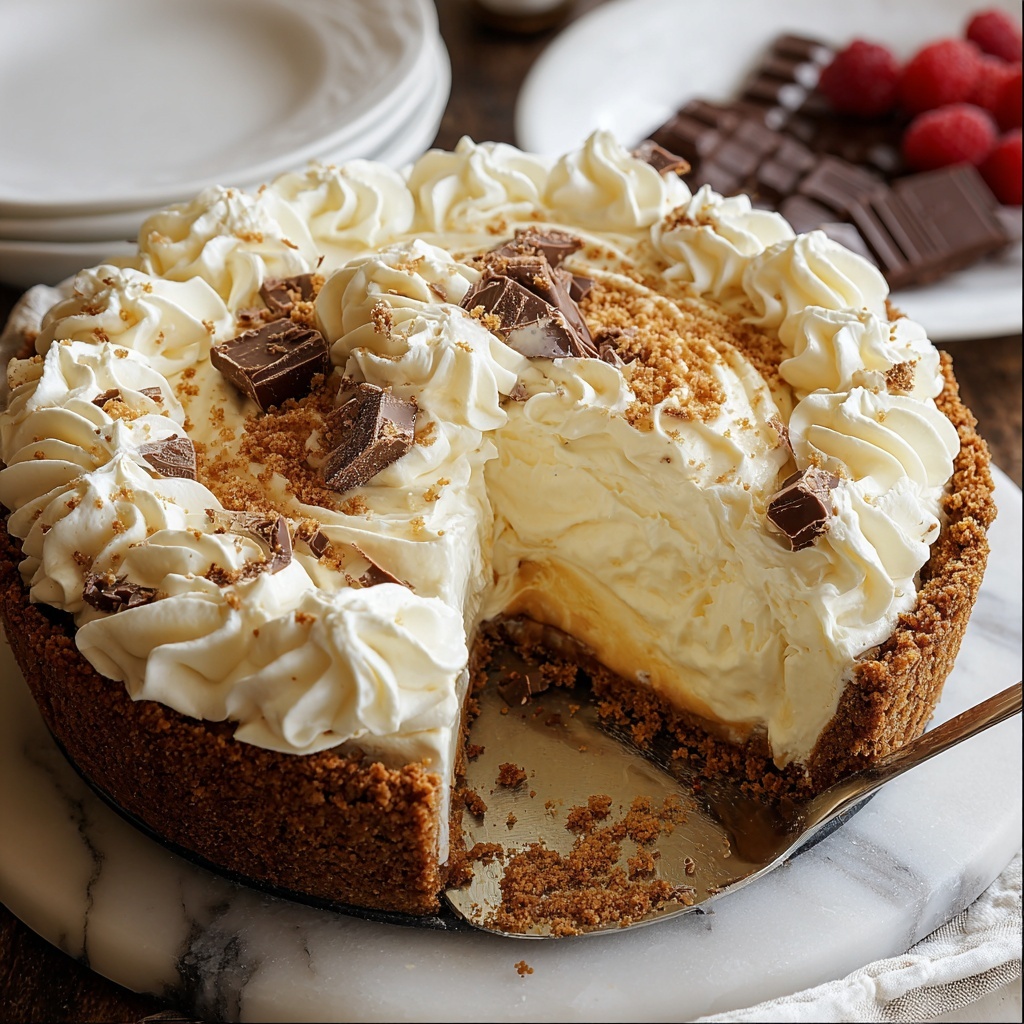
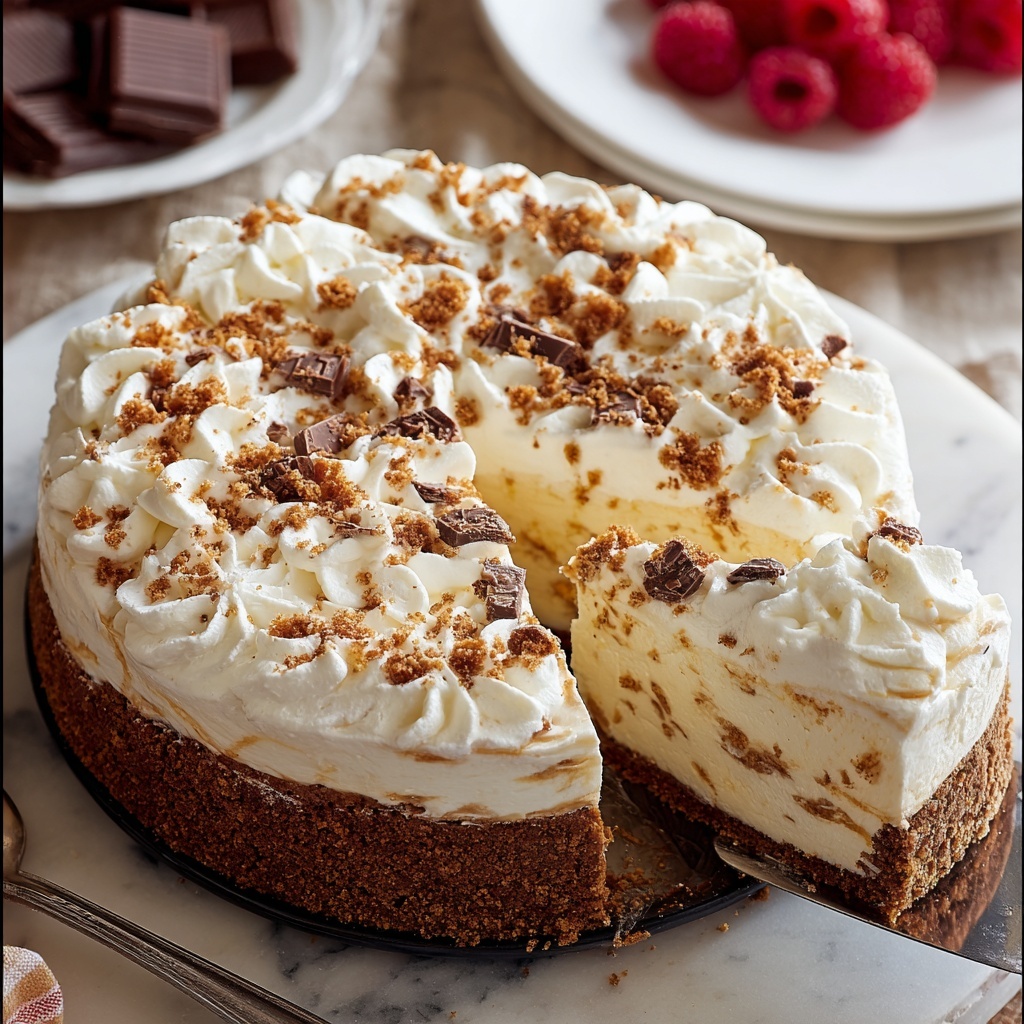
If you’re dreaming of a dessert that feels indulgent without the fuss of turning on the oven, this No-Bake Cheesecake Recipe is about to become your new best friend. Silky, creamy, and light as a cloud, it’s a guaranteed showstopper at any gathering or a delightful treat to spoil yourself. The perfect balance of a buttery graham cracker crust and velvety cheesecake filling comes together with ease, making it a go-to recipe even if you’re new to cheesecake-making. Trust me, once you try this one, it’ll be a staple in your dessert repertoire.
Ingredients You’ll Need
The beauty of this No-Bake Cheesecake Recipe lies in its simplicity and straightforward ingredients. Each one plays a crucial role, from the buttery crust that provides a crisp foundation to the creamy filling that melts in your mouth. With nothing complicated or obscure, assembling these ingredients will be a breeze, and they’ll blend perfectly to create that classic cheesecake magic.
- 1 ½ cups graham cracker crumbs: This forms the crunchy, slightly sweet base that gives the cheesecake structure.
- 5 tablespoons unsalted butter, melted: It binds the crumbs and adds a rich, buttery flavor to the crust.
- 2 tablespoons granulated sugar: Just enough sweetness to enhance the crust without overpowering.
- 16 ounces cream cheese, softened: The creamy, tangy heart of the cheesecake filling that makes it so luscious.
- 1 cup powdered sugar: Smooth and fine, it sweetens the filling without graininess.
- 1 teaspoon vanilla extract: Adds warm, aromatic depth that complements the cream cheese perfectly.
- 1 cup heavy whipping cream: Whipped into stiff peaks, it lightens the filling to a dreamy texture.
- Fresh berries: For topping, they bring vibrant color and a fresh burst of flavor.
- Chocolate shavings: A decorative touch that adds a bit of indulgent texture and taste.
- Caramel or fruit sauce: Optional topping to elevate the cheesecake experience even further.
How to Make No-Bake Cheesecake Recipe
Step 1: Prepare the Crust
Start by combining the graham cracker crumbs, melted butter, and granulated sugar in a medium bowl. Stir until the mixture resembles moist sand – this texture is key to creating a crust that holds together well. Press this mixture firmly and evenly into the bottom of an 8- or 9-inch springform pan. Pop it into the fridge for about 20 minutes to chill and set while you move on to the filling.
Step 2: Mix the Cream Cheese Filling
In a large mixing bowl, beat the softened cream cheese, powdered sugar, and vanilla extract with an electric mixer until the blend is impeccably smooth and silky. This step is where the cheesecake gets its richness and classic tang, so take your time to ensure everything is well combined and free of lumps.
Step 3: Whip the Cream
In a separate bowl, whip the heavy cream until it forms stiff peaks – this means when you lift the whisk out, the cream holds its shape firmly. This whipped cream is essential because it transforms the dense cream cheese mixture into something light, airy, and utterly melt-in-your-mouth delicious.
Step 4: Fold and Combine
Gently fold the stiff whipped cream into the cream cheese mixture. Use a spatula to combine without deflating the whipped cream; this delicate folding ensures the filling stays fluffy and creamy. Pour and spread this luscious filling evenly over the chilled crust, smoothing the top with your spatula for a professional finish.
Step 5: Chill and Set
Cover your cheesecake and pop it into the refrigerator for at least 4 hours, or ideally overnight. This chilling time is what allows the cheesecake to firm up perfectly, developing its signature texture that slices beautifully without falling apart.
Step 6: Serve with Style
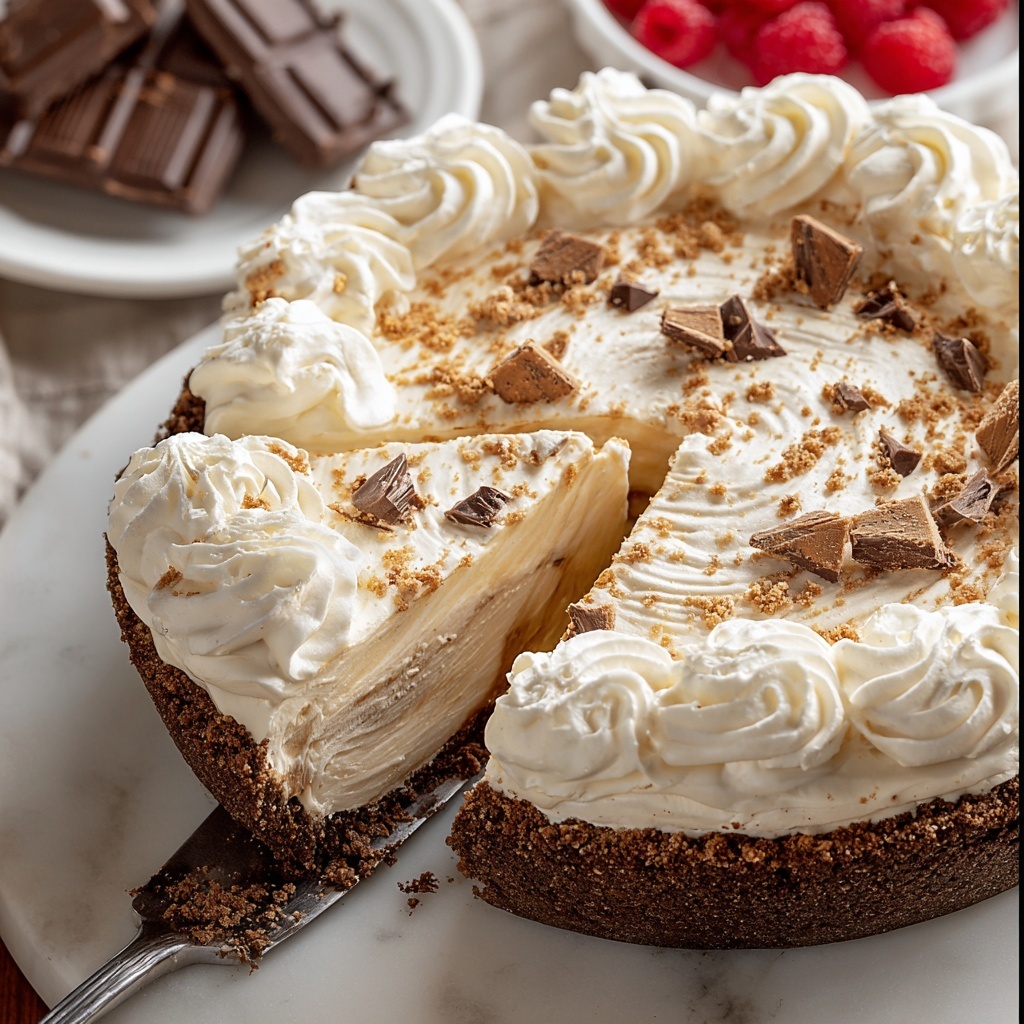
When your cheesecake is set, carefully remove it from the springform pan and prepare for the grand finale: toppings! Add fresh berries, chocolate shavings, or a drizzle of caramel or fruit sauce. Slice with a sharp knife, serve chilled, and enjoy every delightful bite.
How to Serve No-Bake Cheesecake Recipe
Garnishes
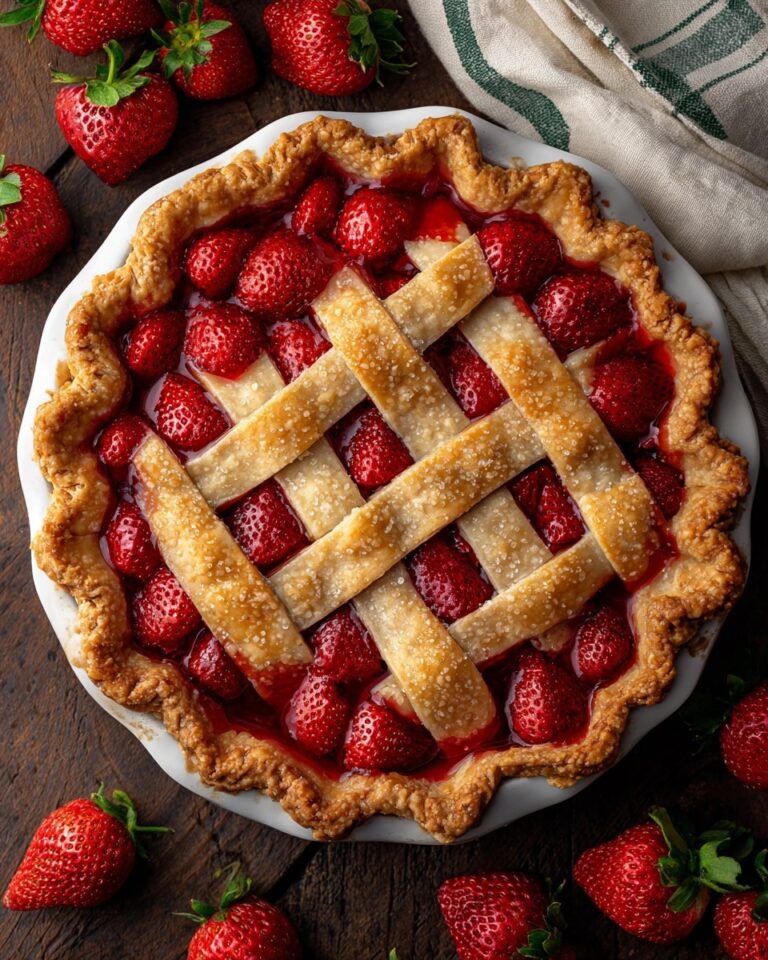
Fresh berries such as strawberries, blueberries, or raspberries add a burst of natural sweetness and vibrant color that contrasts beautifully with the creamy cheesecake. Chocolate shavings lend a touch of decadence, while a drizzle of caramel or fruit sauce can transform a simple slice into a luscious indulgence.
Side Dishes
This cheesecake pairs wonderfully with a light coffee or tea to balance the richness. You can also serve it alongside a fresh fruit salad for a refreshing complement that keeps the dessert experience bright and satisfying.
Creative Ways to Present
For a special occasion, try serving individual cheesecake cups topped with berries and a sprig of mint. Alternatively, use a decorative plate and artfully drizzle sauces around each slice for an elegant touch that impresses guests and elevates presentation effortlessly.
Make Ahead and Storage
Storing Leftovers
Leftover cheesecake keeps beautifully in the fridge for up to 3 to 4 days when stored in an airtight container. This ensures it maintains its creamy texture and freshness without absorbing fridge odors.
Freezing
To freeze, wrap the cheesecake tightly with plastic wrap and then aluminum foil to prevent freezer burn. It can be frozen for up to 1 month. When ready to enjoy, thaw it overnight in the fridge to preserve that luscious texture.
Reheating
No-bake cheesecake is best enjoyed chilled, so reheating isn’t recommended. Simply allow the thawed cheesecake to come to fridge temperature, slice, and serve cold for the perfect creamy bite each time.
FAQs
Can I use a different type of crust for this No-Bake Cheesecake Recipe?
Absolutely! While graham cracker crust is classic, you can experiment with crushed cookies like Oreos or digestive biscuits for a unique twist. Just make sure to adjust the sugar and butter ratios to maintain the right consistency.
How long does it take for the no-bake cheesecake to set?
For the best texture, it’s recommended to chill the cheesecake for a minimum of 4 hours, though overnight chilling is ideal for a firmer, more sliceable dessert.
Can I make this recipe vegan or dairy-free?
You can swap traditional cream cheese and heavy cream with vegan alternatives like cashew cream cheese and coconut cream. Keep in mind the flavor and texture will be a bit different but still deliciously satisfying.
Is it necessary to use a springform pan?
While a springform pan makes removing the cheesecake effortless, you can also use a regular cake pan lined with parchment paper for easy removal. Just be gentle when unmolding the dessert.
How do I prevent cracks from forming on the cheesecake surface?
Because this is a no-bake cheesecake, cracks are much less common than with baked versions. However, folding in the whipped cream gently and chilling steadily will keep the surface smooth and flawless.
Final Thoughts
This No-Bake Cheesecake Recipe is a total game-changer for a fresh, creamy dessert that anyone can master. Whether you’re whipping it up for a special occasion or simply to delight yourself after a long day, it’s a seamless way to impress with minimal effort. Go ahead and give it a try—you might just find yourself making it over and over again!
Print
No-Bake Cheesecake Recipe
- Prep Time: 30 minutes
- Cook Time: 0 minutes
- Total Time: 4 hours 30 minutes
- Yield: 8 servings
- Category: Dessert
- Method: No-Cook
- Cuisine: American
- Diet: Vegetarian
Description
This creamy No-Bake Cheesecake is an easy and delightful dessert that features a buttery graham cracker crust and a smooth, fluffy cream cheese filling. Topped with fresh berries, chocolate shavings, and a choice of caramel or fruit sauce, it’s perfect for any occasion and requires no baking, making it ideal for warm days or last-minute treats.
Ingredients
Crust
- 1 ½ cups graham cracker crumbs
- 5 tablespoons unsalted butter, melted
- 2 tablespoons granulated sugar
Filling
- 16 ounces cream cheese, softened
- 1 cup powdered sugar
- 1 teaspoon vanilla extract
- 1 cup heavy whipping cream
Toppings
- Fresh berries (such as strawberries, blueberries, or raspberries)
- Chocolate shavings
- Caramel or fruit sauce
Instructions
- Prepare the crust: In a medium bowl, combine the graham cracker crumbs, melted butter, and granulated sugar until the mixture resembles wet sand. Press this mixture evenly into the bottom of an 8- or 9-inch springform pan to form a firm crust. Place the crust in the refrigerator and chill for 20 minutes to set.
- Make the cream cheese filling: In a large mixing bowl, beat the softened cream cheese, powdered sugar, and vanilla extract with an electric mixer until the mixture is smooth and creamy, free of lumps.
- Whip the heavy cream: In a separate bowl, whip the heavy whipping cream until stiff peaks form, indicating enough air is incorporated to give a light and fluffy texture.
- Combine the filling: Gently fold the whipped cream into the cream cheese mixture using a spatula until the mixture is fully combined, being careful not to deflate the airy texture.
- Assemble the cheesecake: Spread the cream cheese filling evenly over the chilled graham cracker crust, smoothing the top with a spatula for an even finish.
- Chill to set: Cover the cheesecake and place it in the refrigerator. Allow it to chill for at least 4 hours or preferably overnight to firm up and develop flavor.
- Add toppings and serve: Before serving, carefully remove the sides of the springform pan. Garnish the cheesecake with fresh berries, chocolate shavings, and drizzle with caramel or your choice of fruit sauce. Slice and serve chilled for a refreshing dessert experience.
Notes
- Ensure the cream cheese is softened at room temperature for easier mixing and a smoother texture.
- Whip the heavy cream just until stiff peaks form to maintain a light filling.
- For a firmer crust, consider baking the crust for 5-7 minutes before chilling; however, this step is optional.
- The cheesecake is best served chilled and is perfect when prepared a day in advance.
- Use a serrated knife warmed with hot water to slice clean pieces.
- Store leftovers covered in the refrigerator for up to 3 days.


