
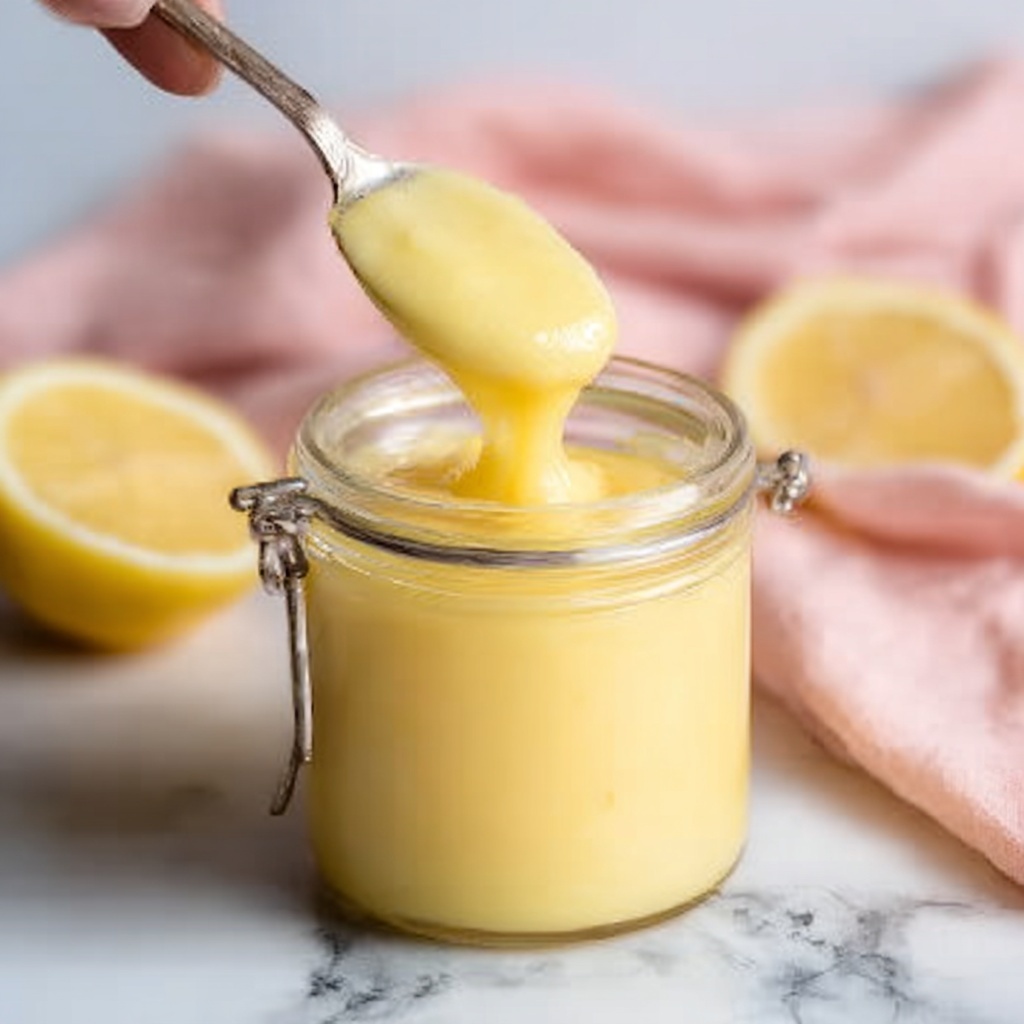
If you have ever wished for a luscious, tangy, and silky topping to brighten your desserts or breakfasts, this Homemade Lemon Curd Recipe is exactly what you need. It’s a delightful blend of fresh lemon juice, zest, butter, and eggs cooked gently into a smooth curd that bursts with vibrant citrus flavor and a creamy richness that feels like sunshine in every spoonful. Whether you spread it on toast, swirl it into yogurt, or use it to fill cakes, this recipe will quickly become one of your kitchen’s shining stars.
Ingredients You’ll Need
Perfecting your lemon curd starts with a handful of simple, fresh ingredients that each play a crucial role in delivering the ideal balance of flavor, texture, and color. Every element here is essential, and together they create that irresistibly smooth, tangy curd you’ll want to make again and again.
- Fresh lemon juice: About ½ cup, or juice from 2–3 lemons, provides the bright and zesty citrus essence that defines lemon curd.
- Lemon zest: One tablespoon adds a fragrant punch of lemon oils, boosting aroma and flavor intensity.
- Granulated sugar: ½ cup balances the tartness with just the right touch of sweetness for a perfectly harmonious taste.
- Large eggs: Three whole eggs act as the thickening agent, creating that rich, silky texture you love.
- Unsalted butter: Six tablespoons, cubed, add creaminess and depth, enriching the curd’s luxurious mouthfeel.
- Pinch of salt: Just a little salt enhances all the flavors and rounds out the overall taste.
How to Make Homemade Lemon Curd Recipe
Step 1: Combine Ingredients
Start by whisking together the fresh lemon juice, lemon zest, sugar, eggs, and a pinch of salt in a medium heatproof bowl until everything is well combined. This step ensures the sugar starts dissolving and the eggs blend smoothly with the bright citrus.
Step 2: Heat Gently Using the Double Boiler
Place your bowl over a saucepan filled with simmering water, making sure the bottom of the bowl does not touch the water. This gentle heat prevents the eggs from scrambling while allowing the mixture to cook evenly.
Step 3: Whisk Constantly Until Thickened
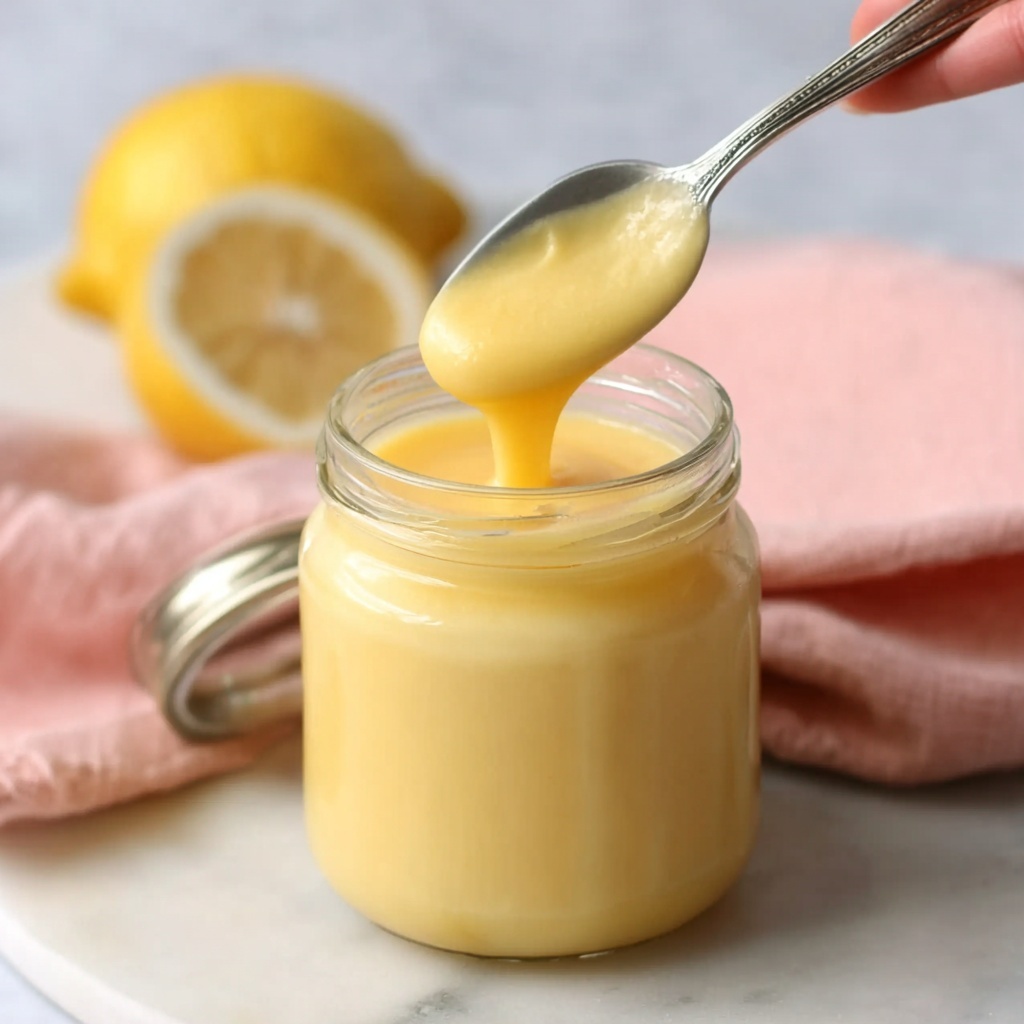
Keep whisking continuously as the mixture warms up. After 8 to 10 minutes, you’ll notice the curd beginning to thicken dramatically until it reaches a pudding-like consistency. This is the magic moment when your lemon curd transforms into that luscious texture you want.
Step 4: Incorporate Butter for Creaminess
Remove the bowl from heat and immediately whisk in the unsalted butter cubes a few at a time. This will create a smooth, glossy finish and deepen the flavor while cooling it slightly.
Step 5: Strain and Chill
Pour the lemon curd through a fine mesh sieve into a clean bowl to catch any bits of zest or cooked egg for extra smoothness. Then cover the surface with plastic wrap to prevent a skin from forming and chill for at least an hour before using. This step allows the flavors to meld and the curd to set perfectly.
How to Serve Homemade Lemon Curd Recipe
Garnishes
Adding a touch of garnish can elevate your lemon curd experience. Try topping it with fresh mint leaves, edible flowers, or thin lemon slices to bring a fresh, eye-catching element to your presentation. A sprinkle of powdered sugar or toasted coconut flakes also adds delightful texture contrast.
Side Dishes
This lemon curd pairs beautifully with an array of side dishes. Spread it on a warm scone or croissant, dollop generously over a bowl of vanilla yogurt, or serve alongside fresh berries and whipped cream for a simple yet stunning dessert. It also shines when paired with buttery shortbread cookies or spread on warm pancakes and waffles.
Creative Ways to Present
If you’re looking to impress guests or simply make your breakfast more exciting, try layering the Homemade Lemon Curd Recipe between sponge cake layers to create a vibrant lemon layer cake. You can also swirl it into cheesecake batter before baking or use it as a tangy filling for tarts and pastries. The versatility of this curd allows endless creative serving options!
Make Ahead and Storage
Storing Leftovers
Your homemade lemon curd will stay fresh and delicious in the refrigerator for up to one week when stored in an airtight container. Keep it chilled and make sure to maintain the plastic wrap directly on its surface for the best texture.
Freezing
You can freeze lemon curd for up to three months. Store it in a freezer-safe container and leave some room for expansion. When you’re ready to enjoy it, thaw the curd overnight in the fridge. Although freezing might slightly change its texture, it remains a fantastic option for preserving your batch and enjoying lemony goodness anytime.
Reheating
If your lemon curd thickens too much in the fridge, gently warm it over low heat or in short bursts in the microwave, stirring frequently until smooth. Avoid overheating to prevent breaking the curd’s delicate texture.
FAQs
Can I use bottled lemon juice instead of fresh?
While fresh lemon juice gives the brightest and most vibrant flavor for this recipe, bottled lemon juice can be used in a pinch. Just make sure it’s 100% pure lemon juice without any added preservatives or sugars to keep that perfect tart note.
Is lemon curd gluten-free?
Yes! This Homemade Lemon Curd Recipe is naturally gluten-free, making it a safe and delicious choice for those avoiding gluten in their diet.
Why do I need to use the double boiler method?
The double boiler gently cooks the eggs without the risk of scrambling, ensuring that your lemon curd thickens smoothly and safely. Direct heat can cause curdling or lumps, so this extra step is key for perfect texture.
How long does lemon curd last once made?
When properly stored in the refrigerator, your lemon curd will stay fresh and delicious for up to one week. After that, it’s best to use it quickly or freeze any leftovers to avoid spoilage.
Can I make this lemon curd vegan?
This traditional recipe uses eggs and butter, but you can experiment with vegan substitutions like coconut oil instead of butter and cornstarch or agar as a thickener. Expect some changes in flavor and texture, but with patience, you can create a vegan-friendly version.
Final Thoughts
There’s something truly special about making your own Homemade Lemon Curd Recipe from scratch — the fresh flavors, creamy texture, and endless ways to enjoy it all come together in one wonderful jar of sunshine. Once you try this recipe, you’ll fall in love with how easy it is to elevate simple sweets and breakfasts into something extraordinary. Go on, give it a whirl, and brighten your kitchen with a little homemade magic today!
Print
Homemade Lemon Curd Recipe
- Prep Time: 5 minutes
- Cook Time: 10 minutes
- Total Time: 15 minutes (plus chilling time)
- Yield: 1½ cups
- Category: Dessert, Condiment
- Method: Stovetop
- Cuisine: British, American
- Diet: Vegetarian, Gluten Free
Description
This Homemade Lemon Curd is a smooth, tangy, and creamy spread made with fresh lemon juice, zest, sugar, eggs, and butter. Perfectly balanced to deliver a rich lemon flavor, it can be used as a spread on toast, a filling for tarts and cakes, or a delicious topping for yogurt. Made with a gentle double boiler method, this recipe ensures a velvety texture without curdling.
Ingredients
Ingredients
- ½ cup fresh lemon juice (about 2–3 lemons)
- 1 tablespoon lemon zest
- ½ cup granulated sugar
- 3 large eggs
- 6 tablespoons unsalted butter, cut into small cubes
- Pinch of salt
Instructions
- Combine Ingredients: In a medium heatproof bowl, whisk together the fresh lemon juice, lemon zest, granulated sugar, eggs, and a pinch of salt until the mixture is well combined and smooth.
- Heat Over Double Boiler: Place the bowl over a saucepan of gently simmering water, ensuring the bottom of the bowl does not touch the water. This gentle heat will cook the curd gradually without curdling.
- Thicken the Mixture: Whisk the mixture constantly as it heats. After about 8–10 minutes, it will thicken and resemble a pudding-like consistency, indicating it is cooked through.
- Add Butter: Remove the bowl from heat immediately once thickened. Whisk in the butter cubes gradually, a few at a time, until fully melted into the mixture, leaving the curd smooth and glossy.
- Strain: Strain the lemon curd through a fine mesh sieve into a clean bowl to remove any lumps, bits of zest, or cooked egg pieces for a perfectly silky texture.
- Chill: Cover the lemon curd with plastic wrap pressed directly onto its surface to prevent a skin from forming and refrigerate for at least 1 hour before using. This allows the flavors to meld and the curd to set.
Notes
- Store lemon curd in an airtight container in the refrigerator for up to 1 week.
- For longer storage, freeze lemon curd in an airtight container for up to 3 months.
- This curd is delightful as a spread on toast, a filling for tarts and cakes, or spooned over yogurt or ice cream.


