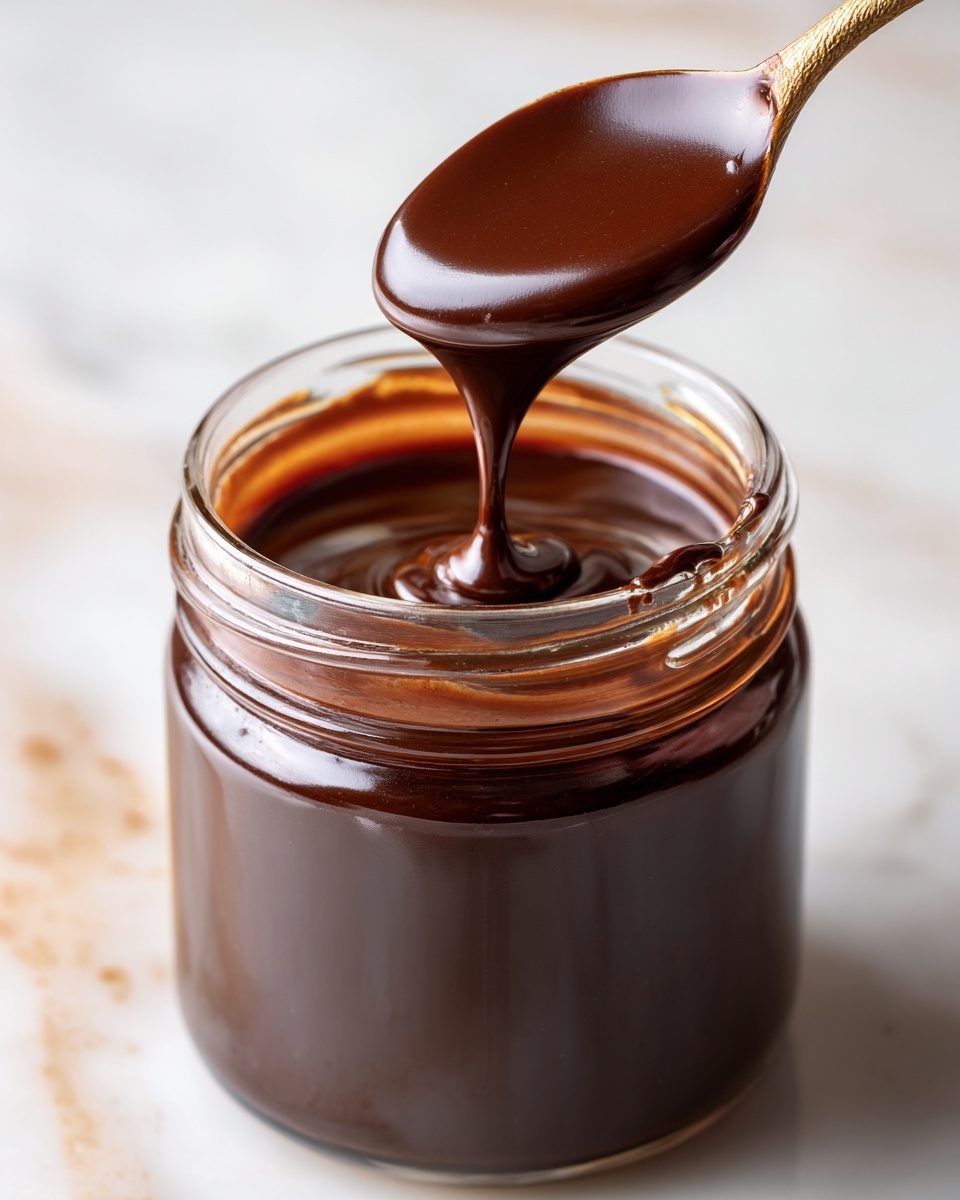
If you’ve ever craved a rich, luscious topping that turns ordinary desserts and drinks into something extraordinary, this Homemade Chocolate Syrup Recipe is your new best friend. With just a handful of simple ingredients, you can whip up a thick, velvety syrup that’s bursting with deep chocolate flavor and perfect for drizzling, dipping, or mixing. It’s comforting, easy to make, and far superior to anything from a bottle, adding that extra homemade touch to your favorite treats.
Ingredients You’ll Need
Gathering the right ingredients is half the magic, and this recipe shines because every component is straightforward yet essential. Each one plays a crucial role in crafting the perfect texture, sweetness, and chocolate flavor that will make your syrup irresistible.
- Granulated sugar: Provides sweetness and helps give the syrup its classic glossy finish.
- Unsweetened cocoa powder: The heart of the syrup, delivering robust chocolate flavor without any added sugar.
- Water: Blends everything smoothly and creates the perfect consistency for syrup.
- Salt: Enhances the chocolate’s depth and balances the sweetness beautifully.
- Vanilla extract: Adds warmth and a subtle layer of complexity to the flavor.
How to Make Homemade Chocolate Syrup Recipe
Step 1: Combine Dry Ingredients
Start by whisking together the granulated sugar, unsweetened cocoa powder, and salt in a medium saucepan. This dry mix ensures the cocoa and sugar are evenly distributed, preventing any clumps and setting the stage for a smooth syrup.
Step 2: Add Water and Stir
Pour in the water and stir continuously until everything is completely smooth. This step is crucial for avoiding lumps and helps the syrup develop its signature silky texture.
Step 3: Heat the Mixture
Place the saucepan over medium heat and bring the mixture to a gentle boil. Stir frequently to keep the syrup from sticking and to encourage the sugar and cocoa to dissolve perfectly.
Step 4: Simmer and Thicken
Reduce the heat to low and let it simmer for about 4 to 5 minutes, stirring constantly. You’ll notice the syrup thickening as water evaporates — this is when it really transforms into that luscious, pourable consistency.
Step 5: Finish with Vanilla
Remove the pan from the heat and stir in the vanilla extract. This last touch elevates the syrup by adding a delightful aroma and depth of flavor. Let it cool completely before transferring it to a jar or bottle for storage.
How to Serve Homemade Chocolate Syrup Recipe
Garnishes
Sprinkle your desserts with a drizzle of this Homemade Chocolate Syrup Recipe to add that mouthwatering shine and rich flavor. It’s perfect over vanilla ice cream, fresh fruit, or even a dollop of whipped cream for an instant upgrade.
Side Dishes
This syrup pairs beautifully as a sweet companion to pancakes, waffles, or French toast. Instead of traditional maple syrup, try this homemade chocolate alternative for weekends that feel extra special and indulgent.
Creative Ways to Present
Get playful by swirling the syrup inside clear glasses before pouring in milk or coffee for a marbled effect. You can also use it as a base for chocolate-flavored mocktails or drizzle it over cake layers before frosting to add moisture and chocolate charm.
Make Ahead and Storage
Storing Leftovers
Your Homemade Chocolate Syrup Recipe will keep wonderfully in the refrigerator for up to two weeks. Make sure to store it in an airtight jar or bottle to maintain its freshness and prevent any crystallization.
Freezing
Although refrigeration is best, you can freeze the syrup if needed. Just thaw it in the fridge overnight and give it a good stir before using, as it might thicken or separate slightly during freezing.
Reheating
If your syrup thickens too much after chilling, simply warm it gently in a saucepan over low heat or microwave it briefly, stirring often until it loosens up to your desired consistency without boiling it again.
FAQs
Can I use different types of cocoa powder for this syrup?
Absolutely! While unsweetened cocoa powder is recommended for the best flavor balance, you can experiment with Dutch-processed cocoa for a smoother, less acidic taste. Just note that the flavor profile will shift slightly depending on the type you choose.
How long does homemade chocolate syrup last in the fridge?
Stored properly in a clean, airtight container, this syrup lasts up to 2 weeks in the refrigerator. Always check for any signs of spoilage before use, especially if you’ve added fresh ingredients beyond the recipe.
Can I make this syrup vegan and gluten-free?
Yes! This Homemade Chocolate Syrup Recipe is naturally vegan and gluten-free, which makes it a fantastic option for those with dietary restrictions or anyone looking to enjoy a pure chocolate treat without additives.
Is there a way to make this syrup richer?
For a more decadent flavor, try adding a small piece of dark chocolate to the saucepan while simmering. This will melt down and infuse the syrup with extra complexity and smoothness, making it even more irresistible.
What are some unexpected uses for this chocolate syrup?
Besides topping desserts and drinks, you can mix it into homemade salad dressings for a unique mole-inspired flavor, swirl it into yogurt for a quick snack, or even use it as an ingredient in brownies or cakes to boost the chocolate intensity.
Final Thoughts
I can’t recommend enough how rewarding it is to make your own Homemade Chocolate Syrup Recipe. Not only is it simple and quick, but it also transforms everyday treats into moments of pure joy. Give it a try, and I promise, once you experience the rich, fresh flavor, you’ll never reach for store-bought syrup again!
Print
Homemade Chocolate Syrup Recipe
- Prep Time: 5 minutes
- Cook Time: 5 minutes
- Total Time: 10 minutes
- Yield: About 1 1/4 cups
- Category: Condiment
- Method: Stovetop
- Cuisine: American
- Diet: Vegan, Gluten Free
Description
This homemade chocolate syrup is a simple, rich, and versatile dessert topping made from pantry staples. Perfect for adding to milk, coffee, ice cream, pancakes, or desserts, this easy-to-make syrup combines cocoa powder, sugar, and vanilla for a deeply chocolatey flavor that you can customize and enjoy anytime.
Ingredients
Ingredients
- 1 cup granulated sugar
- 1 cup unsweetened cocoa powder
- 1 cup water
- 1/4 teaspoon salt
- 1 teaspoon vanilla extract
Instructions
- Combine dry ingredients: In a medium saucepan, whisk together the granulated sugar, unsweetened cocoa powder, and salt until evenly mixed.
- Add water: Pour in 1 cup of water and stir the mixture until smooth and there are no lumps.
- Heat mixture: Place the saucepan over medium heat and bring the mixture to a gentle boil, stirring frequently to prevent burning or clumping.
- Simmer and thicken: Reduce the heat to low and let the syrup simmer for 4 to 5 minutes, stirring constantly until it thickens slightly to the desired syrupy consistency.
- Finish with vanilla: Remove the saucepan from heat and stir in 1 teaspoon of vanilla extract to enhance the flavor.
- Cool and store: Allow the syrup to cool completely before transferring it to a jar or bottle. Refrigerate to keep fresh; the syrup will thicken further as it cools.
Notes
- This syrup is excellent for mixing into milk, coffee, or drizzling over ice cream, pancakes, and other desserts.
- Store refrigerated for up to 2 weeks for best quality.
- For a more intense chocolate flavor, add a small piece of dark chocolate while simmering the syrup.

