
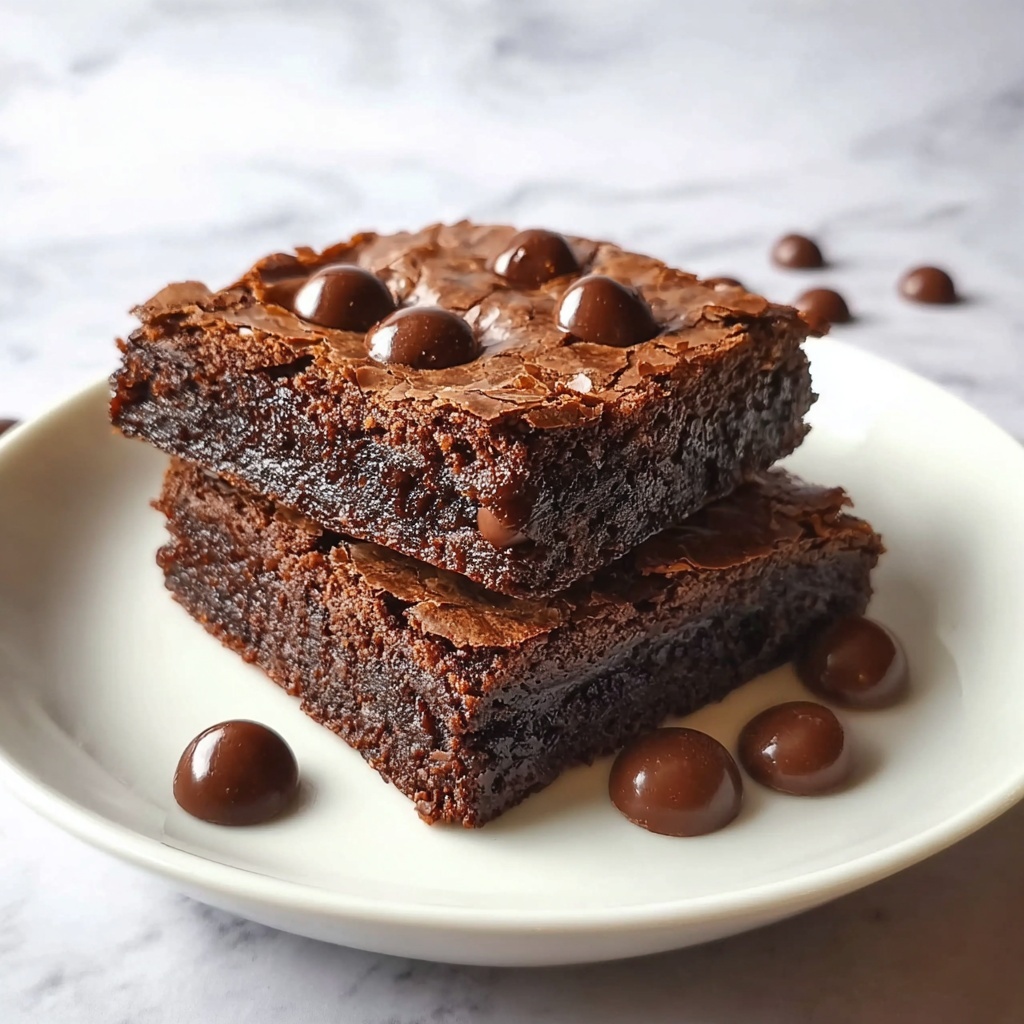
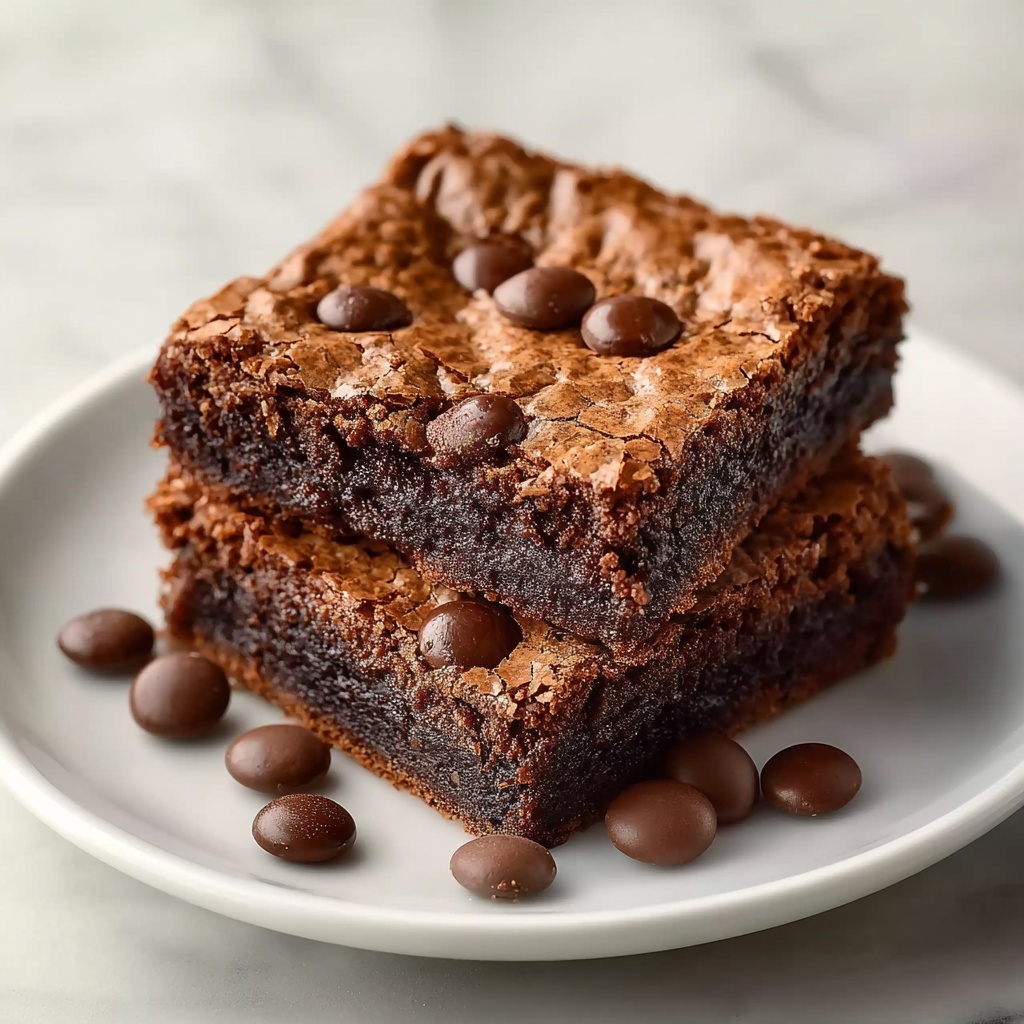
If you’ve been on the lookout for a decadent yet worry-free dessert, this Gluten-Free Brownies Recipe is about to become your new best friend. Rich, fudgy, and irresistibly chocolatey, these brownies prove that gluten-free treats can be just as indulgent as their traditional counterparts. Whether you’re baking for yourself, a loved one with dietary restrictions, or simply craving a chocolate fix, this recipe combines simple ingredients with straightforward steps to deliver pure brownie bliss every time.
Ingredients You’ll Need
The beauty of this Gluten-Free Brownies Recipe lies in its simplicity — a handful of essential ingredients that come together to create a moist, tender texture and deep chocolate flavor without any fuss. Each item plays a vital role, from the cocoa powder that brings the chocolate punch to the smooth butter that adds richness and melt-in-your-mouth texture.
- Gluten-free flour blend: The foundation for a tender crumb while keeping it safe for those avoiding gluten.
- Unsweetened cocoa powder: Adds that deep, intense chocolate flavor essential for any brownie.
- Sugar: Balances bitterness and brings the perfect sweetness to each bite.
- Salt: Enhances all the flavors and keeps the sweetness from being one-dimensional.
- Large eggs: Act as a binder and contribute to the fudgy texture everyone loves.
- Unsalted butter (melted): Adds richness and ensures a rich mouthfeel.
- Vanilla extract: Elevates the chocolate and rounds out the flavor with warmth.
- Chocolate chips (optional): Toss in for even more melty chocolate goodness throughout.
How to Make Gluten-Free Brownies Recipe
Step 1: Prepare Your Pan and Oven
Start by preheating your oven to 350°F (175°C) and lining an 8×8-inch baking pan with parchment paper or lightly greasing it. This step ensures your brownies bake evenly and come out of the pan effortlessly once cooled.
Step 2: Mix Dry Ingredients
In a medium bowl, whisk together the gluten-free flour blend, unsweetened cocoa powder, sugar, and salt. Combining these beforehand guarantees an even distribution of flavors and a uniform texture in your final brownies.
Step 3: Combine Wet Ingredients
In a separate bowl, beat the eggs with the vanilla extract until blended, then mix in the melted butter. This blend brings moisture and richness, helping your brownies achieve that perfect fudgy consistency.
Step 4: Bring Wet and Dry Together
Gradually add the dry ingredients to the wet mixture, stirring gently until just combined. Be careful not to overmix—overworking the batter can make your brownies tough rather than tender and chewy.
Step 5: Add Chocolate Chips
If you’re feeling extra indulgent, fold in half a cup of chocolate chips. This optional step adds bursts of gooey chocolate that melt beautifully as the brownies bake.
Step 6: Bake to Fudgy Perfection
Pour your batter into the prepared pan, smoothing the top with a spatula for even baking. Bake for 20 to 25 minutes until a toothpick inserted into the center comes out with moist crumbs. Keep an eye on the clock so you don’t overbake and lose that luscious fudgy center.
Step 7: Cool and Slice
Let the brownies cool in the pan for 10 to 15 minutes before slicing. This gives them time to set up just right, making clean cuts easier without crumbling. Enjoy them warm for gooey softness or at room temperature for classic brownie texture.
How to Serve Gluten-Free Brownies Recipe
Garnishes
To elevate your gluten-free brownie experience, consider dusting a light sprinkle of powdered sugar or a drizzle of warmed caramel or chocolate sauce. Fresh berries or a dollop of whipped cream can also add a lovely contrast in flavor and color.
Side Dishes
Pairing these brownies with a scoop of vanilla ice cream or a fresh fruit salad makes for a beautifully balanced dessert. The cold creaminess of the ice cream melts into the warm, chocolate-rich brownie to create pure magic.
Creative Ways to Present
Think outside the box by turning your brownies into mini trifles layered with mousse or pudding, or cut them into bite-sized pieces for a crowd-pleasing dessert platter. Wrapping individual brownies in parchment paper tied with ribbon makes a charming gift idea, too!
Make Ahead and Storage
Storing Leftovers
You can keep leftover brownies fresh by storing them in an airtight container at room temperature for up to four days. This helps maintain their moist, chewy texture without drying out.
Freezing
Want to hold onto that brownie goodness for longer? Wrap individual brownies tightly in plastic wrap or foil, then place them in a freezer-safe bag or container. They freeze beautifully for up to three months and thaw quickly when you’re ready for a treat.
Reheating
To bring your brownies back to life, warm them gently in the microwave for about 10 to 15 seconds or pop them in a low oven. This refreshes their softness and makes any chocolate chips inside delightfully melty again.
FAQs
Can I substitute the gluten-free flour blend for almond flour?
While almond flour is delicious, it behaves differently in baking. This recipe specifically works best with a gluten-free flour blend to achieve the right texture. Almond flour might make the brownies more crumbly and less structured.
Do I have to add the chocolate chips?
Not at all! The chocolate chips are optional but highly recommended if you want extra pockets of melted chocolate. If you prefer a more classic brownie, just leave them out and enjoy the smooth, fudgy texture.
How can I make these brownies vegan?
To veganize this recipe, try swapping the eggs for flax eggs and use a dairy-free butter alternative. Keep in mind the baking time and texture might need minor adjustments with these swaps.
Can I use cocoa powder that’s not unsweetened?
It’s best to use unsweetened cocoa powder here since the sugar in the recipe balances the bitterness. Sweetened cocoa powder might change the flavor and sweetness, leading to overly sweet brownies.
What’s the best way to tell when the brownies are done?
The toothpick test is your guide: a toothpick inserted in the center should come out with moist crumbs but not wet batter. This keeps your brownies fudgy without being undercooked or dry.
Final Thoughts
This Gluten-Free Brownies Recipe is proof that dietary needs don’t have to mean sacrificing flavor or texture. It’s a straightforward, crowd-pleasing recipe that’s bound to become a staple in your baking repertoire. So warm up your oven and indulge yourself — these brownies are waiting to become your next cozy craving!
Print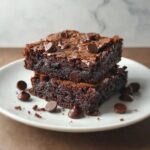
Gluten-Free Brownies Recipe
- Prep Time: 10 minutes
- Cook Time: 20-25 minutes
- Total Time: 35 minutes
- Yield: 9 servings
- Category: Dessert
- Method: Baking
- Cuisine: American
- Diet: Gluten Free
Description
Delicious and fudgy gluten-free brownies that are easy to make and perfect for anyone avoiding gluten. These brownies feature a rich cocoa flavor, a tender crumb, and optional chocolate chips for an extra touch of indulgence.
Ingredients
Dry Ingredients
- 1/2 cup gluten-free flour blend
- 1/2 cup unsweetened cocoa powder
- 1/2 cup sugar
- 1/4 tsp salt
Wet Ingredients
- 2 large eggs
- 1/4 cup unsalted butter (melted)
- 1 tsp vanilla extract
Optional
- 1/2 cup chocolate chips
Instructions
- Preheat oven: Preheat your oven to 350°F (175°C) and prepare an 8×8-inch baking pan by lining it with parchment paper or lightly greasing it to prevent sticking.
- Mix dry ingredients: In a medium bowl, whisk together the gluten-free flour blend, unsweetened cocoa powder, sugar, and salt until evenly combined.
- Combine wet ingredients: In a separate bowl, beat the eggs with vanilla extract then stir in the melted unsalted butter until well incorporated.
- Combine wet and dry: Pour the wet ingredients into the dry ingredients and stir gently until just mixed. Be careful not to overmix to keep the brownies tender.
- Add chocolate chips: Fold in the chocolate chips if using, distributing them evenly throughout the batter.
- Pour batter and bake: Pour the brownie batter into the prepared baking pan and smooth the surface. Bake in the preheated oven for 20–25 minutes, or until a toothpick inserted in the center comes out with moist crumbs.
- Cool and serve: Allow brownies to cool in the pan for 10–15 minutes before slicing. Serve warm or at room temperature for best enjoyment.
Notes
- Use a gluten-free flour blend that is suitable for baking for best results.
- Do not overmix the batter to keep the brownies moist and tender.
- Chocolate chips are optional but add extra richness and texture.
- Allow brownies to cool slightly before slicing to maintain clean edges.
- Store brownies in an airtight container at room temperature for up to 3 days.


