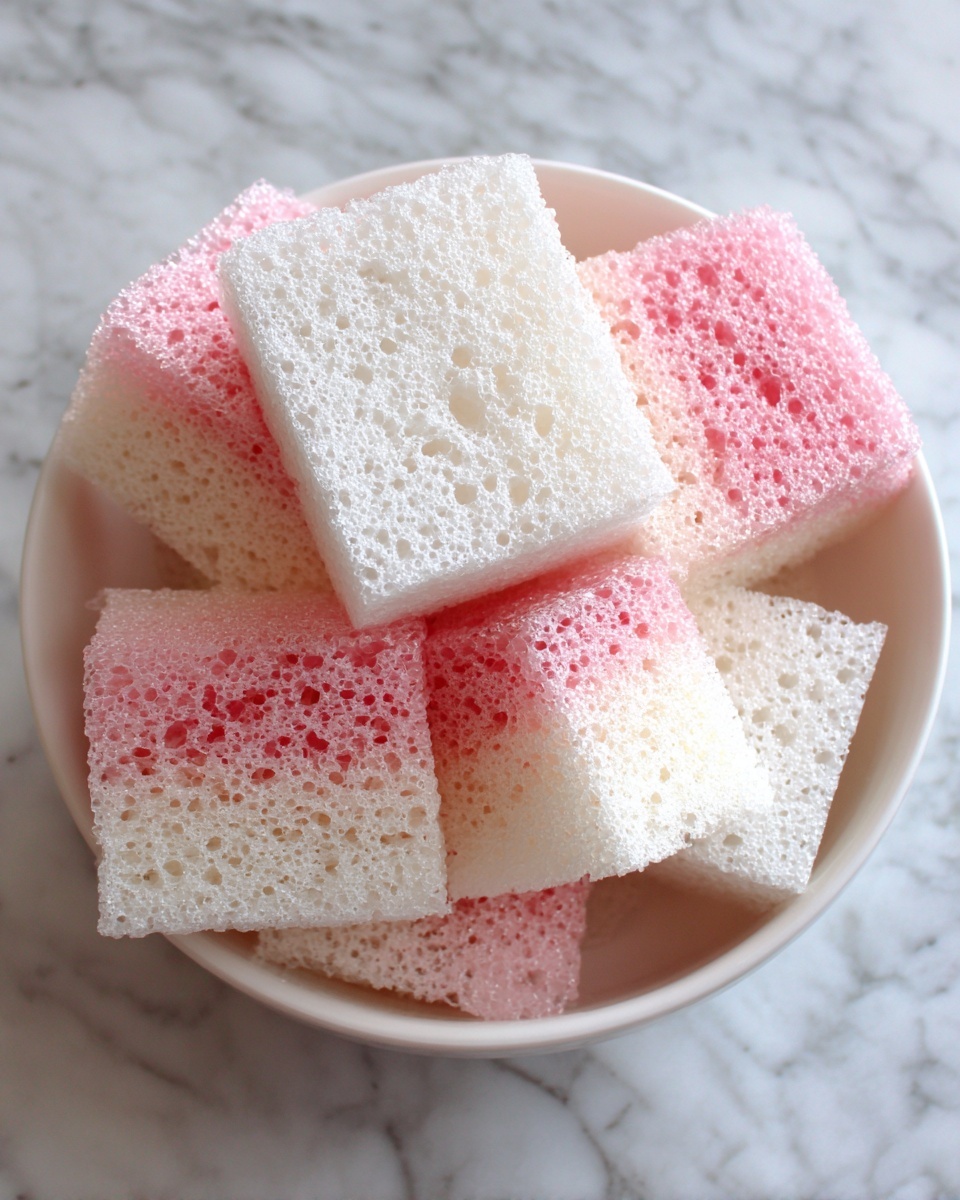
If you have a sweet tooth and love the nostalgic taste of coconut treats, you are in for a real delight. This Coconut Ice Squares Recipe is a luscious, creamy no-bake treat that combines the perfect balance of sweetened condensed milk, fluffy desiccated coconut, and just a splash of color to brighten your day. With its airy texture and dreamy pastel layers, these squares are an irresistible snack or dessert guaranteed to wow both kids and adults alike.
Ingredients You’ll Need
Gathering just the right ingredients is half the joy of making this Coconut Ice Squares Recipe. Each one plays a pivotal role in the texture, flavor, and visual appeal, coming together beautifully with minimal fuss.
- Icing sugar: The base sweetness that dissolves smoothly, giving the candy its fine, melt-in-your-mouth texture.
- Desiccated coconut: Adds a wonderful chewiness and the signature coconut flavor that makes this treat special.
- Sweetened condensed milk: Provides creamy richness and binds the mixture perfectly.
- Vanilla extract: A small but vital addition that uplifts and deepens the sweetness with warm undertones.
- Pink or red food coloring: Just a drop transforms half the mixture into pretty pastel pink, adding a visual contrast that’s classic and inviting.
How to Make Coconut Ice Squares Recipe
Step 1: Combine Ingredients
Start by mixing the key players: icing sugar, sweetened condensed milk, desiccated coconut, and vanilla extract in a large bowl. Stir patiently to ensure everything melds into a thick, sticky mixture that holds together well. This stage is crucial as it forms the foundation of your Coconut Ice Squares Recipe.
Step 2: Divide and Color
Once your coconut mixture looks evenly combined, split it into two bowls. Add a drop of pink or red food coloring to one bowl. Knead it gently with your hands until the color is consistent throughout. This fun step gives your squares that characteristic two-tone appearance that’s both charming and nostalgic.
Step 3: Prepare Pan
Line a 20cm (8 inch) square baking pan with baking paper. This non-stick lining will make it so much easier to lift your finished coconut ice out of the pan for cutting and serving.
Step 4: Layer Coconut Ice
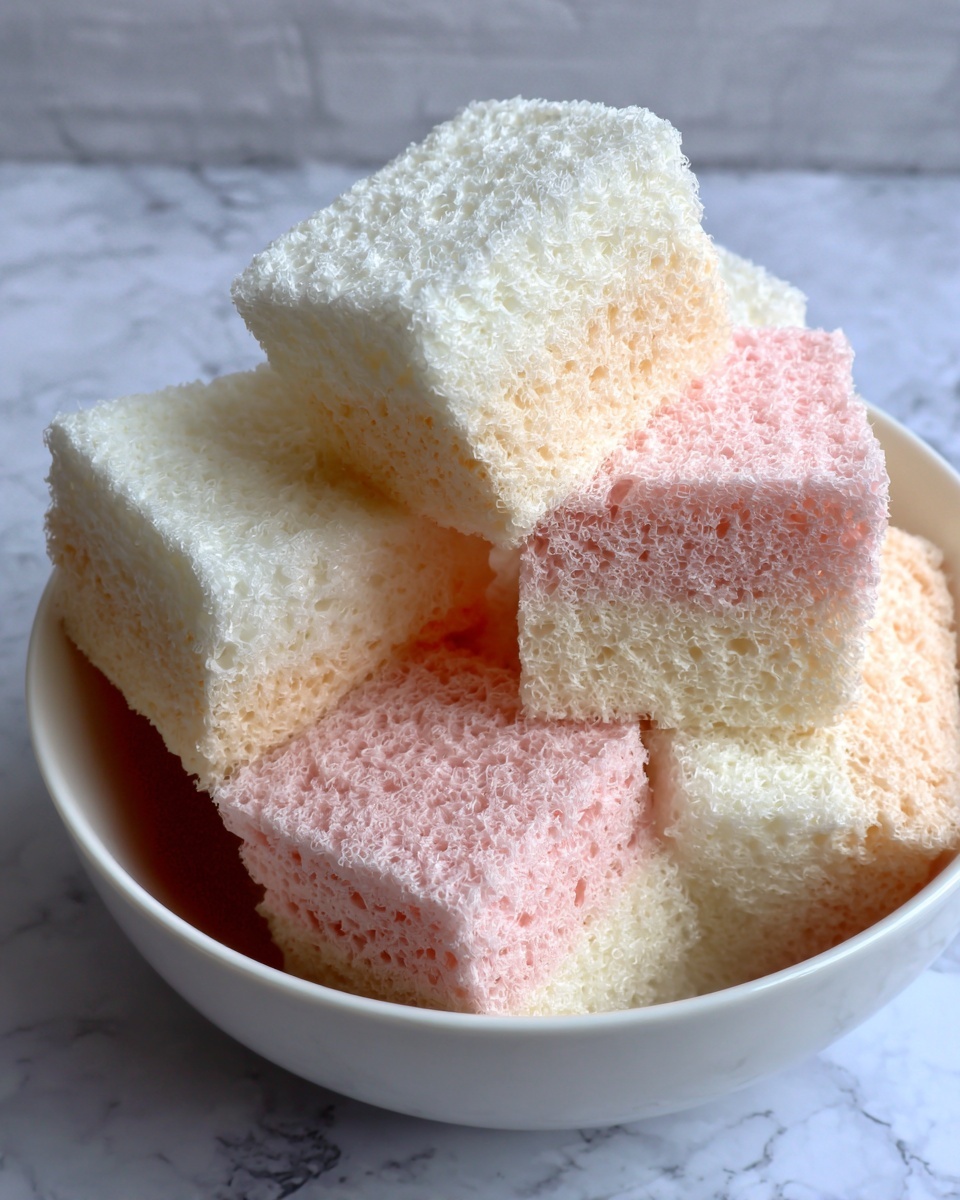
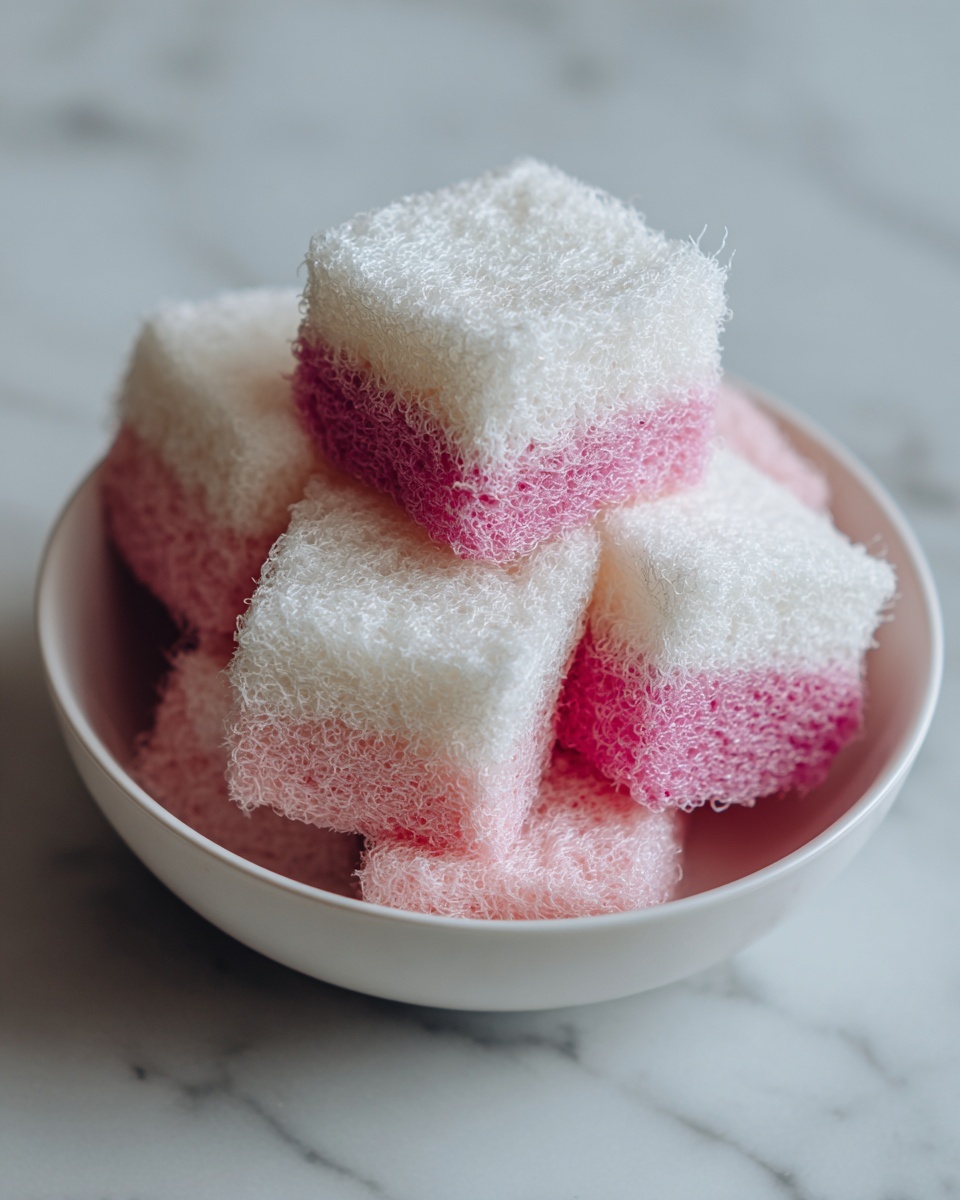
Press the white coconut mixture firmly and evenly into the bottom of the lined pan. Then, break the colored mixture into small chunks and arrange these pink pieces over the white base, pressing gently so everything sticks together yet maintains the classic marbled look.
Step 5: Chill
Pop the pan into the fridge and let it set for at least three hours. This chilling time helps the coconut ice to firm up perfectly, making it super easy to cut and handle.
Step 6: Cut into Squares
Once set, lift the block out of the pan using the baking paper and place it on a cutting board. Take a sharp knife and slice it carefully into 25 uniform squares, perfect for sharing or packing as a sweet snack.
Step 7: Enjoy
Serve your Coconut Ice Squares Recipe with pride and enjoy every sugary, creamy bite. These treats are truly comfort in a square!
How to Serve Coconut Ice Squares Recipe
Garnishes
While these coconut ice squares are delightful all on their own, you can add a sprinkle of toasted desiccated coconut on top just before chilling for an extra layer of toasty flavor and a pretty finish.
Side Dishes
These squares pair wonderfully with a hot cup of tea or coffee, balancing their sweetness with a warming beverage. For a festive twist, serve alongside fresh berries or a dollop of whipped cream to complement their light texture.
Creative Ways to Present
Try cutting the coconut ice into festive shapes using cookie cutters for special occasions, or stack them in colorful layers in a glass jar as a sweet gift. Wrapping individual squares with decorative parchment paper also creates charming party favors.
Make Ahead and Storage
Storing Leftovers
Store any leftover Coconut Ice Squares Recipe in an airtight container in the refrigerator. They’ll stay fresh and delicious for up to a week, making it easy to enjoy one whenever the craving strikes.
Freezing
If you want to keep them even longer, these squares freeze exceptionally well. Just place them in a freezer-safe container with parchment between layers to prevent sticking, and thaw at room temperature when ready to eat.
Reheating
Since these are a no-bake, chilled treat, they are best enjoyed cold or at room temperature. Avoid reheating as it will alter their creamy texture and firmness. Simply let frozen squares thaw naturally for the perfect bite.
FAQs
Can I use fresh coconut instead of desiccated coconut?
Fresh coconut has much higher moisture content and will change the consistency dramatically. For the classic texture and firmness, stick with desiccated coconut in this Coconut Ice Squares Recipe.
Is it possible to make this recipe vegan?
You can try substituting sweetened condensed milk with a vegan condensed milk alternative, though the texture might be slightly different. Be sure to test it as some substitutes can be thinner or less sweet.
What can I use if I don’t have food coloring?
Food coloring adds a fun pop of color but isn’t essential. You can leave the mixture all white for a simple version or try natural alternatives like beet juice for a pinkish hue.
How long does it take to set properly?
For best results, allow the coconut ice to chill in the fridge for at least three hours. This ensures it’s firm enough to cut neatly without crumbling.
Can I add nuts or dried fruit?
Absolutely! Folding in chopped nuts or dried fruit gives an exciting texture contrast and extra flavor dimension. Just be sure to adjust quantities slightly to keep the mixture balanced.
Final Thoughts
Making this Coconut Ice Squares Recipe is like capturing a little bit of sweet nostalgia in every bite. It’s an easy, no-bake treat that’s perfect for sharing with friends and family, or just treating yourself when you want something special and comforting. Give it a go, and get ready for compliments to pour in—you’re about to gain a new favorite dessert!
Print
Coconut Ice Squares Recipe
- Prep Time: 15 minutes
- Cook Time: 0 minutes
- Total Time: 3 hours 15 minutes
- Yield: 25 squares
- Category: Dessert
- Method: No-Cook
- Cuisine: Australian
Description
Coconut Ice is a nostalgic, no-bake treat featuring a creamy, sweetened coconut base divided into vibrant white and pink layers. This easy-to-make confection combines desiccated coconut, condensed milk, and icing sugar, delicately flavored with vanilla and colored with food dye. Perfect for festive occasions or a delightful sweet snack, this recipe yields 25 squares of buttery, melt-in-your-mouth coconut ice.
Ingredients
Ingredients
- 390 grams icing sugar
- 320 grams desiccated coconut
- 395 grams sweetened condensed milk
- 2 teaspoons vanilla extract
- Pink or red food coloring (a few drops)
Instructions
- Combine Ingredients: In a large bowl, thoroughly combine the icing sugar, sweetened condensed milk, desiccated coconut, and vanilla extract. Stir well until the mixture is evenly blended into a sticky and cohesive dough.
- Divide and Color: Transfer half of the coconut mixture into a second bowl. Add a drop or two of pink or red food coloring and knead the mixture until the color is evenly distributed throughout the coconut filling.
- Prepare Pan: Line a 20cm (8 inch) square baking pan with baking paper, ensuring the paper extends up the sides for easy removal later.
- Layer Coconut Ice: Firmly press the plain white coconut mixture into the bottom of the prepared baking pan, creating an even layer. Then, break the pink colored coconut mixture into small pieces and press these chunks evenly on top of the white layer, creating a colorful contrast.
- Chill: Place the baking pan in the refrigerator and let the coconut ice set and firm up for at least 3 hours, allowing the layers to solidify and the flavors to meld.
- Cut into Squares: Once set, use a sharp knife to lift the coconut ice from the pan using the baking paper edges. Cut the slab into 25 equal square pieces for serving.
- Enjoy: Serve these sweet, creamy, and festive coconut ice squares as a delightful treat for parties, afternoon tea, or anytime you crave a burst of coconut sweetness.
Notes
- Use a sharp knife warmed slightly in hot water to get clean cuts through the coconut ice.
- You can experiment with other food coloring shades for a fun twist.
- Ensure the mixture is well combined before dividing to get distinct layers.
- Store leftovers in an airtight container in the refrigerator for up to one week.
- The recipe is no-bake and requires chilling for firming.

