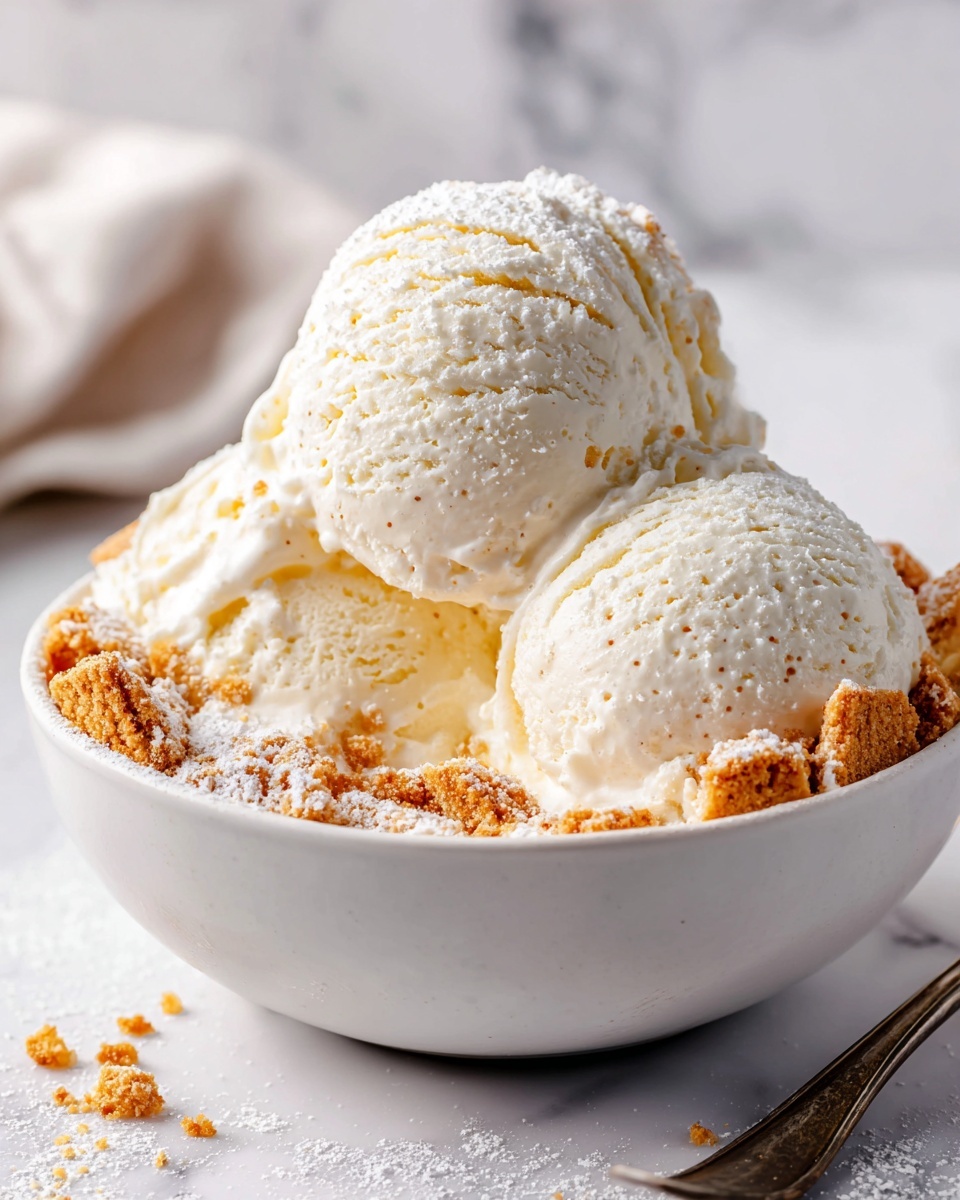
If you have a sweet tooth and a love for timeless treats, the Classic Vanilla Ice Cream Recipe is about to become your new best friend. This rich and creamy dessert combines simple, wholesome ingredients like cream, milk, sugar, and real vanilla to deliver a luscious frozen delight that’s both smooth and full of pure vanilla flavor. Whether you enjoy it on its own or dressed up with toppings, this recipe brings a wonderful taste of nostalgia and comfort to your kitchen that never goes out of style.
Ingredients You’ll Need
The beauty of this recipe lies in its simplicity. Each ingredient plays a crucial role in creating the perfect balance of flavor, texture, and creaminess that defines this classic frozen dessert.
- 2 cups heavy cream: Provides the rich, velvety base that makes the ice cream wonderfully creamy.
- 1 cup whole milk: Adds smoothness and lightens the texture slightly for easy scooping.
- ¾ cup granulated sugar: Sweetens the ice cream without overpowering the delicate vanilla notes.
- 1 tablespoon pure vanilla extract: The star flavor responsible for that unmistakable classic vanilla aroma.
- Pinch of salt: Enhances the overall flavor profile and balances sweetness.
- 5 large egg yolks (optional but recommended): Key to creating a custard-style base with a luscious, silky texture.
How to Make Classic Vanilla Ice Cream Recipe
Step 1: Heat the Cream and Milk
Start by pouring the heavy cream, whole milk, and a pinch of salt into a medium saucepan. Warm the mixture over medium heat until it’s hot but not boiling, watching closely to prevent scorching. This gentle heating softens the dairy flavors and prepares the mixture for tempering the eggs.
Step 2: Whisk Egg Yolks and Sugar
In a separate bowl, whisk together the egg yolks and granulated sugar until the mixture turns pale and thick. This step incorporates air and begins the foundation for your silky custard, giving the ice cream a luxurious mouthfeel.
Step 3: Temper the Eggs
Slowly pour about half a cup of the hot cream mixture into the egg yolks while whisking constantly. This gradual warming, known as tempering, ensures the eggs don’t scramble when combined with the hot liquid.
Step 4: Combine and Thicken the Custard
Pour the tempered egg yolk mixture back into the saucepan with the remaining cream and milk. Cook over medium-low heat, stirring constantly, until the custard thickens enough to coat the back of a spoon, roughly between 170 and 175°F. Careful not to let it boil, or the delicate custard could curdle.
Step 5: Add Vanilla and Chill
Remove the custard from heat and stir in the pure vanilla extract, infusing the mixture with its signature flavor. Pour the custard through a fine mesh strainer to remove any cooked egg bits, then let it cool slightly before covering and refrigerating for at least 4 hours or preferably overnight. This chilling allows the flavors to develop fully and the texture to firm up before churning.
Step 6: Churn the Ice Cream
Once chilled, pour the custard into your ice cream maker and churn according to the manufacturer’s instructions—usually around 20 to 25 minutes. This process incorporates air, turning the mixture into soft, creamy ice cream that’s almost ready to enjoy.
Step 7: Freeze Until Firm
Transfer the churned ice cream into a lidded container and freeze it for 2 to 4 hours so it reaches that perfect scoopable consistency. And just like that, you’ve made your own homemade vanilla ice cream that’s irresistibly smooth and flavorful.
How to Serve Classic Vanilla Ice Cream Recipe
Garnishes
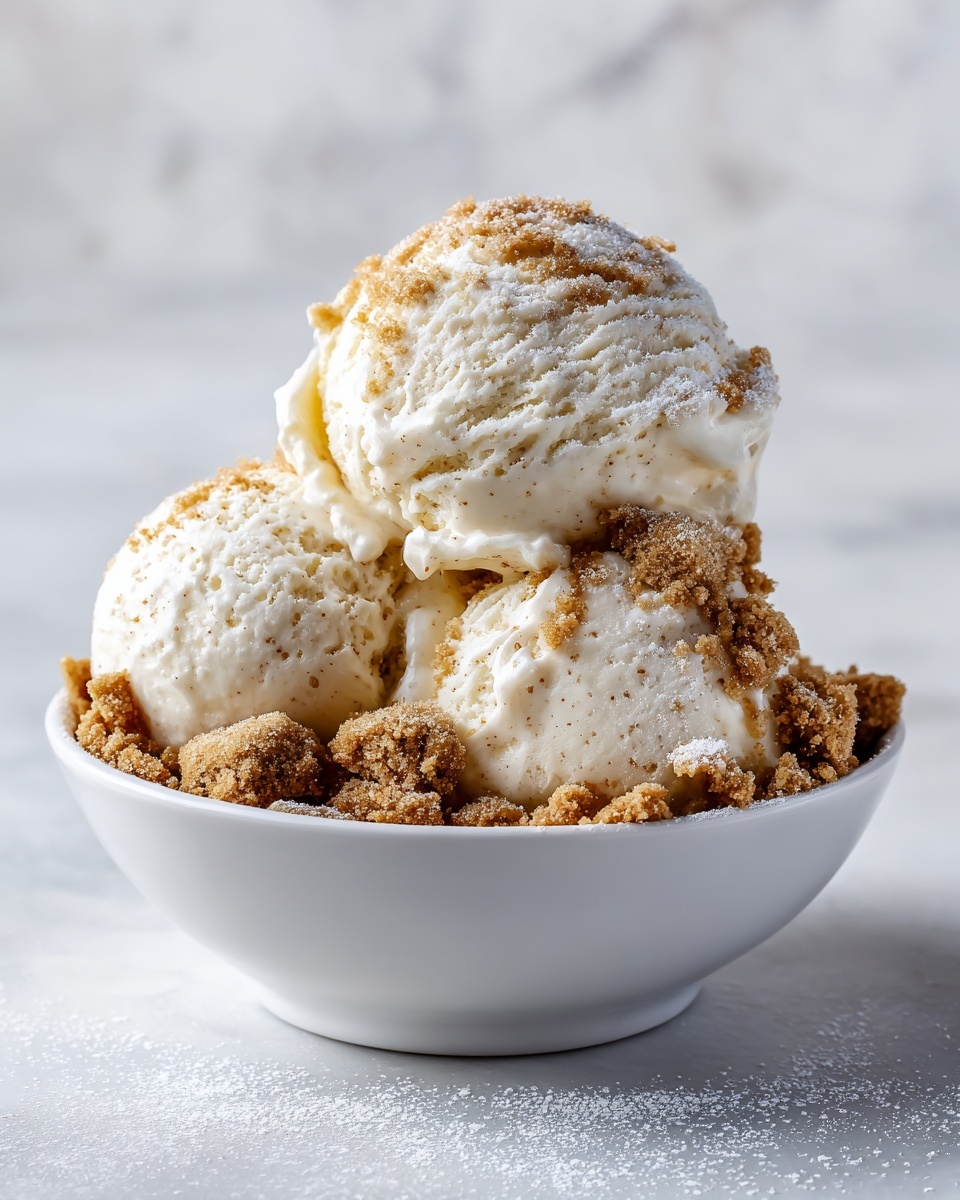
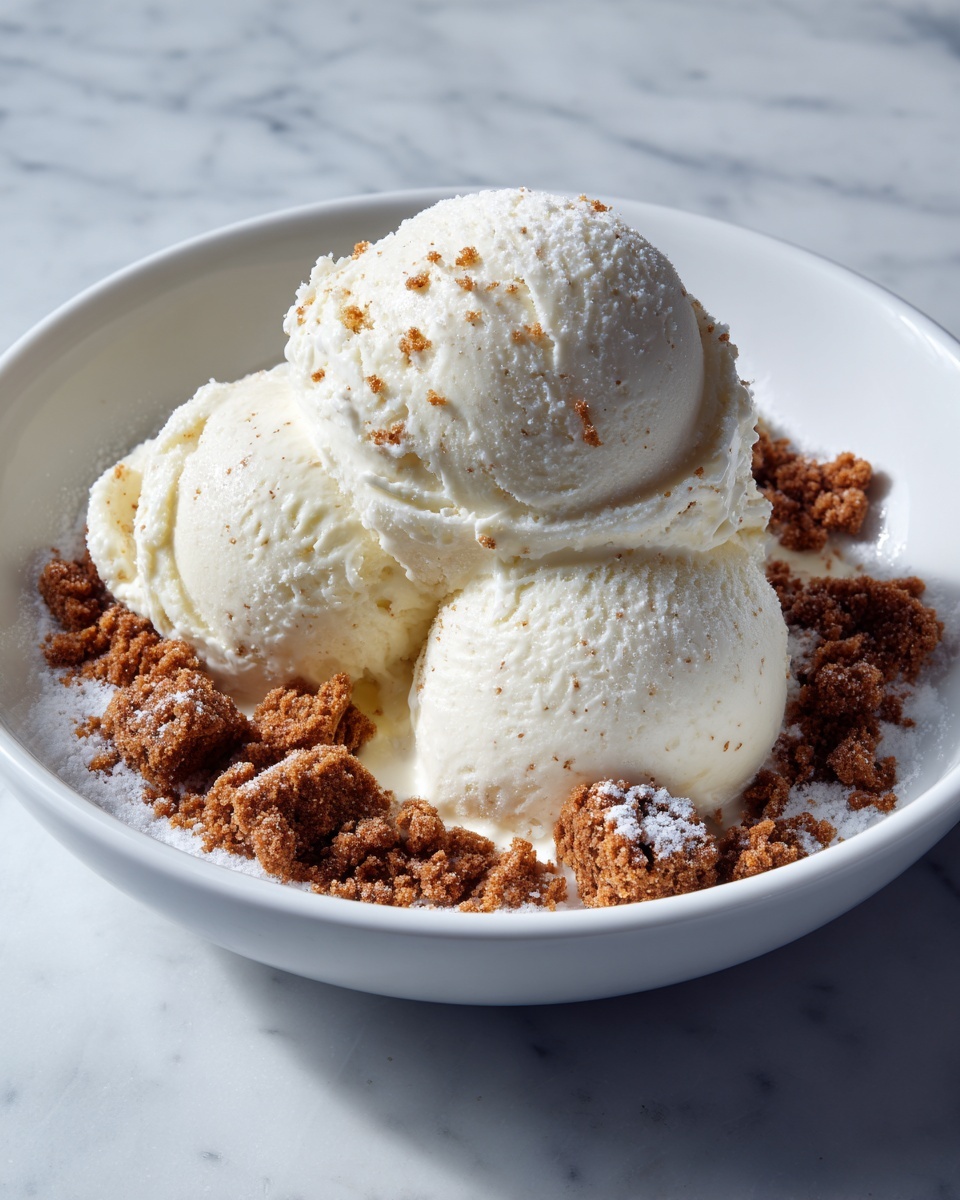
While the ice cream is delicious on its own, you can elevate it with simple garnishes. Fresh berries add a juicy contrast, while a drizzle of warm caramel or chocolate sauce complements the creamy vanilla base beautifully. A sprinkle of toasted nuts or a dash of cinnamon can add texture and a hint of warmth.
Side Dishes
Classic Vanilla Ice Cream Recipe pairs wonderfully with a variety of desserts. Think warm apple pie, fudgy brownies, or a fluffy slice of angel food cake. It also serves as a refreshing balance to rich chocolate lava cakes or warm fruit crumbles.
Creative Ways to Present
For a fun twist, use the ice cream as a base for sundaes layered with your favorite toppings or sandwich it between homemade cookies for an indulgent ice cream sandwich. You could also create elegant affogatos by pouring espresso over a scoop, letting the creamy vanilla melt into the bold coffee flavors.
Make Ahead and Storage
Storing Leftovers
If you have any leftovers, keep them stored in an airtight container in the freezer. Properly sealed, your ice cream will maintain its creamy texture and fresh flavor for up to two weeks without forming icy crystals.
Freezing
This recipe freezes beautifully, meaning you can prepare it in advance and have a scrumptious frozen treat ready whenever the craving hits. Just be sure to allow plenty of time for adequate chilling before churning, and for firming up after.
Reheating
Unlike baked goods, ice cream isn’t meant to be reheated. However, if your ice cream becomes too hard in the freezer, simply let it sit at room temperature for a few minutes before scooping to soften to the ideal consistency.
FAQs
Can I make this recipe without eggs?
Absolutely! The egg yolks create a custard base that’s richer and creamier, but you can skip them for a simpler no-cook version. Just mix the sugar directly into the cream and milk with vanilla and churn. The texture will be lighter but still delicious.
What’s the best vanilla to use?
Pure vanilla extract is recommended since it provides authentic flavor. You can also experiment with vanilla beans for an extra aromatic touch by scraping the seeds into your mixture before heating.
Do I need an ice cream maker?
An ice cream maker helps churn air into the mixture, resulting in smooth, creamy ice cream. Without one, you can still freeze the mixture but it may be denser and require periodic stirring to break up ice crystals.
How long does homemade ice cream last in the freezer?
When stored properly, homemade ice cream is best enjoyed within two weeks. Beyond that, texture and flavor may start to decline due to ice crystal formation.
Can I add mix-ins to the Classic Vanilla Ice Cream Recipe?
Definitely! Chocolate chips, crushed cookies, nuts, or fresh fruit can be stirred in during the last few minutes of churning for added texture and flavor. Just be mindful not to overload the base to keep the creamy balance.
Final Thoughts
There is something truly special about making ice cream from scratch, and this Classic Vanilla Ice Cream Recipe brings that joy right into your kitchen. With just a handful of simple ingredients and a little patience, you’ll be rewarded with a creamy, dreamy treat that tastes worlds better than store-bought. I can’t wait for you to give it a try and savor every scoop of your homemade masterpiece!
Print
Classic Vanilla Ice Cream Recipe
- Prep Time: 15 minutes
- Cook Time: 15 minutes
- Total Time: 6 hours
- Yield: 1.5 quarts (about 10 servings)
- Category: Dessert
- Method: Churning
- Cuisine: American
- Diet: Vegetarian, Gluten Free
Description
Classic Vanilla Ice Cream is a rich, creamy frozen dessert made with simple ingredients like cream, milk, sugar, and real vanilla. Perfect on its own or as a base for sundaes and pies, this timeless treat delivers a smooth texture and pure vanilla flavor that never goes out of style. It uses a custard-style base with egg yolks for extra richness, creating a luscious and velvety ice cream that’s ideal for any occasion.
Ingredients
Ice Cream Base
- 2 cups heavy cream
- 1 cup whole milk
- ¾ cup granulated sugar
- 1 tablespoon pure vanilla extract
- Pinch of salt
- 5 large egg yolks (optional but recommended)
Instructions
- Heat Cream and Milk: In a medium saucepan over medium heat, combine the heavy cream, milk, and a pinch of salt. Warm the mixture until hot but not boiling, which prepares the base for tempering the eggs without scrambling them.
- Whisk Egg Yolks and Sugar: In a separate bowl, whisk the egg yolks and sugar together until the mixture becomes pale and thick. This step is essential for creating a smooth custard texture.
- Temper the Eggs: Slowly pour about ½ cup of the hot cream mixture into the egg yolks while whisking constantly. This gradual warming prevents the eggs from curdling when added to the hot liquid.
- Combine Mixtures: Slowly whisk the tempered egg yolk mixture back into the saucepan with the remaining cream mixture, ensuring everything is well combined.
- Cook Custard: Cook the mixture over medium-low heat, stirring constantly, until it thickens enough to coat the back of a spoon and reaches about 170–175°F. Avoid boiling to prevent curdling.
- Remove and Add Vanilla: Remove the saucepan from heat and stir in the pure vanilla extract to infuse the custard with classic vanilla flavor.
- Strain and Chill: Pour the custard through a fine mesh strainer into a clean bowl to remove any lumps or cooked egg bits. Let it cool slightly, then cover and refrigerate for at least 4 hours or overnight to chill thoroughly.
- Churn Ice Cream: Pour the chilled custard into an ice cream maker and churn according to the manufacturer’s instructions, usually about 20–25 minutes, until it reaches a soft-serve consistency.
- Freeze to Firm Up: Transfer the churned ice cream to a lidded container and freeze for 2–4 hours until firm and scoopable.
Notes
- For a quicker version, omit the egg yolks and simply whisk the sugar into the cream, milk, salt, and vanilla before churning.
- Add-ins such as chocolate chips, crushed cookies, or fruit can be stirred in during the last few minutes of churning for added texture and flavor.
- If you don’t have an ice cream maker, freezing the mixture and stirring every 30 minutes to break up ice crystals can be an alternative method.
