
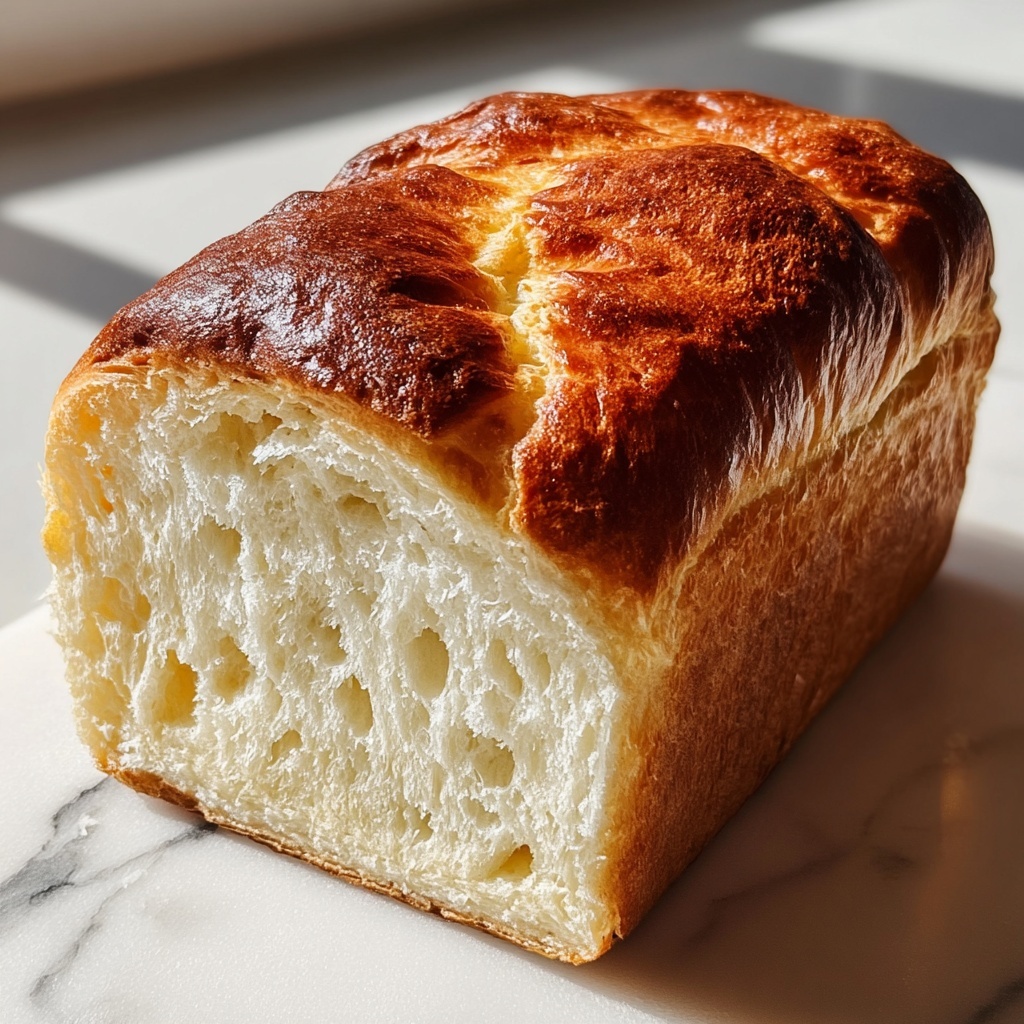
If you’ve ever longed for a homemade sandwich bread that feels light, fluffy, and naturally free from gluten, then you’re going to adore this Classic Gluten-Free White Sandwich Bread Recipe. It’s the perfect answer for anyone seeking that delightful soft crumb and golden crust without the gluten baggage. Crafted with simple pantry staples and a hint of love, this bread brings the comforting vibes of fresh-baked goodness straight to your kitchen, making every sandwich or toast moment feel extra special.
Ingredients You’ll Need
Whipping up this Classic Gluten-Free White Sandwich Bread Recipe is incredibly simple, and each ingredient plays a crucial part in building that perfect loaf. From the fungi power of yeast to the richness of eggs and olive oil, every component harmonizes to give you bread that’s tender, well-textured, and beautifully browned.
- 2 cups gluten-free all-purpose flour: The backbone of the recipe, offering structure without gluten’s stretch.
- 1 tablespoon sugar: Feeds the yeast while adding a subtle touch of sweetness to balance flavors.
- 1 teaspoon salt: Enhances all the flavors and helps control yeast activity for a perfect rise.
- 1 tablespoon active dry yeast: The miracle worker that brings life and lightness to the bread.
- 1 cup warm water: Activates the yeast and hydrates the flour for the ideal dough consistency.
- 2 tablespoons olive oil: Adds moisture and tenderness, plus a lovely golden crust.
- 2 eggs: Contribute richness, color, and structure that hold the bread together beautifully.
How to Make Classic Gluten-Free White Sandwich Bread Recipe
Step 1: Prepare Your Oven and Pan
Start by preheating your oven to 375°F (190°C) and greasing a loaf pan thoroughly. Ensuring the pan is well-greased helps the bread release effortlessly once it’s baked and also gives the edges a slightly crisp finish—trust me, that’s a small step that makes a big difference.
Step 2: Mix the Dry Ingredients
In a spacious mixing bowl, combine the gluten-free flour, sugar, salt, and active dry yeast. This dry mix is your dry foundation, where yeast begins its magic and where the flavors start mingling. Give these ingredients a good whisk to distribute everything evenly—that yeast wants to be surrounded solely by the goodness that will help it rise.
Step 3: Add the Wet Ingredients
Pour in the warm water, olive oil, and crack in the eggs. Stir everything together until you get a smooth dough. It will be a bit stickier than traditional bread doughs, but that’s typical for gluten-free mixtures. Smoothness is the goal here; once achieved, your dough’s ready for shaping—no kneading needed.
Step 4: Shape and Bake
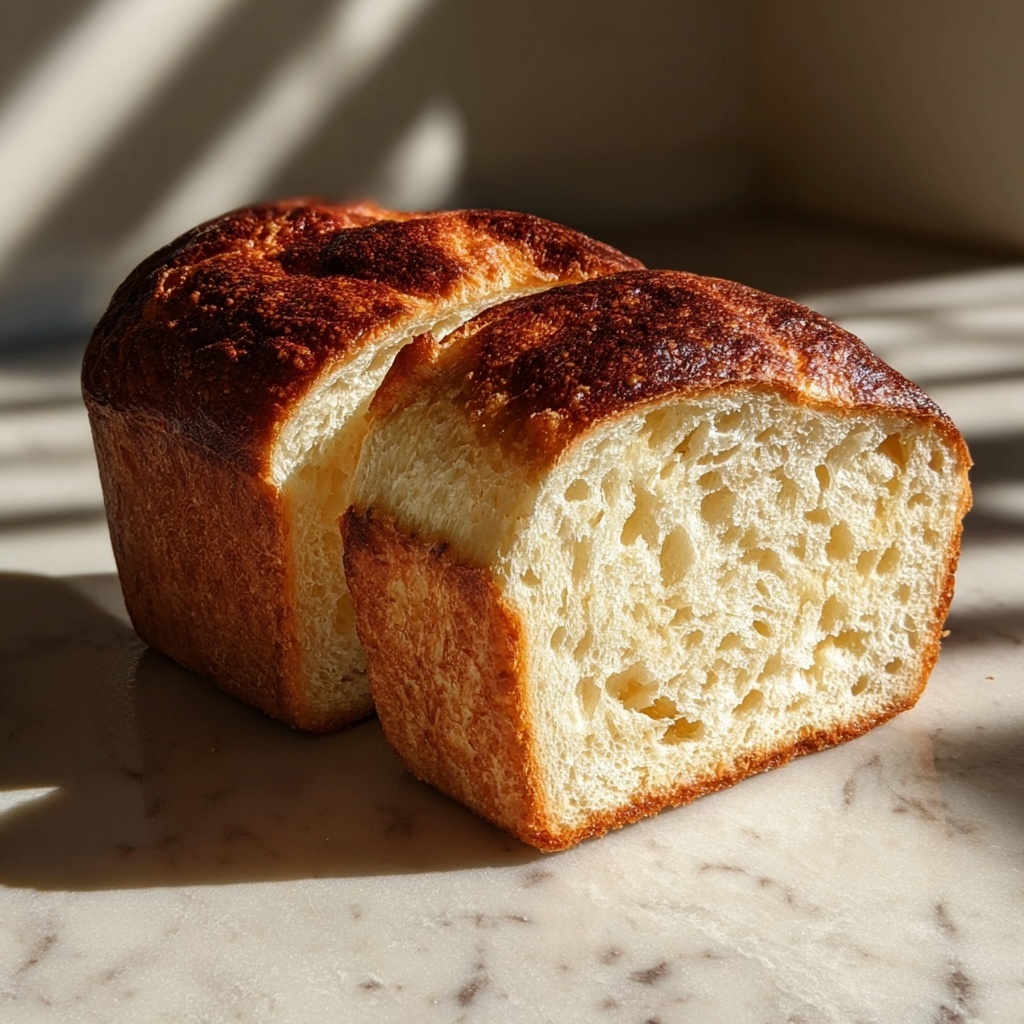
Transfer your dough directly into the greased loaf pan and smooth the top with a spatula. This step sets the shape and ensures an even rise while baking. Slide the pan into the oven and bake for about 40 minutes. You’re looking for a golden brown crust and a hollow sound when you give the top a light tap—that’s the sure sign your bread is perfectly cooked inside.
Step 5: Cool Before Slicing
Once baked, let the bread cool in the pan for 10 minutes. This brief rest firms up the structure and prevents it from crumbling when removed. Then, transfer your loaf to a wire rack to cool completely. Patience here rewards you with cleaner slices and a better texture that’s ready to be enjoyed.
How to Serve Classic Gluten-Free White Sandwich Bread Recipe
Garnishes
While this Classic Gluten-Free White Sandwich Bread Recipe is delicious on its own, adding a sprinkle of seeds like sesame or poppy just before baking can elevate its look and flavor spectacularly. For serving, a light slather of herb butter or a drizzle of honey can turn it into an unforgettable treat that’s both simple and satisfying.
Side Dishes
This bread pairs wonderfully with a variety of sides. Think fresh salads for a light lunch or a bowl of hearty soup on a chilly day. Its mild flavor and tender crumb act as the perfect canvas for savory spreads, cheeses, or even sweet jams alongside.
Creative Ways to Present
Slice it thick and toast for a crunchy base to your favorite avocado smash or homemade tuna salad. Alternatively, cube it and turn it into gluten-free croutons or bread pudding—the versatility of this loaf invites you to play and customize it however you like.
Make Ahead and Storage
Storing Leftovers
This Classic Gluten-Free White Sandwich Bread Recipe stays fresh for a couple of days when wrapped tightly in plastic or stored in an airtight container at room temperature. Keeping it sealed prevents it from drying out, preserving that tender crumb we all crave.
Freezing
To keep your loaf longer, slice it first and freeze the slices individually in freezer bags. This way, you can pull out only what you need without thawing the entire loaf. Properly wrapped, the bread holds its quality for up to 3 months.
Reheating
When ready to enjoy frozen bread, simply toast or warm the slice in a skillet or oven for a few minutes. It revives the texture, making it taste just as fresh and delightful as the day you baked it.
FAQs
Can I use a different type of gluten-free flour?
Absolutely! While this recipe works best with a gluten-free all-purpose blend that contains xanthan gum or similar binders, you can experiment with other mixes. Just keep in mind that texture and rise might vary slightly based on flour composition.
Do I need to knead the dough?
Nope! Unlike traditional wheat doughs, this classic gluten-free version doesn’t require kneading. Mixing until smooth is enough to develop the right texture, making it a quick and easy bread to prepare.
Can I make this bread dairy-free?
This recipe is already dairy-free since it uses olive oil and eggs instead of butter or milk. It’s an excellent option for those avoiding dairy but seeking rich, flavorful bread.
What’s the best way to check if the bread is fully baked?
The best indicators are a golden brown top and a hollow sound when tapped gently on the surface. If you have a thermometer, the internal temperature should be around 200°F (93°C) for perfectly cooked bread.
Can I substitute the eggs?
Eggs provide structure and moisture, which are crucial here. If you need an alternative, try using flax eggs or commercial egg replacers, but be aware the texture might be a bit denser and you’ll want to adjust the liquid ratios slightly.
Final Thoughts
Embracing the Classic Gluten-Free White Sandwich Bread Recipe means welcoming a loaf that’s wonderfully soft, delightfully flavorful, and perfectly suited for anyone craving homemade bread without gluten stress. Once you try it, you might just find this recipe becoming your new go-to comfort food favorite, ready to bring warmth and smiles to your table again and again.
Print
Classic Gluten-Free White Sandwich Bread Recipe
- Prep Time: 10 minutes
- Cook Time: 40 minutes
- Total Time: 55 minutes
- Yield: 1 loaf (approx. 8 slices)
- Category: Bread
- Method: Baking
- Cuisine: American
- Diet: Gluten Free
Description
This Classic White Sandwich Bread recipe offers a soft, gluten-free loaf perfect for sandwiches or toast. Made with simple ingredients and baked to a golden brown, it is an excellent option for those seeking a homemade gluten-free bread with a tender crumb and mild flavor.
Ingredients
Dry Ingredients
- 2 cups gluten-free all-purpose flour
- 1 tablespoon sugar
- 1 teaspoon salt
- 1 tablespoon active dry yeast
Wet Ingredients
- 1 cup warm water
- 2 tablespoons olive oil
- 2 eggs
Instructions
- Preheat and Prepare: Preheat your oven to 375°F (190°C) and grease a loaf pan thoroughly to prevent sticking and ensure easy bread release.
- Mix Dry Ingredients: In a large mixing bowl, combine the gluten-free all-purpose flour, sugar, salt, and active dry yeast, mixing well to distribute the ingredients evenly.
- Add Wet Ingredients and Mix: Pour in the warm water, olive oil, and eggs into the dry ingredients. Stir and mix until you achieve a smooth, cohesive dough without lumps.
- Transfer to Pan and Shape: Spoon the dough into the prepared loaf pan. Use a spatula to smooth the surface for an even rise and uniform shape.
- Bake: Place the loaf pan in the preheated oven and bake for 40 minutes. The bread is done when the crust is golden brown and it sounds hollow when tapped.
- Cool: Remove the bread from the oven and allow it to cool in the pan for 10 minutes. Then transfer it to a wire rack to cool completely, preventing sogginess and achieving the best texture.
Notes
- Make sure the water is warm, not hot, to activate the yeast properly without killing it.
- You can substitute olive oil with vegetable oil or melted butter if preferred.
- Ensure all ingredients, especially the gluten-free flour, are well combined to avoid dry patches in the bread.
- Allow the bread to cool completely before slicing to preserve its structure and prevent crumbling.
- For a dairy-free version, replace eggs with flax eggs or other egg substitutes.


