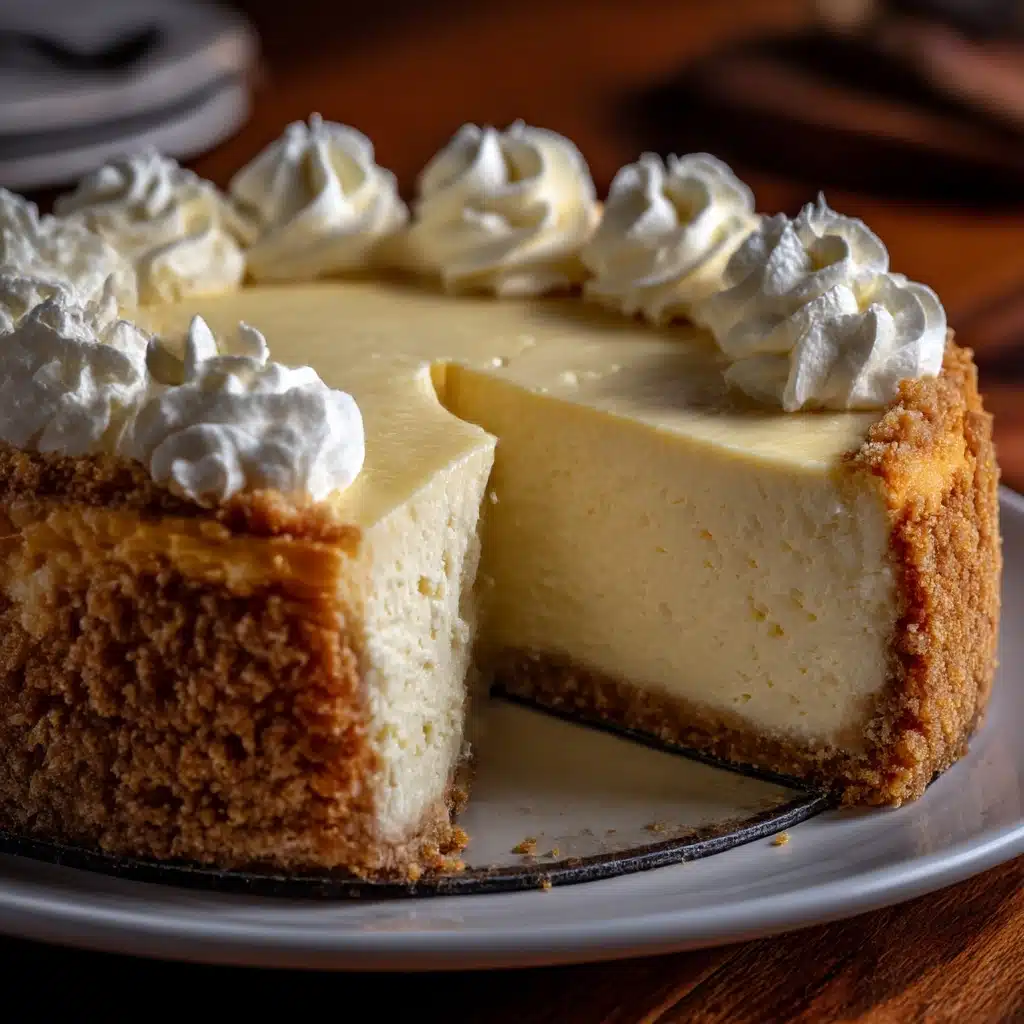
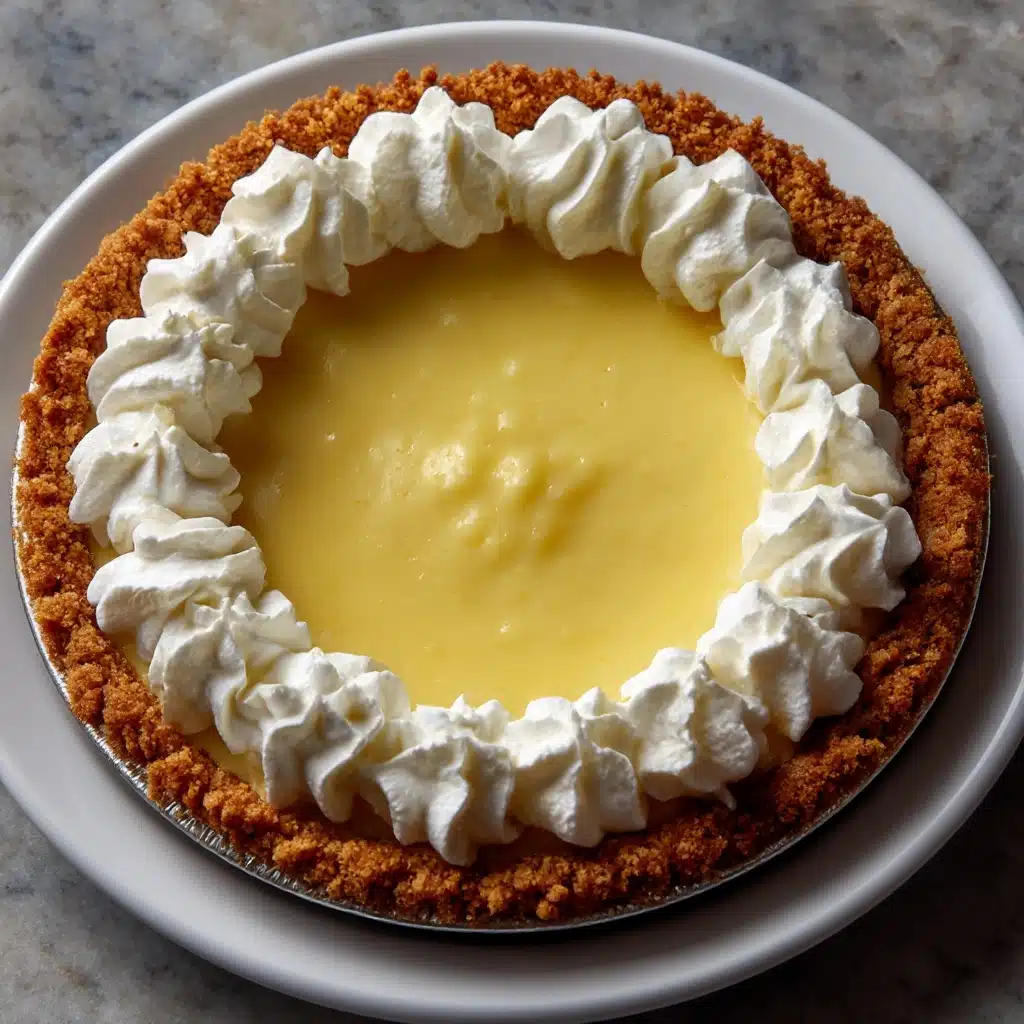
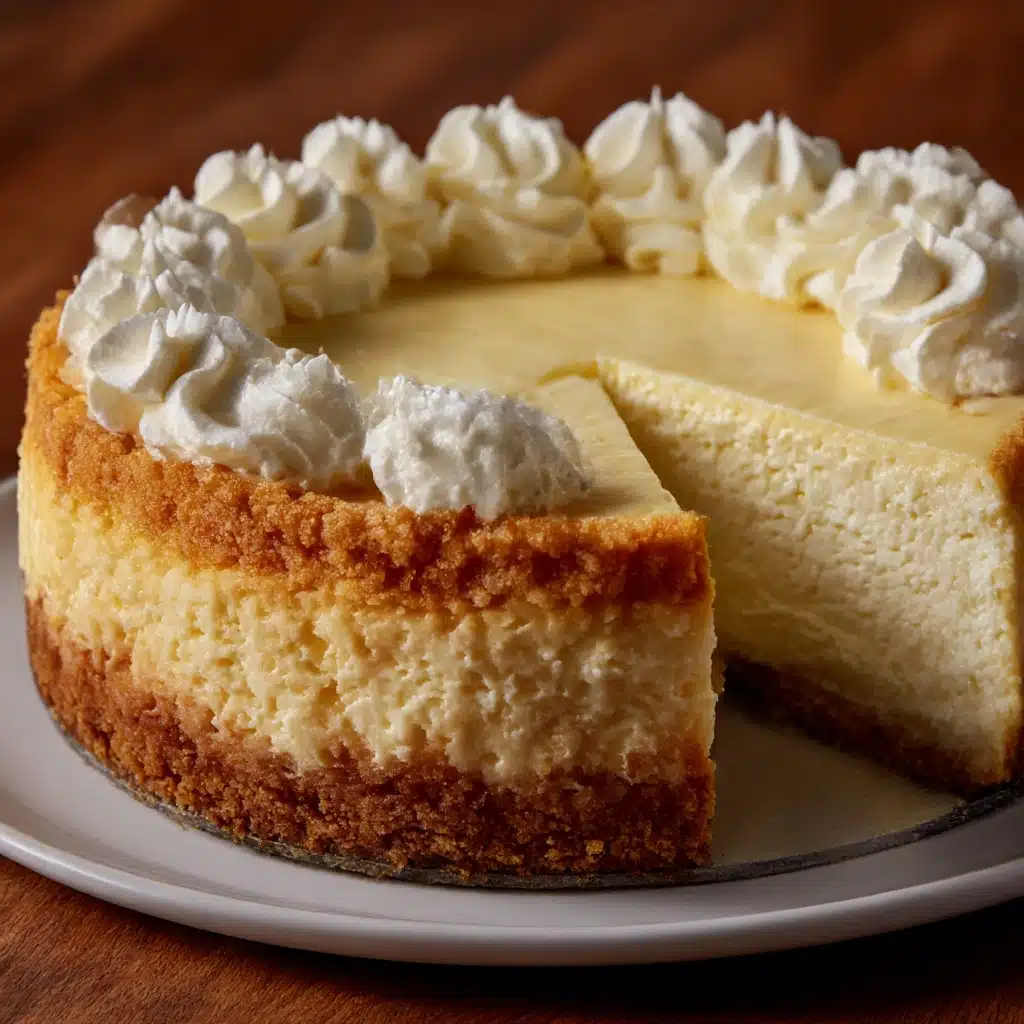
If you’re someone who dreams of buttery, crunchy graham cracker crust in every bite of their cheesecake, this Classic Cheesecake With Double Crust will be your new go-to dessert! It’s a luscious, ultra-creamy cheesecake swaddled in a thick layer of graham cracker crust at the bottom and all around the sides. With silky vanilla filling and that signature tang from cream cheese and sour cream, this classic treat is just begging to become the star of your next celebration—or, let’s be honest, your next cozy night in with a fork and nothing but good vibes.
Ingredients You’ll Need
What makes this Classic Cheesecake With Double Crust truly unforgettable is how each simple ingredient sings its own part in harmony. From the crunchy, caramel notes of graham crackers to the velvety richness of cream cheese, every component plays an important role in taste and texture.
- Graham cracker crumbs: The foundation (and the walls!) of your double crust, bringing irresistible crunch and a sweet, toasty flavor.
- Granulated sugar: Adds just the right amount of sweetness to both the crust and the filling so each bite is balanced.
- Unsalted butter: Binds the crust together and delivers a rich, melt-in-your-mouth finish.
- Salt: Just a pinch enhances all the other flavors and keeps the sweetness in check.
- Cream cheese: The heart of the cheesecake, creating that classic creamy, tangy texture.
- Sour cream: Delivers a little extra tang and makes the filling extra silky.
- Heavy cream: Lends a luxurious smoothness to each bite—don’t skip it!
- Vanilla extract: Adds a warm, inviting aroma and classic cheesecake flavor.
- Eggs: Essential for structure and binding, giving your cheesecake its signature rich and tender texture.
- Optional toppings—whipped cream or fresh berries: A fresh, vibrant way to finish your masterpiece and add a burst of color and flavor.
How to Make Classic Cheesecake With Double Crust
Step 1: Make and Bake the Double Crust
Preheat your oven to 325°F and get out your trusty 9-inch springform pan. Grease it and line the bottom with parchment paper—this helps the cheesecake release smoothly. In a mixing bowl, combine your graham cracker crumbs, the measured sugar, melted unsalted butter, and a pinch of salt. Mix until every crumb is moistened and you can squeeze it gently between your fingers. Press half the mixture firmly into the bottom of the pan, then use the rest to build up a thick layer around the sides, nearly all the way to the top. Pop it in the oven for 10 minutes to set, then let it cool while you move on.
Step 2: Blend the Creamy Filling
Grab a large mixing bowl and beat your softened cream cheese until it’s absolutely smooth and fluffy—no lumps allowed! Gradually add the sugar, blending until well combined. Next goes in the sour cream, heavy cream, and vanilla extract, mixing until just blended. Now, add those eggs one at a time, gently stirring after each. The secret to ultra-creamy Classic Cheesecake With Double Crust is mixing just enough to combine—resist the urge to whip too vigorously or you risk cracks later on.
Step 3: Assemble and Bake
Pour the filling into your cooled, crust-lined pan and use a spatula to smooth the surface. Bake for 60 to 70 minutes. You’re aiming for the center to be set around the edges but still ever-so-slightly jiggly in the middle—think “set custard,” not “firm cake.” Once done, leave the cheesecake in the oven, turn it off, and crack the door. Letting it cool gradually like this helps prevent splitting or cracks, ensuring a picture-perfect Classic Cheesecake With Double Crust.
Step 4: Chill, Release, and Slice
After an hour of slow cooling, transfer the cheesecake to the fridge. Give it at least four hours (or overnight if you can wait!) to fully chill. When ready to serve, run a knife around the edge and pop that springform latch for a smooth, satisfying release. Slice thick wedges, making sure everyone gets plenty of that signature double crust.
How to Serve Classic Cheesecake With Double Crust

Garnishes
Dress up your Classic Cheesecake With Double Crust with clouds of whipped cream, juicy berries, or pretty curls of lemon zest for a pop of freshness. Even a dusting of powdered sugar or a drizzle of caramel sauce can take things to the next level. Pick your favorite—or let guests add their own!
Side Dishes
This cheesecake plays especially well with gently tart sides. A compote of fresh raspberries, a bowl of mixed berries, or even a glass of crisp iced coffee will cut the richness beautifully. For a dinner party, offer fresh fruit salad or a scoop of sorbet alongside each slice for a balanced, finishing touch.
Creative Ways to Present
For something different, try cutting Classic Cheesecake With Double Crust into bite-size bars for a dessert tray, layering cubes in parfait glasses with fruit, or serving with a make-your-own topping bar at your next gathering. You can even use tiny cookie cutters to make adorable cheesecake shapes for a festive dessert board!
Make Ahead and Storage
Storing Leftovers
Have extras? Lucky you! Store slices (or the whole cake) tightly covered in the refrigerator for up to five days. Classic Cheesecake With Double Crust actually gets dreamier with a day or two to set, so leftovers are a secret treat.
Freezing
This cheesecake freezes like a champ. Once set, wrap it (whole or sliced) in plastic wrap, then foil. Store in the freezer for up to two months. When you’re ready to serve, thaw overnight in the fridge for the best texture—no one will know it wasn’t made that morning.
Reheating
Cheesecake is best enjoyed cold or at cool room temperature. If you’d like to take the chill off, just let slices sit on the counter for 20–30 minutes before serving. Avoid microwaving to prevent melting or altering the creamy texture that makes Classic Cheesecake With Double Crust so irresistible.
FAQs
Can I use a different cookie for the crust?
Absolutely! While graham crackers are classic, you can swap in crushed digestive biscuits, vanilla wafers, or even chocolate cookies for a twist on the traditional Classic Cheesecake With Double Crust.
How do I prevent cracks on top?
The key is to avoid overmixing the filling (especially after adding eggs) and to let the cheesecake cool gradually in the oven with the door cracked. These steps help keep Classic Cheesecake With Double Crust as smooth as possible.
Do I really need a springform pan?
A springform pan makes removing your cheesecake a breeze and keeps that thick double crust intact. If you don’t have one, you can use a deep 9-inch cake pan lined with parchment, but removing the cake will require a steady hand and some extra care.
How far in advance can I make this cheesecake?
Classic Cheesecake With Double Crust is the perfect make-ahead dessert! It can be baked up to two days in advance and stored, covered, in the fridge until you’re ready to serve. Flavor only deepens as it rests.
Can I add flavors or mix-ins to the filling?
Absolutely—this is your cheesecake! Try a bit of lemon zest for brightness, a swirl of raspberry puree, or even mini chocolate chips for a fun surprise. Just keep quantities in check so you don’t affect the set of the Classic Cheesecake With Double Crust.
Final Thoughts
If you love your cheesecake with extra crunch, creamy filling, and nostalgic flavor in every forkful, this Classic Cheesecake With Double Crust is a must-try. It’s every bit as satisfying to make as it is to eat, and I promise it’ll earn a permanent place in your dessert rotation. Don’t be surprised if it disappears quicker than you expect—enjoy every bite!
Print
Classic Cheesecake With Double Crust Recipe
- Prep Time: 20 minutes
- Cook Time: 1 hour 10 minutes
- Total Time: 6 hours (including chilling)
- Yield: 12 slices 1x
- Category: Dessert
- Method: Baking
- Cuisine: American
- Diet: Non-Vegetarian
Description
Indulge in the rich and creamy delight of a classic cheesecake with a decadent double crust. This recipe guarantees a luscious dessert that will impress any crowd.
Ingredients
For the crust:
- 2 1/2 cups graham cracker crumbs
- 1/3 cup granulated sugar
- 10 tablespoons unsalted butter (melted)
- pinch of salt
For the filling:
- 32 oz cream cheese (softened)
- 1 cup granulated sugar
- 1/2 cup sour cream
- 1/4 cup heavy cream
- 2 teaspoons vanilla extract
- 4 large eggs
Optional topping:
- whipped cream or fresh berries
Instructions
- Preheat the oven: Heat the oven to 325°F. Grease a 9-inch springform pan and line the bottom with parchment paper.
- Prepare the crust: Mix graham cracker crumbs, sugar, salt, and melted butter. Press half into the bottom of the pan and the rest up the sides. Bake for 10 minutes and cool.
- Make the filling: Beat cream cheese until smooth. Add sugar, sour cream, heavy cream, and vanilla. Mix in the eggs one at a time.
- Bake: Pour the filling into the crust and bake for 60–70 minutes until set. Cool in the oven, then refrigerate for at least 4 hours.
- Serve: Top with whipped cream or berries before slicing.
Notes
- Using a double crust adds extra crunch and flavor—perfect for graham cracker lovers.
- To prevent cracks, avoid overmixing the filling and allow the cake to cool gradually.
Nutrition
- Serving Size: 1 slice
- Calories: 450
- Sugar: 27g
- Sodium: 300mg
- Fat: 32g
- Saturated Fat: 18g
- Unsaturated Fat: 12g
- Trans Fat: 0g
- Carbohydrates: 33g
- Fiber: 0g
- Protein: 7g
- Cholesterol: 120mg


Your email address will not be published. Required fields are marked *