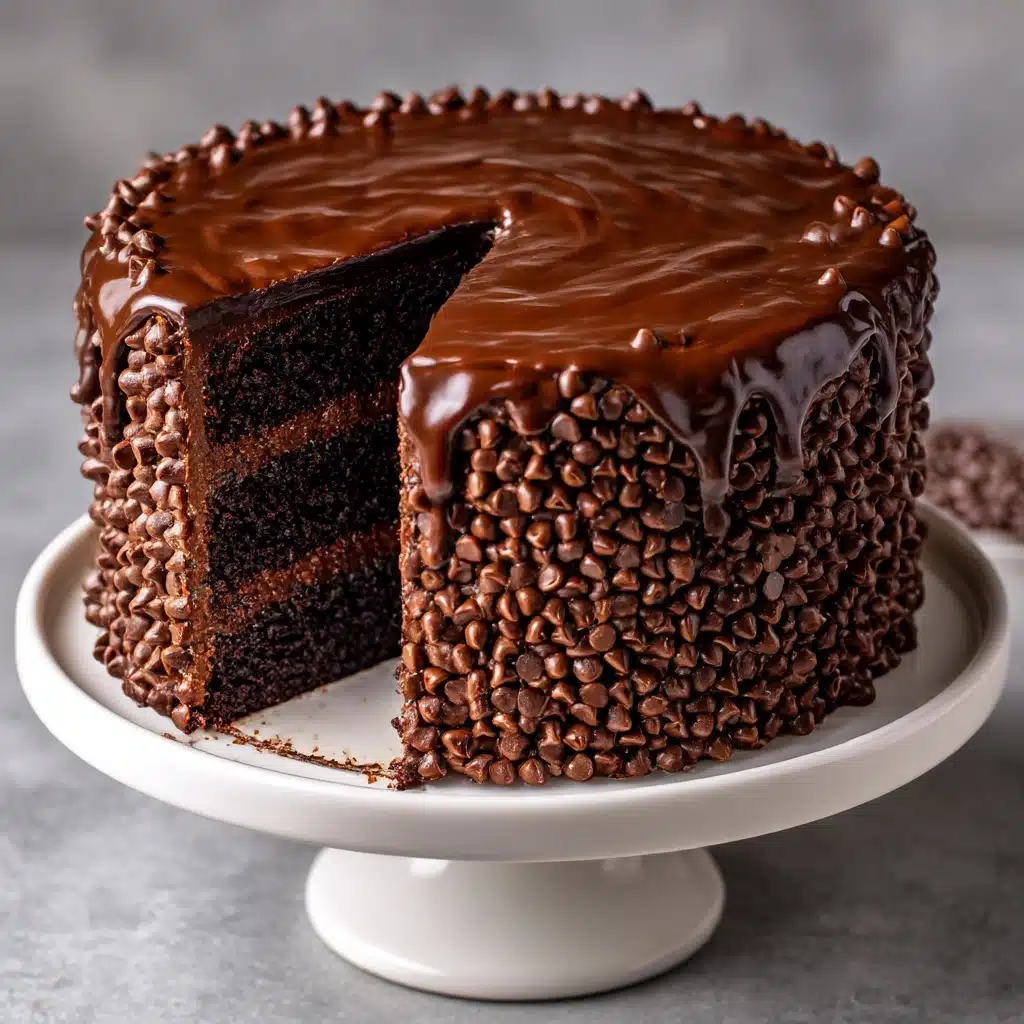
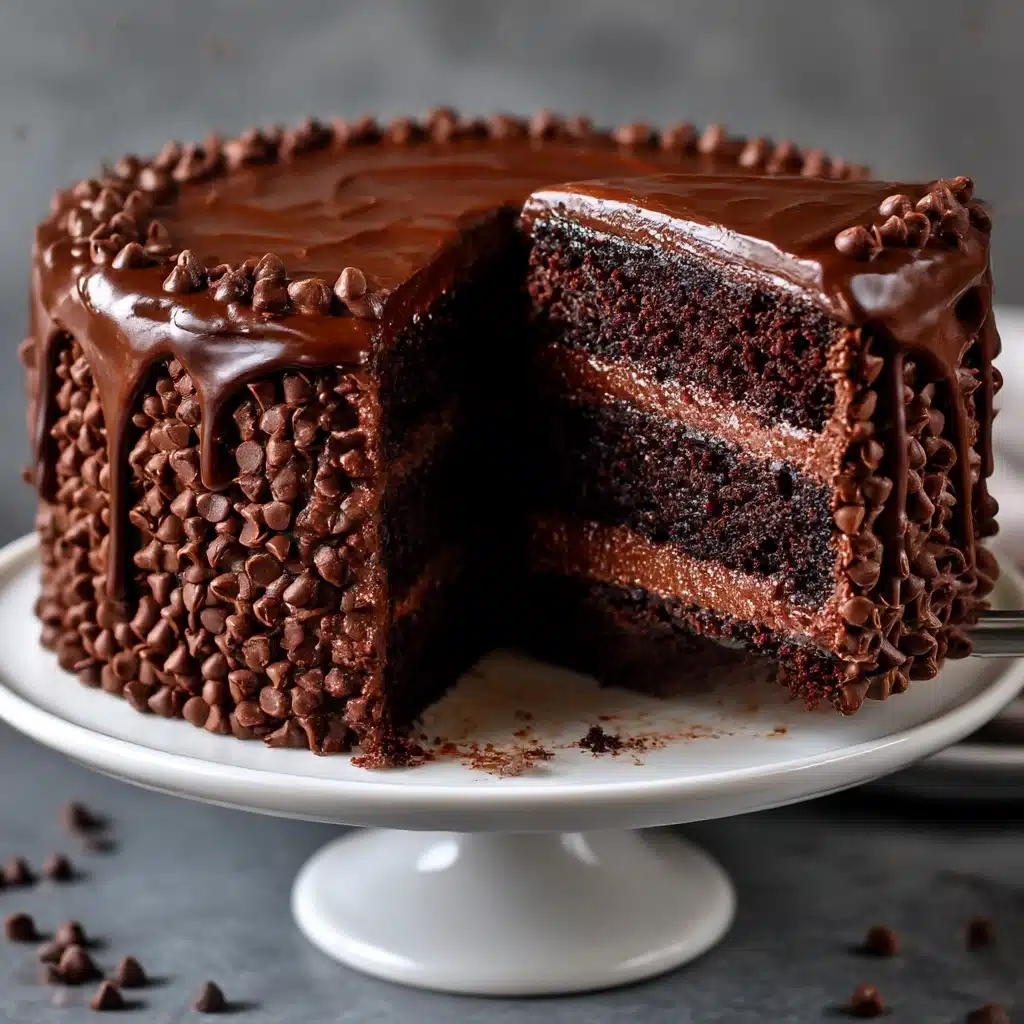
If you’re craving a show-stopping dessert, look no further than this Blackout Chocolate Cake. Imagine three rich chocolate cake layers drenched in a luscious chocolate cream cheese frosting, then finished with a dramatic coating of chocolate crumbs or chips. The result is a cake that’s ultra-moist, intensely chocolaty, and truly unforgettable—from the glossy frosting to that irresistible crumb exterior. Whether it’s for a celebration or just because, this Blackout Chocolate Cake promises to wow chocolate lovers and casual dessert fans alike!
Ingredients You’ll Need
What makes this Blackout Chocolate Cake legendary isn’t complicated techniques, but the quality and harmony of the ingredients. Each one is essential: from deep cocoa powder to tangy cream cheese, everything comes together for a dessert that’s both decadent and perfectly balanced.
- All-purpose flour: This forms the sturdy base for tall, tender cake layers.
- Granulated sugar: Gives the cake its sweet, melt-in-your-mouth finish.
- Unsweetened cocoa powder: The key to that intense, bittersweet chocolate flavor.
- Instant espresso powder (optional): Deepens the chocolate notes without making the cake taste like coffee—it’s a secret weapon!
- Baking soda & baking powder: Ensure a lofty, light crumb that still feels incredibly moist.
- Salt: Elevates all the flavors and keeps the sweetness in check.
- Eggs: Bind the batter together while adding richness and structure.
- Greek yogurt or sour cream: Lends tang and a custard-like softness to every bite.
- Hot water or brewed coffee: Unlocks the full cocoa flavor and creates an extra-moist texture.
- Vegetable oil: For an irresistibly tender, never dry crumb.
- Vanilla extract: Adds warmth and complexity to both cake and frosting.
- Unsalted butter: The creamy foundation for that ultra-smooth frosting.
- Cream cheese: Offers a tangy counterpoint that keeps the frosting from being too sweet.
- Powdered sugar: Sweetens and thickens the frosting to luscious perfection.
- Heavy cream: Makes the frosting fluffy and spreadable—just dreamy!
- Chocolate cake crumbs or mini chocolate chips: Pressed around the outside for that signature Blackout Chocolate Cake finish.
- Melted chocolate (optional): A glossy drizzle for extra drama and chocolate punch.
How to Make Blackout Chocolate Cake
Step 1: Prepare and Bake the Cake Layers
Begin by preheating your oven to 350°F (175°C), greasing, and lining three 9-inch round cake pans. Whisk all the dry ingredients—flour, sugar, cocoa, espresso, leaveners, and salt—together in a large bowl for even distribution. Add the eggs, yogurt, hot water (or coffee for extra depth), oil, and vanilla. Mix gently until everything just comes together and the batter looks glossy. Divide the mixture among your cake pans. Bake for 30 to 35 minutes, or until a toothpick emerges clean. Let the layers cool completely; this patience will pay off with neat, moist layers that are easy to frost.
Step 2: Whip Up the Chocolate Cream Cheese Frosting
While your cakes cool, start the superstar frosting. In a big mixing bowl, beat softened butter and cream cheese until they’re fluffy and lump-free—a good 2 to 3 minutes. Add cocoa powder, vanilla, and a pinch of salt, blending until rich and uniformly chocolaty. Gradually add powdered sugar, beating slowly at first to avoid a sugar dust cloud. Once combined, drizzle in heavy cream until the frosting is creamy, thick, and spreadable—but not runny. It should hold swoops and swirls on the cake.
Step 3: Assemble the Blackout Chocolate Cake
To assemble, check if your cake layers are even. Level them gently with a serrated knife if needed. Place your first layer on a serving plate, and lavish a thick layer of chocolate frosting over the top. Stack the second layer and repeat with frosting. Now, take the third cooled layer and crumble it into fine, chocolatey crumbs—these are the hallmark of the Blackout Chocolate Cake! If you prefer, mini chocolate chips are a fun and tasty substitute.
Step 4: Frost and Decorate
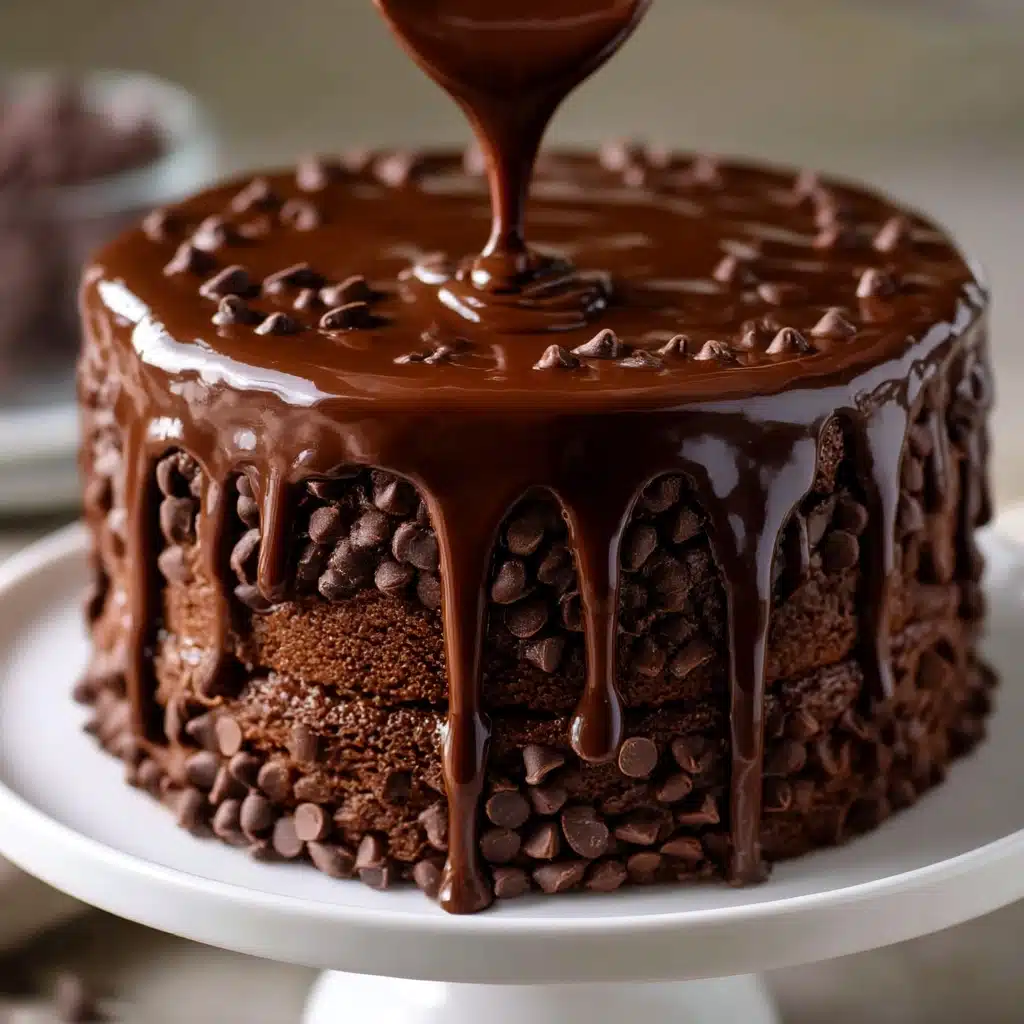
Coat the entire stacked cake with a thin “crumb coat” of frosting to seal in any errant bits, then chill for 30 minutes to set. Once chilled, spread the rest of your gorgeous frosting over the cake, swirling it luxuriously across the top and sides. Press your reserved cake crumbs or chocolate chips all around the cake until it’s completely cloaked in chocolatey goodness. For the grand finale, drizzle the top with melted chocolate if you’re feeling indulgent. Let it chill slightly before slicing—hard as it is to wait!
How to Serve Blackout Chocolate Cake
Garnishes
This Blackout Chocolate Cake is already a showstopper, but finishing touches always make dessert extra special. Scatter a handful of chocolate curls or a light dusting of powdered sugar over the top for visual excitement, or add fresh raspberries for a pop of color and tartness. If you’ve opted for a chocolate drizzle or chocolate chips, these garnishes create a true bakery-worthy vibe.
Side Dishes
Because this cake is unapologetically rich, pair each slice with something that balances out the chocolate decadence. Try a generous dollop of lightly sweetened whipped cream, a scoop of tangy vanilla ice cream, or even a glass of cold milk. For grown-up gatherings, a cup of espresso or a silky cappuccino is perfect for lingering over every bite of Blackout Chocolate Cake.
Creative Ways to Present
If you want to wow your guests even more, try assembling mini Blackout Chocolate Cakes in glass jars for an adorable single-serve treat. You can also slice the cake into cubes and layer it with whipped cream and berries in a trifle bowl, giving all the drama of the original with a playful twist. For birthdays, candles nestled in the chocolate crumb exterior look absolutely magical!
Make Ahead and Storage
Storing Leftovers
To keep your Blackout Chocolate Cake tasting fresh, cover leftovers tightly with plastic wrap or store them in an airtight container. It’ll stay moist and dreamy for up to four days in the fridge—just be sure to let slices come to room temperature before serving, so the frosting softens to its original creaminess.
Freezing
This cake freezes amazingly well. Wrap individual slices or even a whole, undecorated cake (without frosting or crumbs) in plastic wrap and then foil. Freeze for up to two months. When ready to enjoy, thaw overnight in the fridge, then bring to room temperature. Add fresh frosting and decorations for the best finish.
Reheating
No need to actually heat this cake, but if you love melty chocolate, microwave your slice for 5 to 10 seconds. The frosting softens and everything tastes like it’s fresh from the bakery. Just watch closely—you want warm, not steaming-hot!
FAQs
Can I use Dutch-processed cocoa powder for Blackout Chocolate Cake?
Absolutely! Dutch-processed cocoa will make your cake even darker and give it a smoother, more mellow chocolate flavor. Either natural or Dutch-processed cocoa works beautifully in this recipe.
What can I use if I don’t have Greek yogurt or sour cream?
Full-fat plain yogurt makes a great substitute if you don’t have Greek yogurt or sour cream. This ingredient keeps the cake ultra-moist and tender, so don’t skip it!
Does the instant espresso powder make the cake taste like coffee?
Nope—it simply amplifies the chocolate flavor. If you’re sensitive to coffee or making this for kids, you can leave it out, but it really does make the Blackout Chocolate Cake taste even more chocolatey!
Can I make this Blackout Chocolate Cake gluten-free?
Yes! Substitute a high-quality 1:1 gluten-free flour blend for the all-purpose flour. Make sure all your other ingredients (like baking powder) are gluten-free too. The result is just as rich and delicious.
How far in advance can I bake the cake layers?
You can bake the cake layers up to one day ahead. Once completely cooled, wrap each layer tightly in plastic wrap and store at room temperature. They’ll be ready to frost and assemble whenever you are!
Final Thoughts
There’s something magical about sharing a homemade Blackout Chocolate Cake—every slice feels like a celebration. Whether you’re marking a special occasion or simply craving an epic chocolate fix, this cake always rises to the occasion. If you give it a try, I’m sure it’ll become a staple in your dessert repertoire. Happy baking and happy indulging!
Print
Blackout Chocolate Cake Recipe
- Prep Time: 45 minutes
- Cook Time: 35 minutes
- Total Time: 1 hour 20 minutes
- Yield: 10–12 servings 1x
- Category: Dessert
- Method: Baking
- Cuisine: American
- Diet: Vegetarian
Description
Indulge in the rich and decadent goodness of this Blackout Chocolate Cake, a moist and luscious dessert that will satisfy any chocolate lover’s cravings. The layers of moist chocolate cake paired with a velvety chocolate cream cheese frosting create a heavenly combination that’s perfect for any special occasion or simply as a treat for yourself.
Ingredients
For the Cake:
- 3 cups all-purpose flour
- 3 cups granulated sugar
- 1 1/2 cups unsweetened cocoa powder
- 1 tbsp instant espresso powder (optional)
- 1 tbsp baking soda
- 1 1/2 tsp baking powder
- 1 1/2 tsp salt
- 4 large eggs
- 1 1/2 cups Greek yogurt or sour cream
- 2 cups hot water or brewed coffee
- 1/2 cup vegetable oil
- 1 tbsp vanilla extract
For the Chocolate Cream Cheese Frosting:
- 1 1/2 cups unsalted butter, softened
- 8 oz cream cheese, softened
- 1 1/2 cups unsweetened cocoa powder
- 1 tbsp vanilla extract
- Pinch of salt
- 7 cups powdered sugar (adjust to taste)
- 1/4 cup heavy cream (more as needed for consistency)
Instructions
- Bake the Cake Layers: Preheat oven to 350°F (175°C) and prepare cake pans. Mix dry ingredients, add wet ingredients, and divide batter into pans. Bake and cool.
- Prepare the Frosting: Beat butter and cream cheese, add cocoa, vanilla, salt, and sugar. Adjust consistency with heavy cream.
- Assemble the Cake: Layer cakes with frosting, crumb coat, and frost the entire cake.
- Decorate: Cover the cake with crumbs or chocolate chips and drizzle with melted chocolate. Chill before serving.
Notes
- Coffee intensifies the chocolate flavor but can be replaced with hot water.
- You can make the cake layers a day in advance and wrap tightly before frosting.
- For a more traditional version, substitute chocolate pudding for the frosting between layers.
Nutrition
- Serving Size: 1 slice
- Calories: 550
- Sugar: 50 g
- Sodium: 200 mg
- Fat: 30 g
- Saturated Fat: 15 g
- Unsaturated Fat: 12 g
- Trans Fat: 0.5 g
- Carbohydrates: 70 g
- Fiber: 5 g
- Protein: 6 g
- Cholesterol: 60 mg


Your email address will not be published. Required fields are marked *