
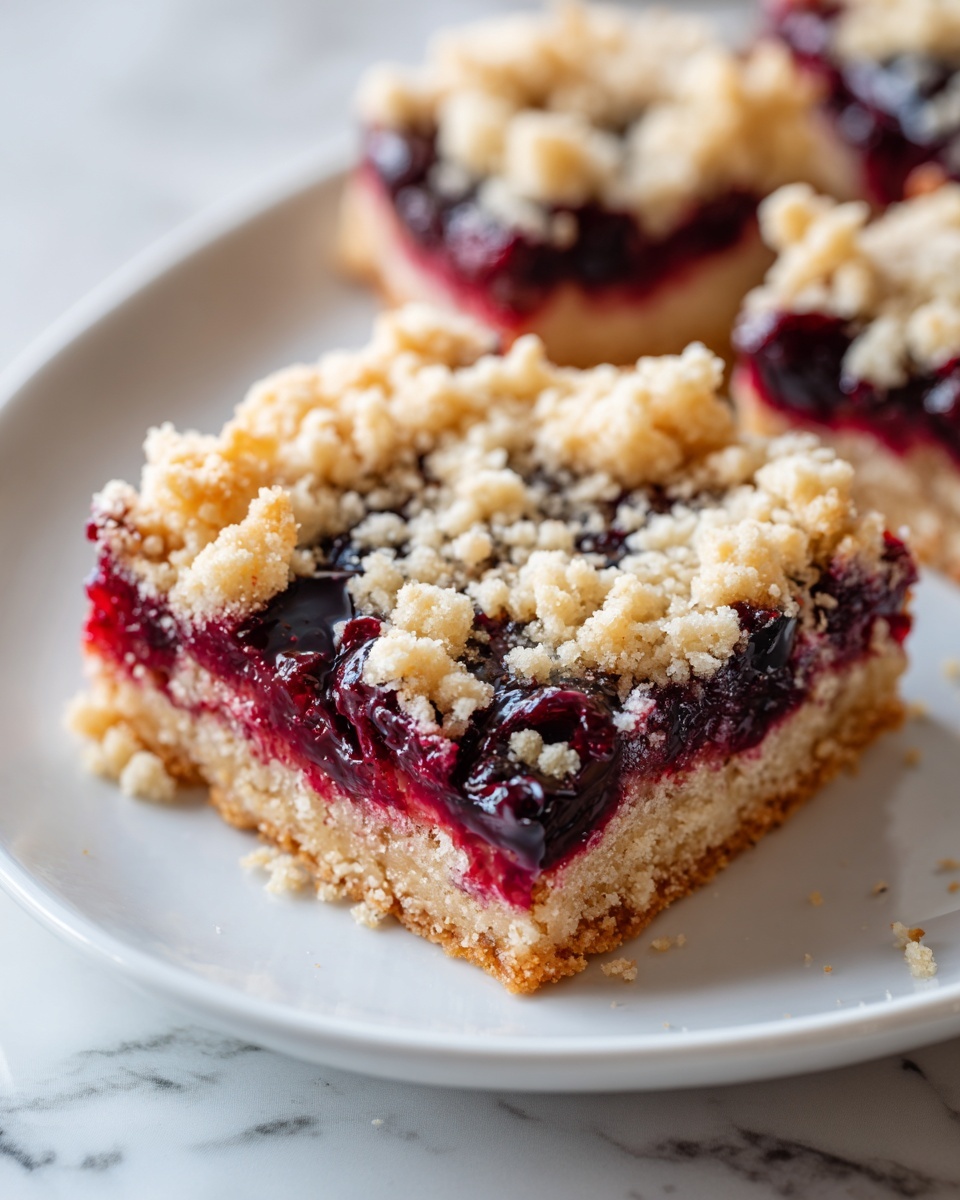
If you’re looking for a festive, crowd-pleasing dessert that perfectly balances creamy, sweet, and tangy flavors, you will absolutely adore this Christmas Cherry Cheesecake Bars Recipe. These bars bring together a buttery graham cracker crust, silky smooth cheesecake filling, and a glossy cherry topping that’s bursting with holiday cheer. Whether you’re serving them at a family gathering or a holiday party, these bars are a delightful twist on classic cheesecake that’s easy to make and impossible to resist.
Ingredients You’ll Need
This Christmas Cherry Cheesecake Bars Recipe relies on simple, classic ingredients that each play a vital role in the final masterpiece. From the crumbly base to the luscious filling and bright cherry topping, every component adds an essential layer of flavor and texture.
- Graham cracker crumbs: Provide a crunchy, buttery base with a hint of sweetness that complements the creamy filling.
- Granulated sugar: Sweetens both the crust and cheesecake filling for balanced flavor.
- Unsalted butter: Binds the crust ingredients while adding richness and depth.
- Cream cheese: The star of the filling, offering smoothness and tanginess that defines cheesecake.
- Eggs: Bind the filling ingredients together and help achieve that perfect creamy yet firm texture.
- Vanilla extract: Adds a warm, aromatic note that enhances the cheesecake’s flavor.
- Cherry pie filling: Provides a bright, fruity topping that adds color and festive flair.
- Red and green sprinkles (optional): Perfect for adding a playful, seasonal touch to the finished bars.
- Whipped cream (optional): Offers a light, fluffy finish that pairs beautifully with each bite.
How to Make Christmas Cherry Cheesecake Bars Recipe
Step 1: Prepare the Crust
Start by preheating your oven to 325°F (160°C) and lining a 9×13-inch pan with parchment paper or foil—don’t forget to leave some overhang for easy removal later! Combine graham cracker crumbs, sugar, and melted butter in a bowl, mixing until every crumb is moistened. Then, press this mixture firmly into the bottom of your pan and bake it for 8 to 10 minutes. This step creates a sturdy, golden base that supports the cheesecake filling beautifully.
Step 2: Make the Cheesecake Filling
In a large bowl, beat softened cream cheese until it’s completely smooth and creamy—no lumps allowed here! Gradually add sugar and continue beating until it looks fluffy and light. Add eggs one at a time, beating well after each addition to ensure a silky texture. Finally, stir in vanilla extract for a lovely fragrant note. Pour this luscious filling evenly over the cooled crust, spreading it to the edges so every bar gets a perfect slice of cheesecake.
Step 3: Bake the Cheesecake
Bake your creation for 30 to 35 minutes until the center just sets and the edges turn a light golden brown. Overbaking can lead to cracks, so keeping a close eye here will ensure a beautifully smooth cheesecake layer. Once baked, let the bars cool completely at room temperature before chilling them in the fridge for at least four hours or overnight—this step is crucial for that perfect firm yet creamy texture.
Step 4: Add the Cherry Topping
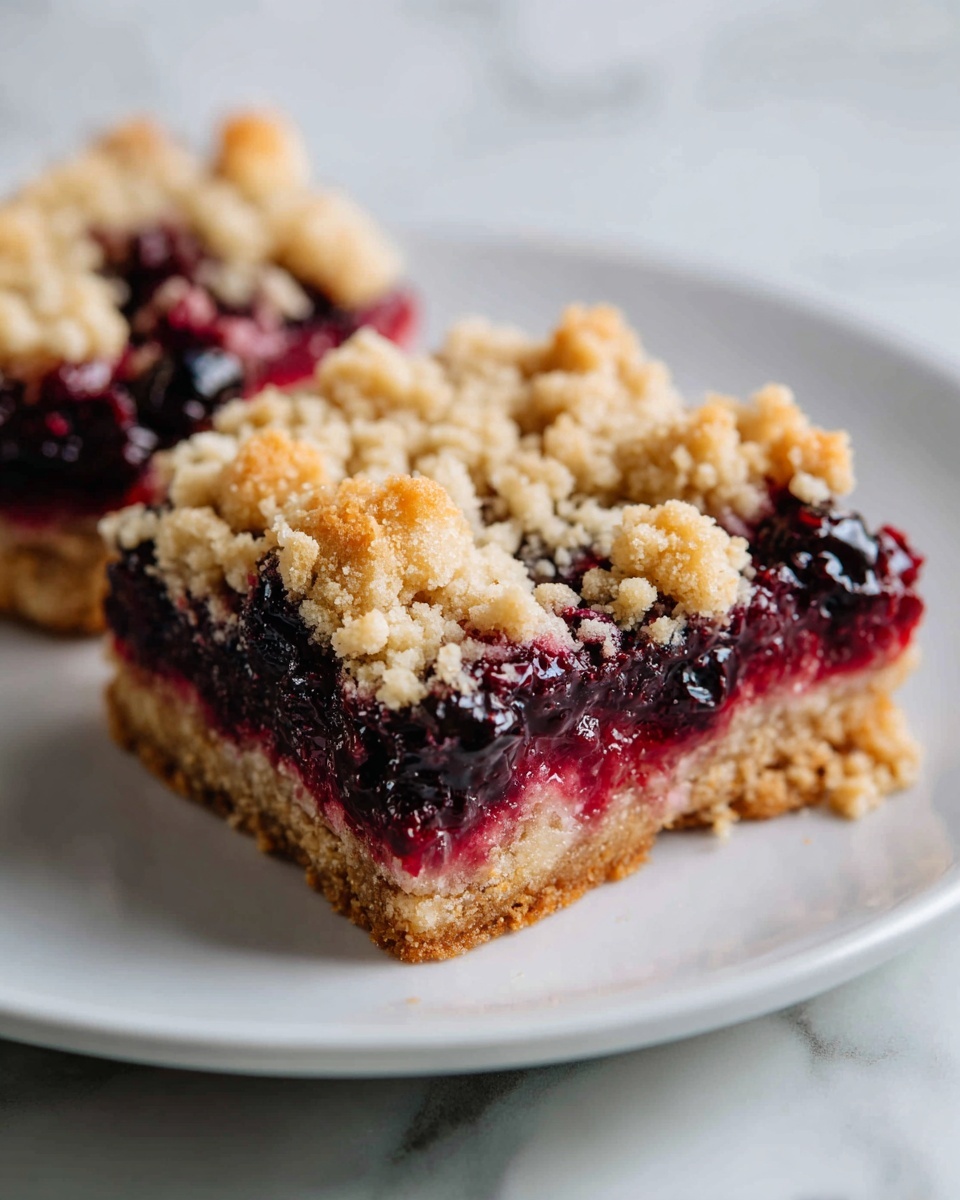
After chilling, spread the cherry pie filling evenly over the cheesecake layer. The glossy, vibrant cherries not only add a burst of sweet and tart flavor but also make these bars feel extra festive. If you want to elevate the look, sprinkle with red and green sprinkles to evoke those holiday vibes. Your Christmas Cherry Cheesecake Bars Recipe is now ready to slice and serve!
How to Serve Christmas Cherry Cheesecake Bars Recipe
Garnishes
For an elegant finishing touch, add a dollop of whipped cream on each bar as you serve. The light, airy cream cuts through the richness of the cheesecake while lending a fluffy contrast. If you love a bit of crunch, consider sprinkling crushed holiday candies or chopped nuts alongside the sprinkles for added texture and festivity.
Side Dishes
This dessert pairs perfectly with a cup of freshly brewed coffee or a glass of dessert wine for a cozy holiday treat. If you’re planning a larger holiday spread, fresh fruit or a simple mixed green salad with a tangy vinaigrette can provide a refreshing balance to the richness of the cheesecake bars.
Creative Ways to Present
For a stunning presentation, serve these bars on a festive platter with holly leaves and cranberries scattered around. Alternatively, wrap each slice in parchment paper and tie it with a ribbon for adorable holiday party favors. You can even layer smaller bars in clear treat boxes, showcasing the cherry topping and colorful sprinkles—making your Christmas Cherry Cheesecake Bars Recipe a feast for the eyes as well as the taste buds.
Make Ahead and Storage
Storing Leftovers
Leftover bars store wonderfully in an airtight container in the fridge for up to five days. Keeping them chilled ensures the cheesecake remains firm and the cherry topping stays glossy and fresh. Just be sure not to leave them at room temperature for long periods to maintain their texture and safety.
Freezing
If you want to prepare these cheesecake bars ahead of time, they freeze beautifully. Wrap individual bars tightly in plastic wrap and place them in a freezer-safe container or zip-top bag. Frozen bars can be kept up to two months. Thaw them overnight in the refrigerator before serving for the best texture.
Reheating
These bars are best enjoyed cold or at room temperature, so reheating isn’t usually necessary. However, if you’d like to serve them slightly warmer, let them sit out at room temperature for about 30 minutes before eating. Avoid using the microwave, as it can cause the crust to soften too much and the filling to become overly soft.
FAQs
Can I use fresh cherries instead of cherry pie filling?
Absolutely! Fresh cherries can be cooked down with a bit of sugar and lemon juice to make your own topping. This is a great way to customize the sweetness and texture, making your Christmas Cherry Cheesecake Bars Recipe even more special.
What if I don’t have graham crackers for the crust?
You can substitute graham cracker crumbs with crushed digestive biscuits or vanilla wafers. Both options will still provide a delicious base, though the flavor will vary slightly. Just be sure to use about the same quantity for balance.
Can I make this recipe gluten-free?
Yes! Simply choose gluten-free graham cracker crumbs or an alternative gluten-free cookie for the crust. Everything else in this Christmas Cherry Cheesecake Bars Recipe is naturally gluten-free, making it easy to adapt for dietary needs.
Is it possible to add almond extract as suggested?
Definitely! Adding a few drops of almond extract to the cheesecake filling enhances the flavor with a subtle nutty note that pairs wonderfully with cherry. Just be careful not to overpower, as almond extract is quite potent.
How should I cut the bars cleanly?
For neat slices, use a sharp knife dipped in hot water and wiped dry between cuts. This helps the knife glide through the cheesecake layer without sticking or causing the topping to drag. It’s a simple trick to keep your bars looking as good as they taste.
Final Thoughts
This Christmas Cherry Cheesecake Bars Recipe is one of those magical desserts that feels both comforting and festive in every bite. It’s easy enough to make ahead, strikingly beautiful, and absolutely delicious—a guaranteed hit for holiday celebrations. I encourage you to give this recipe a try and watch it quickly become one of your favorite seasonal treats to share with loved ones.
Print
Christmas Cherry Cheesecake Bars Recipe
- Prep Time: 20 minutes
- Cook Time: 35 minutes
- Total Time: 5 hours (including chilling)
- Yield: 16 bars
- Category: Dessert
- Method: Baking
- Cuisine: American
- Diet: Vegetarian
Description
Delight in these festive Christmas Cherry Cheesecake Bars, featuring a buttery graham cracker crust, a creamy vanilla cheesecake filling, and a vibrant cherry topping. Perfect for holiday gatherings or any occasion that calls for a sweet and tangy treat.
Ingredients
For the Crust:
- 1 1/2 cups graham cracker crumbs
- 1/4 cup granulated sugar
- 1/2 cup unsalted butter, melted
For the Cheesecake Filling:
- 2 (8-ounce) packages cream cheese, softened
- 2/3 cup granulated sugar
- 2 large eggs
- 1 teaspoon vanilla extract
For the Topping:
- 1 (21-ounce) can cherry pie filling
- Red and green sprinkles (optional for festive garnish)
- Whipped cream (optional)
Instructions
- Prepare the Oven and Pan: Preheat your oven to 325°F (160°C). Line a 9×13-inch baking pan with parchment paper or foil, leaving an overhang for easy removal, and lightly grease it to prevent sticking.
- Make the Crust: In a medium bowl, combine graham cracker crumbs, sugar, and melted butter. Mix thoroughly until the mixture is evenly moistened. Press this mixture firmly into the bottom of the prepared pan to form an even crust. Bake for 8–10 minutes, then remove and let it cool slightly.
- Prepare the Cheesecake Filling: In a large bowl, beat the softened cream cheese until smooth and creamy. Add sugar and continue beating until the mixture is fluffy. Incorporate the eggs one at a time, mixing well after each addition. Stir in the vanilla extract until fully combined.
- Assemble and Bake: Pour the cheesecake filling evenly over the cooled crust and spread it out gently. Bake for 30–35 minutes, or until the center is just set and the edges turn lightly golden. Remove from the oven and allow it to cool to room temperature.
- Chill the Bars: Once cooled, refrigerate the cheesecake bars for at least 4 hours or preferably overnight to set completely.
- Add Topping and Serve: After chilling, spread the cherry pie filling evenly across the top of the cheesecake. Garnish with red and green sprinkles if desired for a festive touch. Slice into bars and optionally serve each with a dollop of whipped cream.
Notes
- For a more festive flavor, add a few drops of almond extract to the cheesecake filling.
- Homemade cherry topping can be used instead of canned cherry pie filling for a fresh taste.
- Store the cheesecake bars covered in the refrigerator for up to 5 days to maintain freshness.
