
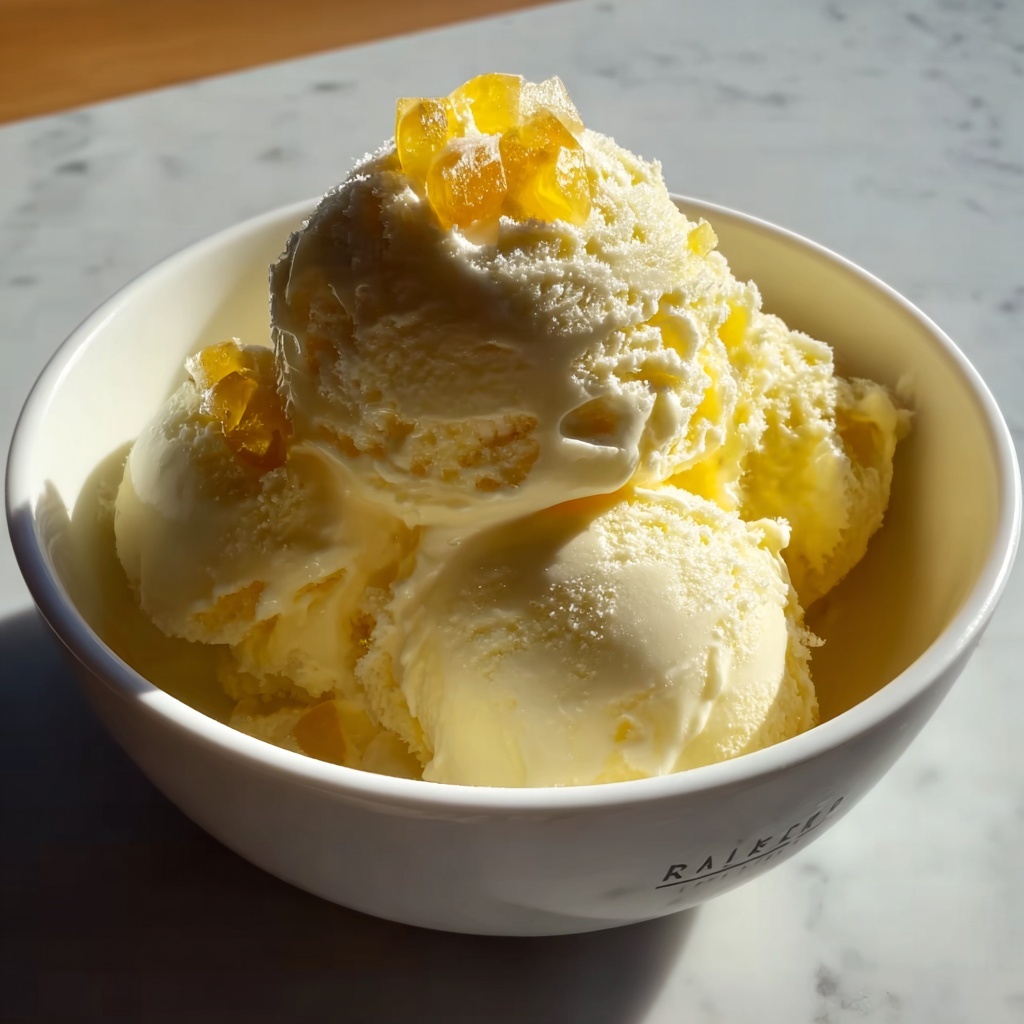
If you have been dreaming of a tropical treat that whisks you away to a sunny paradise in just one bite, then this No Churn Pineapple Ice Cream Recipe for Pure Bliss Recipe is exactly what you need. It’s creamy, refreshingly fruity, and so simple to make that you can quickly whip it up even on a busy day. The natural sweetness of fresh pineapple blended into a smooth, velvety ice cream base creates a harmonious explosion of flavors, making it a perfect crowd-pleaser for summer days or any time you crave a luscious, homemade dessert without the fuss of an ice cream machine.
No Churn Pineapple Ice Cream Recipe for Pure Bliss Recipe: Ingredients You’ll Need
Ingredients You’ll Need
Getting ready to create this delightful ice cream is incredibly easy because it uses a handful of straightforward yet essential ingredients. Each one plays a key role in balancing flavor, ensuring creamy texture, and delivering that vibrant tropical color you see swirling in the final scoop.
- Fresh pineapple, pureed: Offers bright natural sweetness and a juicy tropical flavor that defines the ice cream.
- Heavy cream: Adds richness and creates the luscious, creamy texture you dream of in the perfect ice cream.
- Sweetened condensed milk (14 oz): Sweetens the ice cream naturally while acting as a binder that freezes smoothly without ice crystals.
- Vanilla extract: Enhances and rounds out the pineapple’s fruitiness with warm, aromatic notes.
How to Make No Churn Pineapple Ice Cream Recipe for Pure Bliss Recipe
Step 1: Puree Your Pineapple to Perfection
Start by peeling and chopping fresh ripe pineapple, then toss it into a blender and puree until completely smooth. This fresh puree is the heart of your ice cream, giving it that vibrant flavor and natural sweetness that canned or frozen pineapple can’t match.
Step 2: Whip the Cream
Pour the heavy cream into a clean mixing bowl and add the vanilla extract. Using a hand mixer or stand mixer, whip until soft peaks form—this means your cream will be fluffy but still able to gently fold into the pineapple mixture without deflating.
Step 3: Mix Condensed Milk and Pineapple
In a separate bowl, stir together the sweetened condensed milk with your freshly pureed pineapple until the mixture is evenly combined and smooth. This is where the sweetness and fruit marry into a silky blend ready to become ice cream.
Step 4: Fold the Whipped Cream Gently
Gently fold the whipped cream into the pineapple and condensed milk mixture using a spatula. The key is to maintain that airy texture, so use slow, careful strokes until everything is blended in beautifully and no streaks remain.
Step 5: Freeze the Mixture
Transfer your luscious mixture into an airtight container and smooth the top. Seal it well and place it in the freezer for at least 4 hours, or until the ice cream is firm enough to scoop but still creamy and scoopable.
Step 6: Scoop and Enjoy
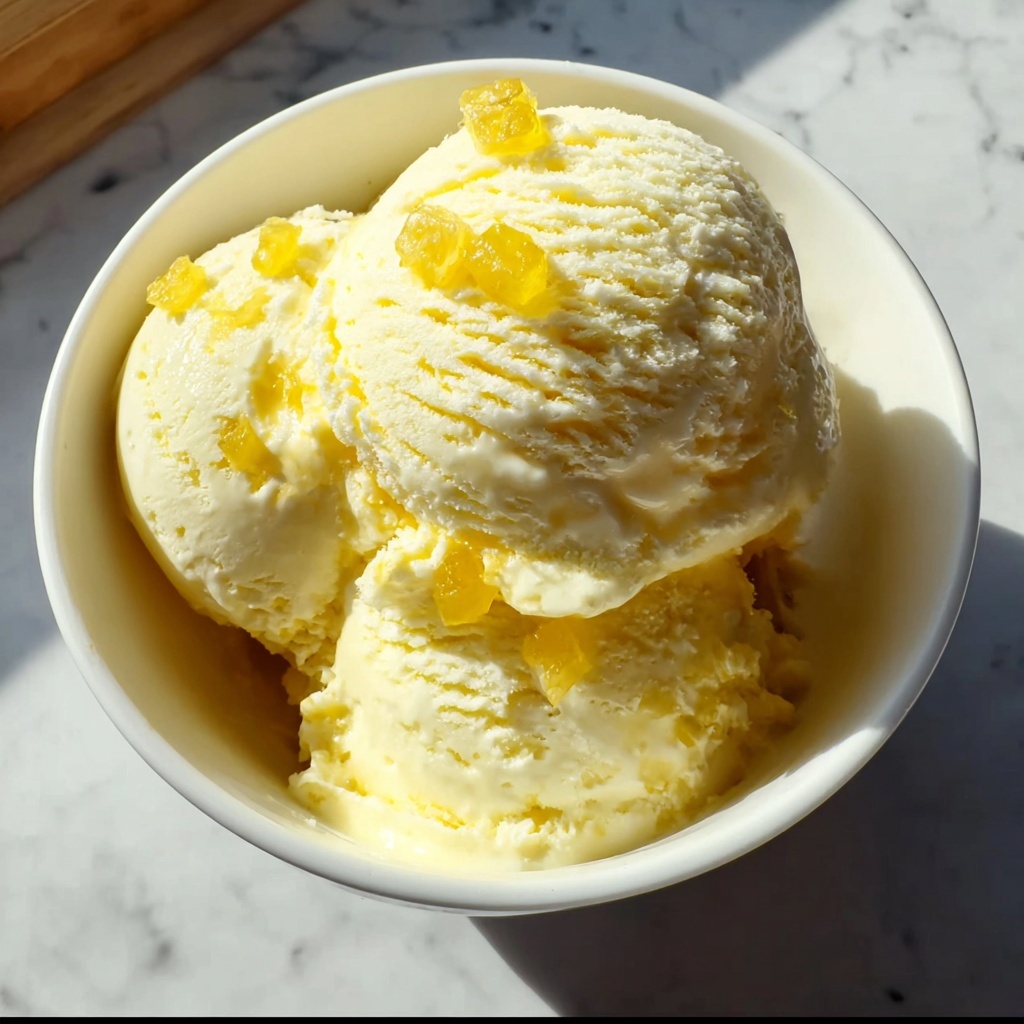
Once your homemade ice cream has set, scoop it out with your favorite ice cream scoop and get ready to enjoy a dreamy, tropical treat that you made yourself. The freshness and creaminess will have everyone reaching for seconds!
How to Serve No Churn Pineapple Ice Cream Recipe for Pure Bliss Recipe
Garnishes
To accentuate the tropical vibe, top your pineapple ice cream with toasted coconut flakes, a sprig of fresh mint, or even finely chopped macadamia nuts. These garnishes add texture, visual appeal, and a burst of flavor that complements the natural fruitiness.
Side Dishes
This ice cream pairs brilliantly with warm desserts like a freshly baked coconut cake or pineapple upside-down cake, but it’s also wonderful alongside a crisp, buttery shortbread cookie for a simple yet elegant contrast.
Creative Ways to Present
For a fun, tropical twist, serve your No Churn Pineapple Ice Cream Recipe for Pure Bliss Recipe in hollowed-out pineapple halves or pineapple-shaped bowls. You can also layer it in parfait glasses with chunks of tropical fruits and a drizzle of passion fruit syrup for an eye-catching and decadent treat.
Make Ahead and Storage
Storing Leftovers
If you have leftovers, keep the ice cream in an airtight container to prevent freezer burn and odors from other foods. Always press a piece of plastic wrap or parchment paper directly onto the ice cream surface before sealing for the best protection.
Freezing
The ice cream freezes beautifully for up to 2 weeks and retains its creamy texture thanks to the sweetened condensed milk. Just remember to let it soften slightly at room temperature before scooping for the best experience.
Reheating
Since this is ice cream, reheating is not recommended. However, letting it sit out for 5 to 10 minutes before serving will make scooping easier without losing its delightful texture.
FAQs
Can I use canned pineapple instead of fresh?
While canned pineapple can be used in a pinch, fresh pineapple offers a brighter, more vibrant flavor and better texture for this recipe, making your ice cream taste more natural and less syrupy.
Do I need an ice cream maker to make this?
Nope! That’s the beauty of this No Churn Pineapple Ice Cream Recipe for Pure Bliss Recipe—no fancy equipment needed. It’s whipped and frozen directly, making it perfect for beginners or anyone without an ice cream machine.
Can I substitute heavy cream with a lighter option?
Heavy cream is essential for achieving the creamy, soft texture that defines this recipe. Using a lighter cream or milk will result in a less rich ice cream and might alter the consistency.
How do I prevent ice crystals from forming?
Folding whipped cream properly and using sweetened condensed milk helps keep ice crystals at bay. Just make sure to keep the container well sealed during freezing and avoid thawing and refreezing the ice cream repeatedly.
Can I add other fruits to this recipe?
Absolutely! While pineapple is the star here, you can blend in mango, passion fruit, or even a handful of berries to customize the flavor, but keep in mind that fresh pineapple’s unique texture and flavor are what give this recipe its pure bliss.
Final Thoughts
This No Churn Pineapple Ice Cream Recipe for Pure Bliss Recipe is such a joy to make and share. It captures the essence of tropical flavors with minimal effort and maximum delight. I hope you dive in and treat yourself to this creamy, sun-kissed dessert—it’s truly a scoop of happiness that’s hard to beat!
Print
No Churn Pineapple Ice Cream Recipe for Pure Bliss Recipe
- Prep Time: 10 minutes
- Cook Time: 0 minutes
- Total Time: 4 hours 10 minutes
- Yield: 4 servings
- Category: Dessert
- Method: No-Cook
- Cuisine: American
- Diet: Vegetarian
Description
Enjoy the tropical flavors of this creamy No Churn Pineapple Ice Cream made with fresh pineapple puree, whipped cream, and sweetened condensed milk. This simple recipe requires no ice cream maker, making it perfect for a quick, homemade frozen treat that’s both refreshing and indulgent.
Ingredients
Ingredients
- 2 cups fresh pineapple, pureed
- 1 cup heavy cream
- 1 can sweetened condensed milk (14 oz)
- 1 tsp vanilla extract
Instructions
- Puree the Pineapple: Blend 2 cups of fresh pineapple in a blender until smooth and consistent to create a flavorful base for the ice cream.
- Whip the Cream: In a mixing bowl, combine 1 cup heavy cream and 1 teaspoon vanilla extract; whip with a mixer until soft peaks form to add a light, airy texture.
- Mix Pineapple and Condensed Milk: In a separate bowl, stir together the sweetened condensed milk and pineapple puree until the mixture is smooth and well combined.
- Fold Mixtures Together: Gently fold the whipped cream into the pineapple and condensed milk mixture, ensuring you keep the mixture light and airy for a creamy texture.
- Freeze the Mixture: Pour the combined mixture into an airtight container, then freeze for a minimum of 4 hours or until the ice cream is firm and scoopable.
- Serve: Scoop the pineapple ice cream into bowls or cones and serve immediately for a refreshing treat.
Notes
- Use fresh, ripe pineapple for the best flavor and natural sweetness.
- Do not over-whip the cream to prevent it from becoming grainy or turning into butter.
- Store any leftovers in an airtight container to maintain freshness.
- If the ice cream is too hard after freezing, let it sit at room temperature for a few minutes before scooping.


