“`html
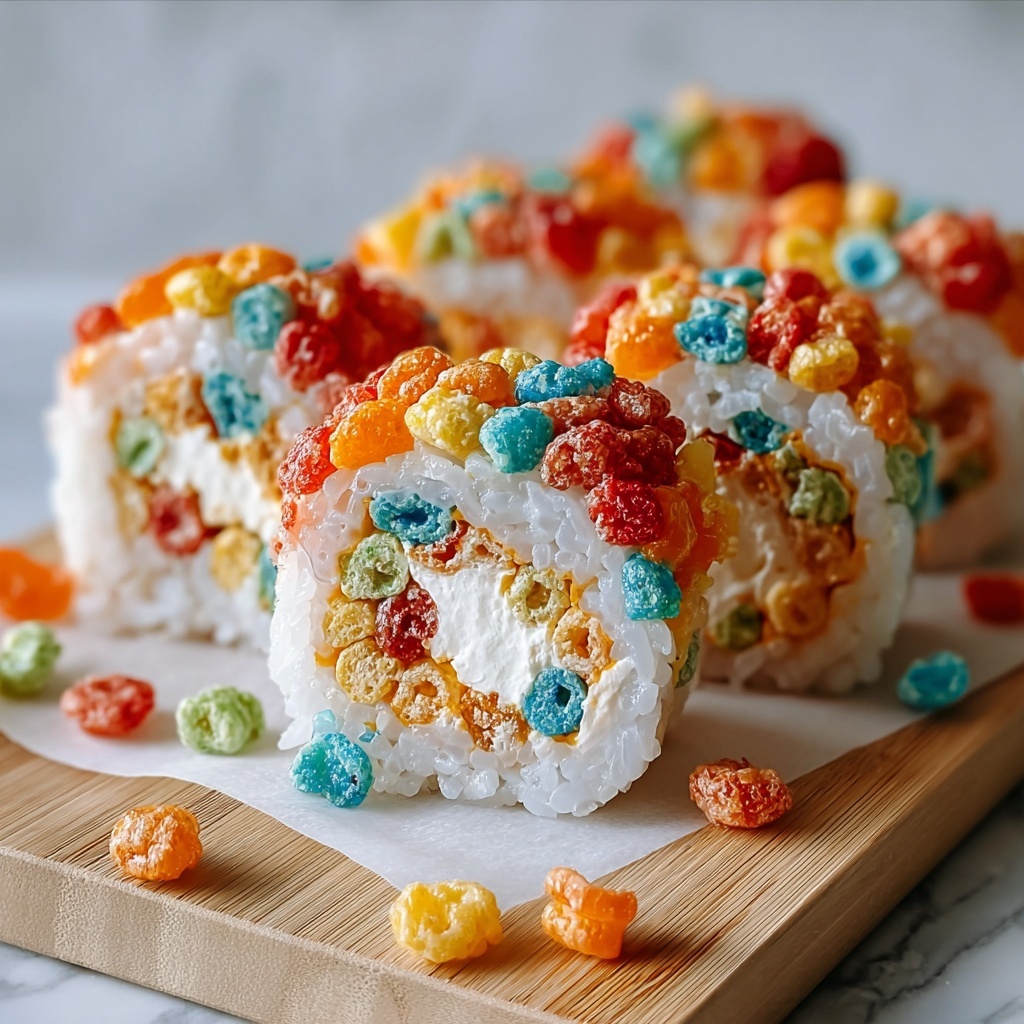
If you’re on the lookout for a delightfully colorful, whimsical treat that’s as fun to make as it is to eat, the Fruity Pebbles Sushi: A No-Bake Fun Treat for All Ages Recipe is an absolute winner. Bursting with playful textures and vibrant hues, this dessert takes the nostalgic crunch of Fruity Pebbles and mini marshmallows, transforming them into sushi-inspired bites that everyone will adore. Whether you’re crafting snacks for a kids’ party or just craving a sweet pick-me-up, this recipe is guaranteed to bring smiles all around.
Ingredients You’ll Need
Each ingredient in the Fruity Pebbles Sushi: A No-Bake Fun Treat for All Ages Recipe plays its part in creating those irresistible layers of flavor, texture, and color. The simplicity of this list means you won’t have to hunt around your pantry for complicated items, but every component is essential to nail that perfect bite.
- Mini marshmallows (2 cups, melted): These provide the perfect sticky-but-soft base that holds the mix together beautifully while adding sweetness.
- Unsalted butter (2 tbsp): Melts smoothly with the marshmallows, adding richness and helping to bind the cereal.
- Crispy rice cereal (2 cups): Brings satisfying crunch and the iconic cereal texture that makes this treat fun to munch.
- Fruity Pebbles cereal (½ cup for the mix, ½ cup for coating): The star of the show, this cereal adds intense fruity flavors and a rainbow of bright pops that make it visually irresistible.
- Cream cheese (4 oz, softened): Adds a creamy tang and smooth layer that balances the sweetness perfectly.
- Powdered sugar (2 tbsp): Sweetens the cream cheese and helps it spread smoothly without any grit.
- Vanilla extract (1 tsp, optional): Introduces a subtle warmth and depth to the cream cheese mixture.
- Fruit roll-up (1 large, any flavor): Acts as a colorful sushi “wrapper” that seals everything together and adds a chewy contrast.
How to Make Fruity Pebbles Sushi: A No-Bake Fun Treat for All Ages Recipe
Step 1: Melt the Marshmallow Mixture
Start by gently melting the butter in a saucepan over low heat—patience here is key to avoid scorching. Then, add the mini marshmallows and stir slowly, allowing the mixture to become smooth and velvety in about 5 minutes. The warm, gooey marshmallow base is what transforms this assembly into a cohesive, chewy delight.
Step 2: Fold in the Cereals
Take the pan off the heat and carefully fold in the crispy rice cereal along with half of the Fruity Pebbles. The goal is to coat the cereal in marshmallow goodness while keeping as much crunch intact as possible. This blend creates a playful, textural backbone for your sushi-inspired bites.
Step 3: Shape the Base Layer
Lay out a clean sheet of wax paper and press the cereal mixture into a neat 9 by 12-inch rectangle. Firm pressure ensures the ingredients stick together, creating a sturdy base to build on. Allow it to cool and set for about 5 minutes—it should still be pliable but not sticky to the touch.
Step 4: Prepare the Cream Cheese Layer
While the base cools, whisk together the softened cream cheese, powdered sugar, and vanilla extract if you’re using it. Whip this until silky and spreadable, creating a luscious layer that will add a cool tang and richness when spread over the cereal rectangle.
Step 5: Assemble the Sushi Roll
Spread the cream cheese mixture evenly over the cooled cereal base. Next, carefully unroll the fruit roll-up and place it on top of the cream cheese layer. Using the edges of the wax paper, gently but firmly roll everything into a tight log shape, then twist the ends to secure your creation. This rolling step makes it feel like genuine sushi fun!
Step 6: Add the Fruity Pebbles Coating and Slice
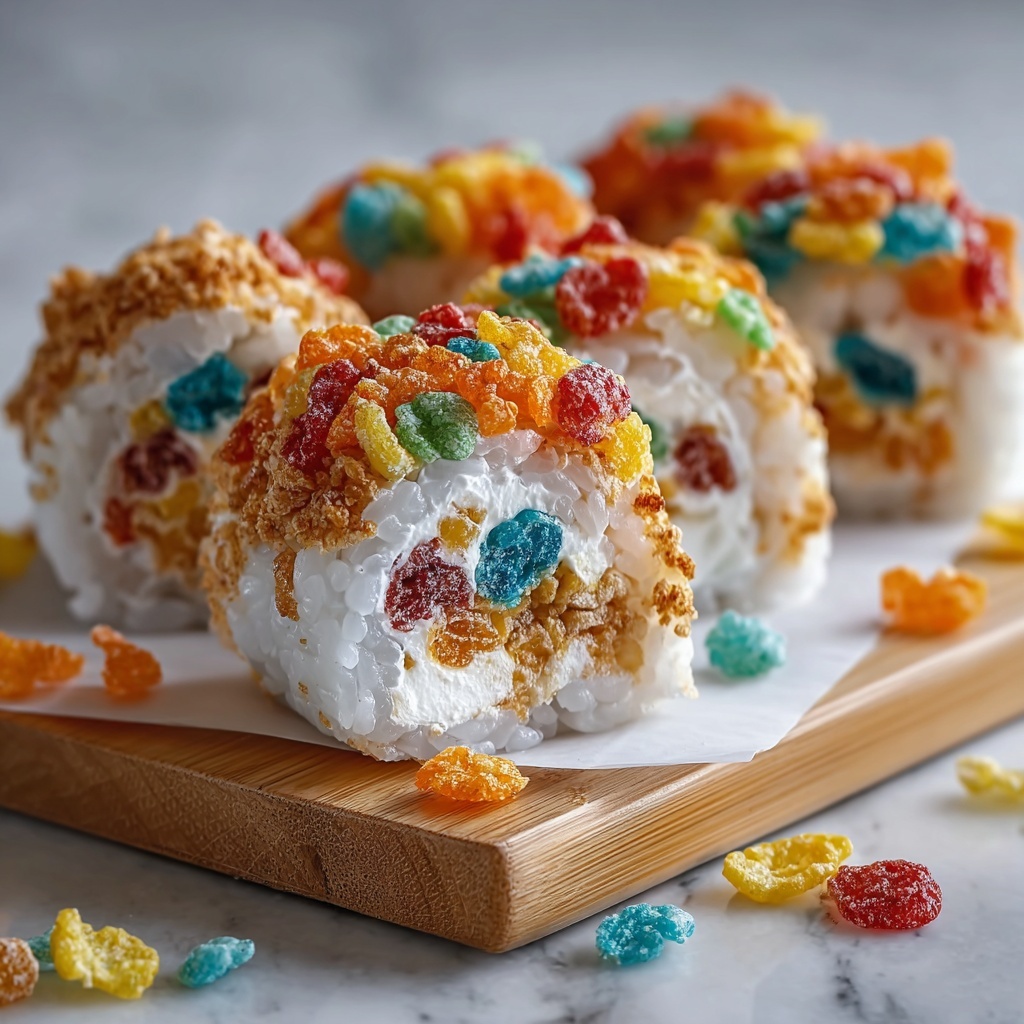
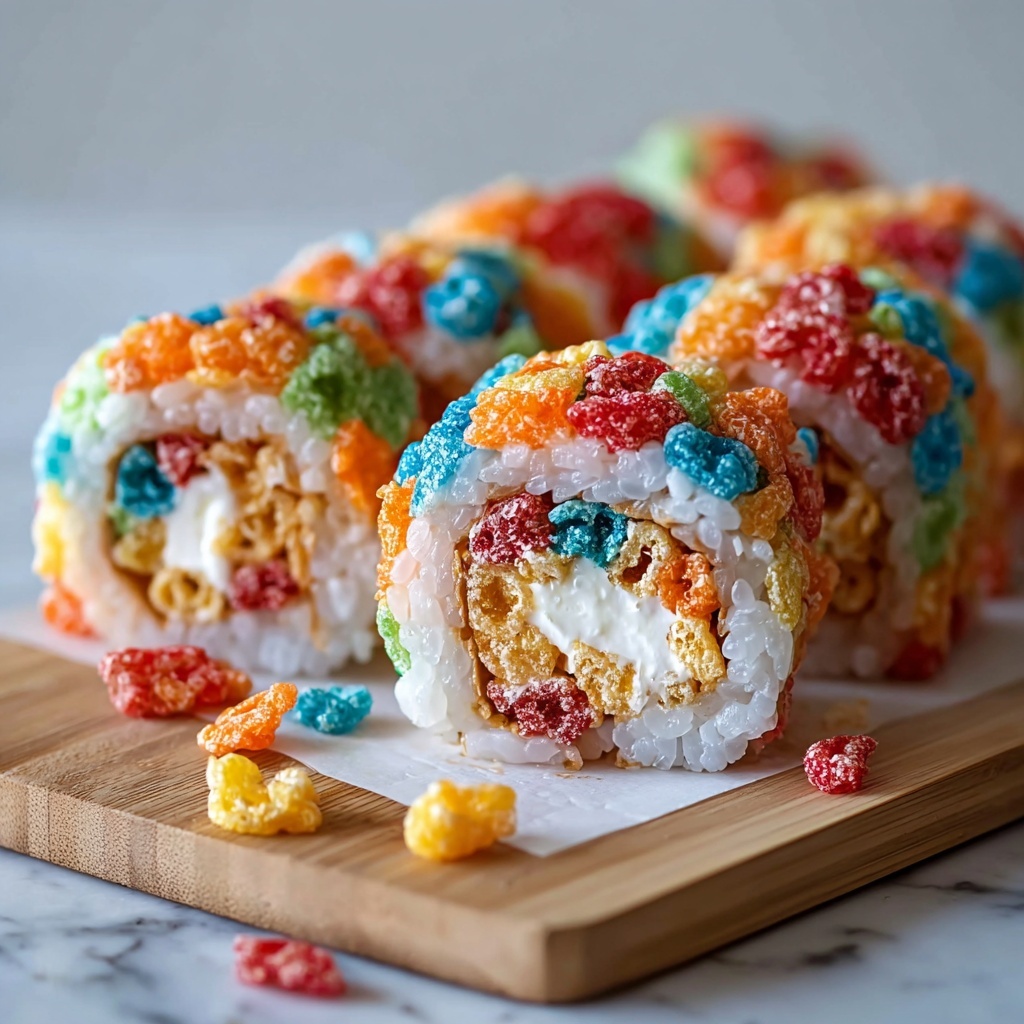
Finally, spread the remaining Fruity Pebbles onto a clean surface and roll your sushi log across them, coating it fully with colorful, crunchy joy. Once coated, use a sharp knife to slice the roll into approximately 1-inch pieces. Each slice is a miniature party of flavors and textures, ready for sharing or devouring solo.
How to Serve Fruity Pebbles Sushi: A No-Bake Fun Treat for All Ages Recipe
Garnishes
Sprinkle a few extra Fruity Pebbles over your serving tray or plate for added visual pop. You could also dust a tiny pinch of powdered sugar on top for a frosted finish. A small drizzle of white chocolate or edible glitter adds a festive flair if you feel like getting fancy.
Side Dishes
Since this dish is more of a sweet snack, pair it with simple accompaniments like a chilled fruit smoothie or a light glass of milk to balance the sweetness. Fresh berries or sliced tropical fruits complement the fruity notes and make a beautiful side platter.
Creative Ways to Present
Serve your Fruity Pebbles Sushi: A No-Bake Fun Treat for All Ages Recipe on a sleek sushi board or a colorful tray lined with banana leaves for a playful presentation. Alternatively, arrange slices on mini dessert plates alongside small dipping bowls of yogurt or whipped cream to mimic soy sauce—and watch it disappear fast!
Make Ahead and Storage
Storing Leftovers
Wrap any leftover Fruity Pebbles sushi tightly in plastic wrap or store in an airtight container. Keep refrigerated to maintain the cream cheese layer’s freshness and the cereal’s crunch. These treats stay tasty for about 3 days—perfect for a quick grab-and-go snack later in the week.
Freezing
If you want to make this in advance for a later occasion, you can freeze the rolled log before slicing. Wrap it securely in plastic wrap and then foil to avoid freezer burn. Thaw overnight in the refrigerator before slicing and coating with Fruity Pebbles for best results.
Reheating
This recipe is best enjoyed cold or at room temperature, so reheating is not recommended. The marshmallow and cream cheese won’t hold up well to heat, but the texture is perfect just as it is fresh or straight from the fridge.
FAQs
Can I use a different cereal instead of Fruity Pebbles?
Absolutely! While Fruity Pebbles provide fantastic color and fruity punch, you can substitute other crispy cereals or even a mix for unique flavors. Just keep in mind that the visual impact might change significantly.
Is the cream cheese layer necessary?
The cream cheese adds a creamy, tangy balance to the sweetness and helps replicate the layered feel of sushi. However, if you prefer, you can experiment with peanut butter or marshmallow fluff to switch things up.
Can I make this gluten-free?
Yes! Fruity Pebbles and rice cereal are typically gluten-free, but always check your packaging. This recipe naturally avoids gluten-heavy ingredients, making it suitable for many gluten-intolerant folks.
How do I keep the Fruity Pebbles crunchy after rolling?
Folding half of the Fruity Pebbles into the cereal mixture preserves some crunch inside, while rolling the finished log in the remaining cereal adds an appealing exterior crunch. Serve it soon after making for the best texture experience.
Is this recipe kid-friendly for young children?
Definitely! This is a fun activity for older kids to help with, and the final product is easy for little hands to hold and eat. Just be mindful of small choking hazards depending on your child’s age.
Final Thoughts
There is something so joyful about turning familiar breakfast cereals into a playful, no-bake dessert like the Fruity Pebbles Sushi: A No-Bake Fun Treat for All Ages Recipe. Its combination of colors, textures, and fun rolling technique makes snacking a delightful experience everyone will remember. Give it a try for your next casual get-together or weekend treat—you might just find it becomes your new favorite go-to dessert!
“`
Print
Fruity Pebbles Sushi: A No-Bake Fun Treat for All Ages Recipe
- Prep Time: 10 minutes
- Cook Time: 15 minutes
- Total Time: 25 minutes
- Yield: 12 servings
- Category: Dessert
- Method: No-Cook
- Cuisine: American
Description
Fruity Pebbles Sushi is a delightful no-bake treat that combines crispy rice cereal, colorful Fruity Pebbles, and a creamy sweet filling wrapped in a fruit roll-up. Perfect for kids and adults alike, this fun and easy recipe comes together in just 25 minutes and requires no oven or stove, making it an ideal snack or party dessert.
Ingredients
Base Mixture
- 2 cups mini marshmallows (melted)
- 2 tbsp unsalted butter
- 2 cups crispy rice cereal
- ½ cup Fruity Pebbles cereal (for mix)
Cream Cheese Filling
- 4 oz cream cheese (softened)
- 2 tbsp powdered sugar
- 1 tsp vanilla extract (optional)
Assembly
- 1 large fruit roll-up (any flavor)
- ½ cup Fruity Pebbles (for coating)
Instructions
- Melt the Butter and Marshmallows: In a saucepan over low heat, gently melt the butter. Add the mini marshmallows and stir slowly until the mixture is completely smooth, about 5 minutes.
- Combine with Cereals: Remove the saucepan from heat. Fold in the crispy rice cereal and ½ cup of Fruity Pebbles carefully to keep the crunch intact.
- Form the Base Rectangle: Lay out a piece of wax paper and press the cereal mixture into a 9″x12″ rectangle shape. Allow it to cool for about 5 minutes to set slightly.
- Prepare the Cream Cheese Filling: In a mixing bowl, combine the softened cream cheese, powdered sugar, and vanilla extract. Beat the mixture until creamy and smooth.
- Spread Filling and Add Fruit Roll-Up: Spread the cream cheese mixture evenly over the cooled cereal base. Place the fruit roll-up on top of the cream cheese layer.
- Roll the Sushi Log: Using the wax paper, carefully and tightly roll the assembled ingredients into a log shape and twist the ends to secure.
- Coat and Slice: Roll the log in the remaining Fruity Pebbles cereal to coat the outside. Slice the roll into 1-inch pieces to create sushi-like bites.
Notes
- Use wax paper or parchment paper to make rolling easier and prevent sticking.
- Chilling the cereal rectangle slightly before spreading the cream cheese can help it hold better.
- For a more colorful appearance, use a variety of fruit roll-up flavors or Fruity Pebbles.
- Store leftovers in an airtight container at room temperature for up to 2 days.
- This recipe can be easily doubled for larger groups or parties.
