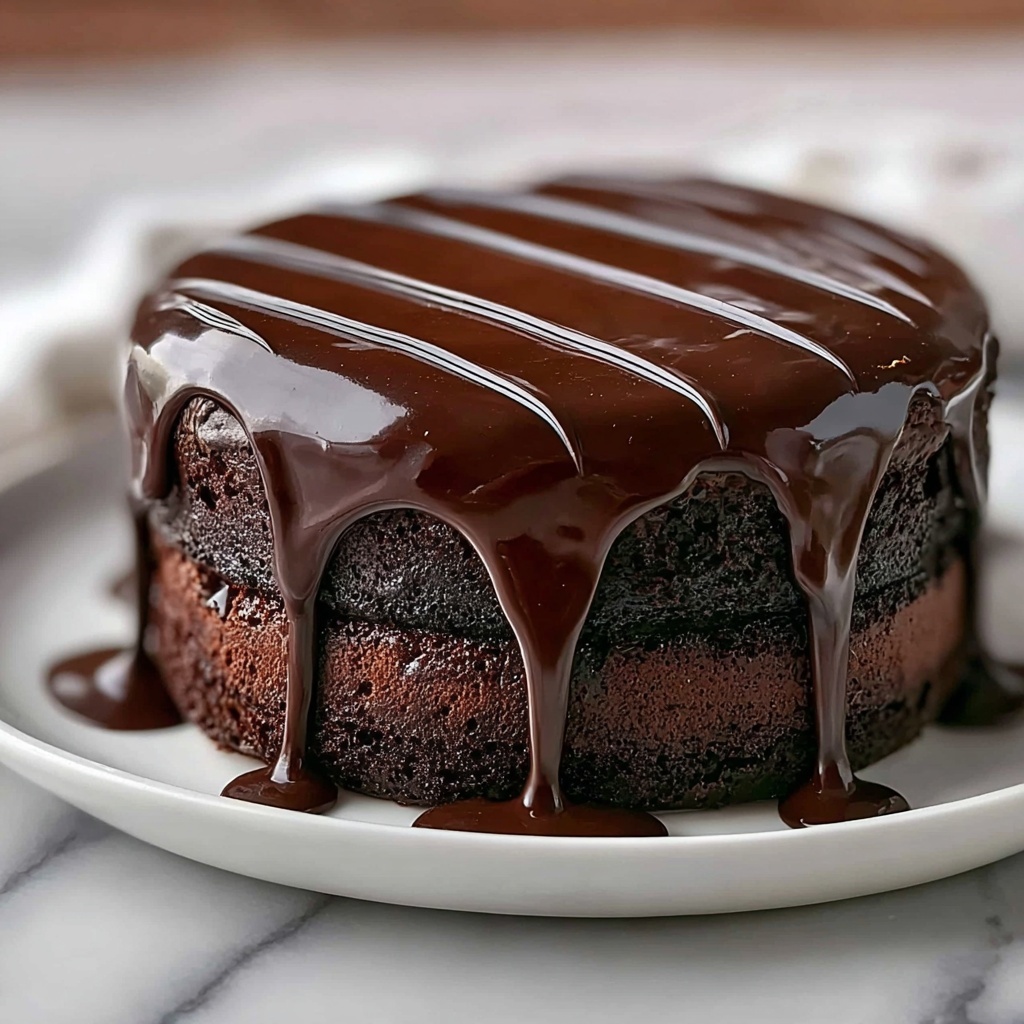
If you have ever wondered how to achieve that flawless, shiny, and luscious chocolate drip effect on your cakes, you’re in for a treat. This Chocolate Drip Tutorial: How to Make a Perfect Chocolate Ganache for Cake Decorating Recipe is the ultimate guide to mastering a smooth, rich chocolate ganache that effortlessly drips down the sides of your cake, adding that irresistibly elegant touch. Whether you’re dressing up a birthday cake or just craving a dessert upgrade, this recipe will give you the confidence to create that picture-perfect chocolate drip every time.
Ingredients You’ll Need
Simple, quality ingredients are the backbone of this chocolate drip magic. Each one plays a key role in delivering that perfect balance of creamy texture and rich flavor to your ganache.
- Semi-sweet chocolate chips or finely chopped semi-sweet chocolate: Choose good quality chocolate to ensure a smooth, shiny finish and rich chocolate flavor.
- Heavy cream: Provides the perfect silky texture and helps melt the chocolate to the ideal dripping consistency.
How to Make Chocolate Drip Tutorial: How to Make a Perfect Chocolate Ganache for Cake Decorating Recipe
Step 1: Prepare Your Chocolate
Begin by placing 1 cup of semi-sweet chocolate chips or finely chopped semi-sweet chocolate into a heat-safe bowl. Using smaller chunks or chips helps the chocolate melt evenly without burning, which is key to getting that shiny finish.
Step 2: Heat the Heavy Cream
In a small saucepan over medium heat, gently warm 1/2 cup of heavy cream until it begins to simmer lightly. Make sure not to let it boil because boiling cream can cause the ganache to split and lose its smoothness. The warmth of the cream is what softens the chocolate perfectly.
Step 3: Combine Cream and Chocolate
Pour the hot cream directly over the chocolate and let it sit undisturbed for 2 to 3 minutes. This resting time is crucial as it allows the chocolate to soften gently. Then, using a spatula or spoon, stir slowly from the center outward to blend until the mixture is silky, smooth, and glossy. Patience here makes a huge difference in the texture.
Step 4: Cool and Set to Drip Perfection
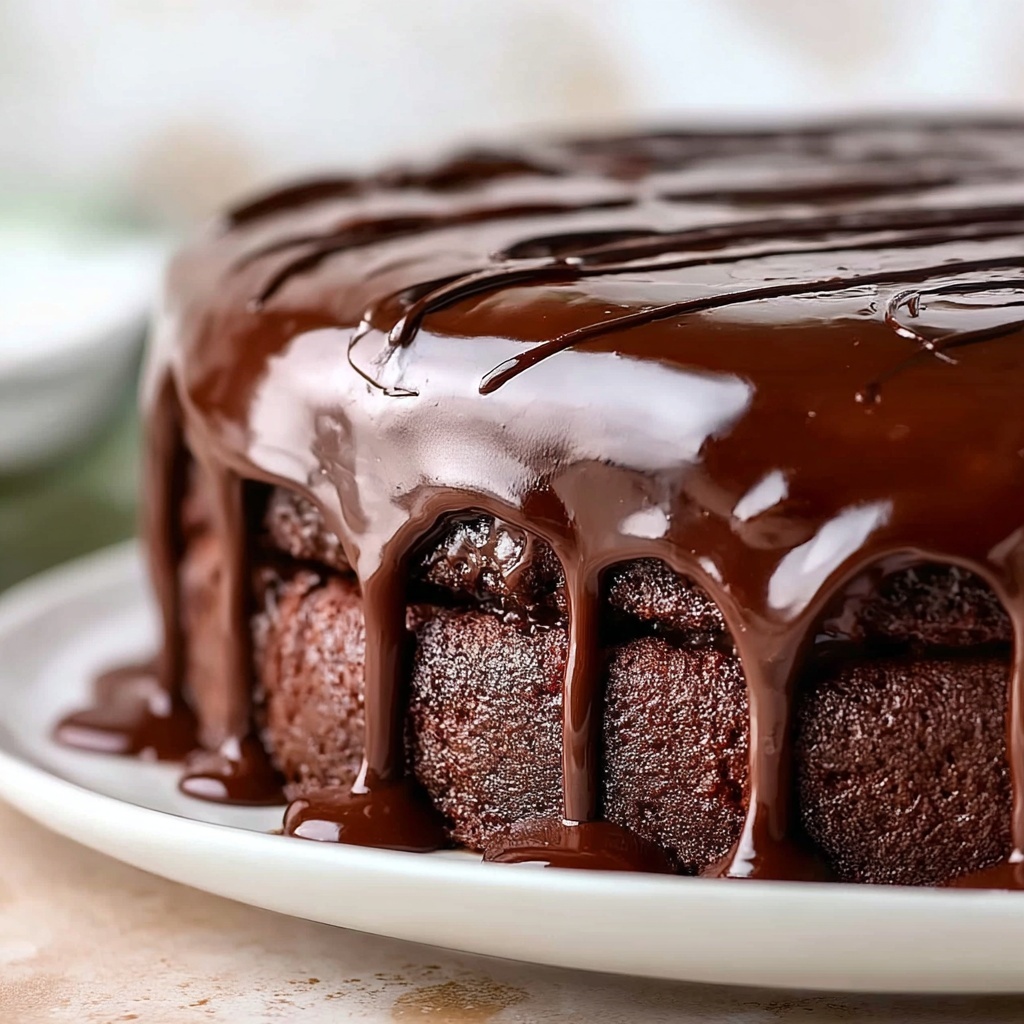
Let your ganache cool for 10 to 15 minutes, stirring intermittently. It should thicken slightly yet remain pourable. This is the ideal consistency for dripping—too hot and runny means it will slide off; too cool and thick means it won’t drip beautifully.
Step 5: Apply to a Chilled Cake
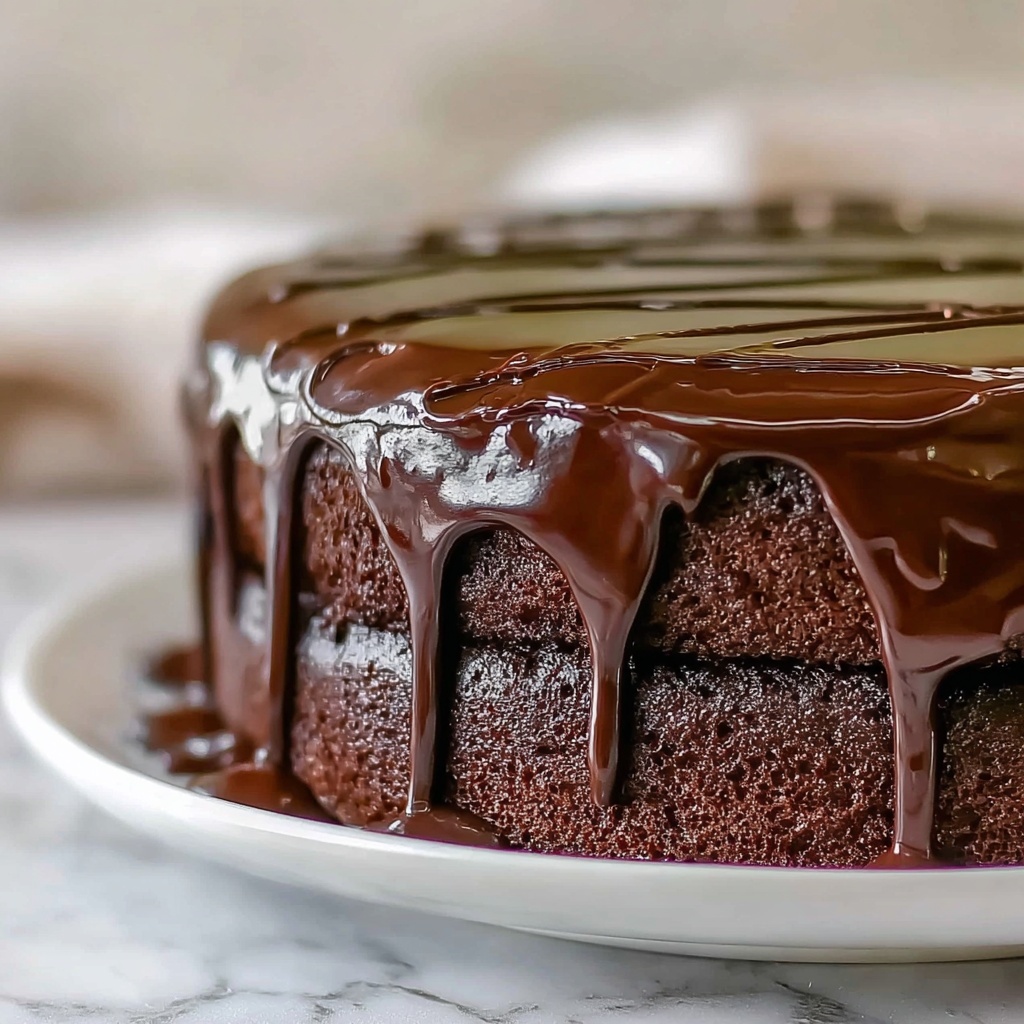
Spoon or gently pour your ganache over a cold cake, allowing it to cascade naturally down the sides, creating those stunning drips. The cool temperature of the cake helps control the flow of the ganache, so always chill your cake beforehand.
How to Serve Chocolate Drip Tutorial: How to Make a Perfect Chocolate Ganache for Cake Decorating Recipe
Garnishes
Once your chocolate drip sets, elevate your cake with a sprinkle of festive touches. Fresh berries, edible gold leaf, or a dusting of toasted coconut add beautiful color contrasts and textures, complementing the rich ganache without overpowering it.
Side Dishes
The best sidekicks to a perfectly dripped cake often come in simpler forms: whipped cream, a scoop of vanilla or coffee ice cream, or even a fresh fruit salad. They balance the richness of the ganache and create a harmonious plate.
Creative Ways to Present
Take your chocolate drip artistry further by layering ganache with different flavors—think a white chocolate drip over dark ganache or adding finely chopped nuts to portions of your drip. You could also use a piping bag to control the shape and size of each drip for a more stylized presentation. Get playful and make each cake your own signature creation!
Make Ahead and Storage
Storing Leftovers
If you have leftover ganache, store it in an airtight container in the refrigerator for up to one week. Keep in mind that it will firm up as it chills, but don’t worry, we’ll cover how to bring it back to the perfect consistency.
Freezing
Ganache freezes wonderfully. You can freeze leftover drip in a sealed container for up to three months. When ready to use, thaw it overnight in the refrigerator before reheating gently.
Reheating
To get that luscious, pourable texture back after refrigeration or freezing, simply warm the ganache gently in a microwave-safe bowl in 10-second bursts, stirring in between. Alternatively, use a double boiler to prevent overheating. Add a teaspoon or two of warm cream if needed to loosen it up.
FAQs
Can I use milk chocolate or dark chocolate instead of semi-sweet?
Absolutely! Milk chocolate will make a sweeter ganache with a creamier texture, while dark chocolate offers a more intense, less sweet finish. Adjust cream quantities slightly to achieve your desired drip consistency.
What if my ganache is too thick to drip?
If your ganache becomes too thick, gently warm it and stir in a little warm cream, one teaspoon at a time, until it loosens enough to drip. Remember, temperatures and chocolate types can affect thickness.
Why did my ganache turn grainy or dull?
This usually happens if the chocolate overheats or the cream was boiling when added. To prevent this, use gentle heat for the cream and allow the chocolate to melt slowly without stirring too early.
Do I have to apply the drip to a chilled cake?
Yes, chilling the cake helps control the drip flow by firming the surface and ensures your ganache sets quickly for a defined drip effect.
Can this recipe be doubled or halved?
Definitely! The recipe scales easily—just maintain the 2:1 chocolate-to-cream ratio for similar results, adjusting cooling and setting times as needed.
Final Thoughts
There’s something incredibly satisfying about creating that perfect chocolate drip that looks as good as it tastes. I encourage you to give this Chocolate Drip Tutorial: How to Make a Perfect Chocolate Ganache for Cake Decorating Recipe a try—it’s simple but transforms any cake into a showstopper. Once you master this technique, you’ll find yourself reaching for chocolate ganache whenever you want your desserts to have that wow factor! Happy dripping!
Print
Chocolate Drip Tutorial: How to Make a Perfect Chocolate Ganache for Cake Decorating Recipe
- Prep Time: 5 minutes
- Cook Time: 5 minutes
- Total Time: 10 minutes
- Yield: Enough for one 8 to 9 inch cake
- Category: Dessert
- Method: Stovetop
- Cuisine: French
- Diet: Vegetarian
Description
This classic chocolate drip recipe creates a smooth and glossy ganache perfect for elegantly decorating cakes. Made with semi-sweet chocolate and heavy cream, the ganache is heated gently over the stovetop, then poured over a chilled cake to create beautiful drips that enhance any dessert. Ideal for topping 8 to 9 inch cakes, it delivers a rich chocolate flavor with a luscious, pourable consistency that sets just right.
Ingredients
Ganache Ingredients
- 1 cup semi-sweet chocolate chips or finely chopped semi-sweet chocolate
- 1/2 cup heavy cream
Instructions
- Prepare Chocolate: Place the chocolate chips or finely chopped semi-sweet chocolate in a heat-safe bowl, ensuring the pieces are small for even melting.
- Heat Cream: In a small saucepan, heat the heavy cream over medium heat until it just begins to gently simmer. Do not allow it to boil to prevent scorching.
- Combine Cream and Chocolate: Pour the hot cream over the chocolate pieces in the bowl and let it sit undisturbed for 2 to 3 minutes to soften the chocolate thoroughly.
- Stir Ganache: Gently stir the mixture starting from the center moving outward until the mixture becomes smooth, glossy, and fully combined.
- Cool Ganache: Allow the ganache to cool for 10 to 15 minutes, stirring occasionally, until it thickens slightly but remains pourable.
- Apply Drip: Spoon or pour the ganache over a chilled cake, letting it drip naturally down the sides to create the desired decorative effect.
- Set Ganache: Let the chocolate drip set firmly before serving to ensure clean drips and a polished look.
Notes
- For a thicker drip, increase chocolate to 3/4 cup while keeping cream at 1/2 cup.
- For a thinner drip consistency, add 1 to 2 teaspoons of warm cream to the ganache gradually.
- Always apply the drip to a cold cake to control the flow and prevent excessive melting or spreading.

