
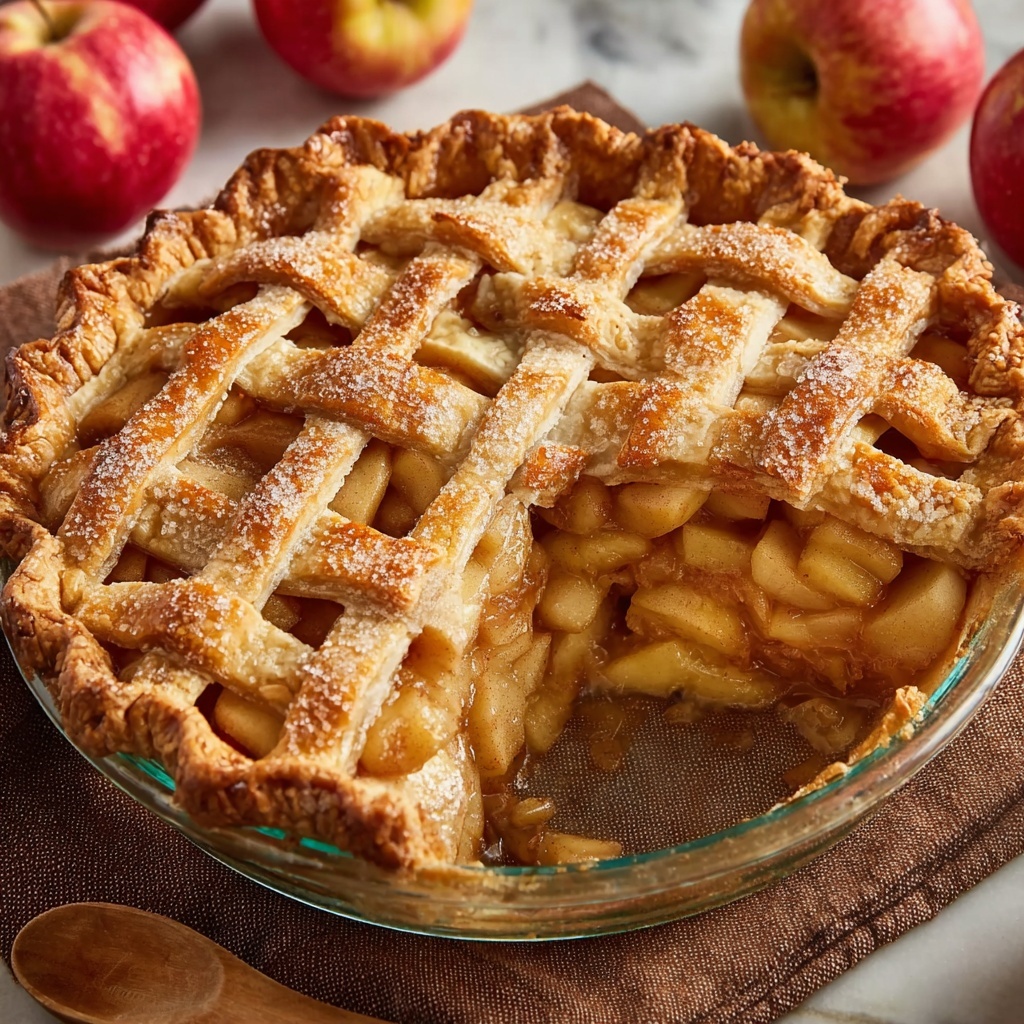
If you’ve ever dreamed of sinking your teeth into a warm, fragrant slice of apple goodness, this Homemade Apple Pie Recipe is your new best friend. This classic dessert captures the essence of comfort with a perfectly flaky crust and a luscious filling of tart and sweet apples, kissed by cinnamon and nutmeg. Whether you’re looking to impress at a family gathering or simply craving a slice of fall in every bite, this recipe delivers a timeless taste that feels like a cozy hug from the inside out.
Ingredients You’ll Need
The beauty of this recipe lies in its simplicity—the ingredients are everyday staples that when combined, create that unforgettable harmony of flavors and textures. Each component plays its part, from the buttery crust that shatters delicately under your fork to the juicy, spiced apples bubbling with sweetness and warmth.
- 2 1/2 cups all-purpose flour: The foundation of the crust, providing structure and tenderness.
- 1 teaspoon salt: Enhances flavor and balances the sweetness.
- 1 tablespoon granulated sugar: Adds a touch of sweetness to the crust.
- 1 cup unsalted butter, cold and cubed: Creates that flaky, melt-in-your-mouth crust you dream of.
- 6 to 8 tablespoons ice water: Binds the dough without warming it, ensuring flakiness.
- 6 cups thinly sliced apples (Granny Smith or Honeycrisp): The star players giving crispness and bright flavor.
- 3/4 cup granulated sugar: Sweetens the filling perfectly.
- 1/4 cup brown sugar: Adds a rich, caramel-like depth.
- 1/4 cup all-purpose flour: Helps thicken the apple juices during baking.
- 1 tablespoon lemon juice: Keeps apples fresh-tasting and prevents browning.
- 1 teaspoon ground cinnamon: Brings warmth and spice that defines apple pie.
- 1/4 teaspoon ground nutmeg: Adds a subtle, aromatic complexity.
- 1/4 teaspoon salt: Balances the sweetness in the filling.
- 1 tablespoon unsalted butter, cut into small pieces: Dotting the filling with butter yields a luscious finish.
- 1 egg beaten with 1 tablespoon milk (egg wash): Gives the crust a gorgeous golden sheen.
- 1 tablespoon coarse sugar (optional): Sprinkled on top for a delightful crunch and sparkle.
How to Make Homemade Apple Pie Recipe
Step 1: Prepare the Pie Dough
Start by mixing the flour, salt, and sugar in a large bowl. Incorporate the cold, cubed butter with a pastry cutter or your fingertips until the mixture resembles coarse crumbs—this is the secret to achieving that perfect flaky crust. Add ice water tablespoons at a time, stirring gently until the dough just comes together. Be careful not to overwork it; you want the butter cold and visible to create flakiness. Divide the dough in half, gently shape each into a disc, wrap them tightly, and chill for at least an hour.
Step 2: Prepare the Apple Filling
While the dough chills, toss your thinly sliced apples with granulated sugar, brown sugar, flour, lemon juice, cinnamon, nutmeg, and salt. This mix ensures each apple slice is coated in just the right balance of sweet, spice, and thickening agent to create a luscious, well-bound filling. The lemon juice also keeps the apples vibrant and bright as you prepare the pie.
Step 3: Assemble the Pie
Preheat your oven to 425°F (220°C). On a lightly floured surface, roll out one dough disc to fit a 9-inch pie dish, letting the dough hang slightly over the edge. Pour the spiced apple filling evenly into the crust and dot the top with small pieces of butter—the final touch to richness. Roll out the second dough disc and carefully place it over the apples. Trim any excess dough and crimp the edges tightly to seal in the juicy filling. Cut small slits in the top crust to allow steam to escape during baking. Brush the surface with the egg wash for that perfect golden glow, and sprinkle with coarse sugar if you like a touch of sparkle.
Step 4: Bake the Pie
Bake the pie at 425°F for 20 minutes, which helps set the crust and start caramelizing the filling. Then, reduce the temperature to 375°F (190°C) and bake for an additional 35 to 40 minutes until the crust is beautifully golden and the filling bubbles through the vents. If the edges brown too quickly, cover them with foil to prevent burning. Let your pie cool on a wire rack for at least two hours—this rest time allows the filling to thicken and makes slicing easier.
How to Serve Homemade Apple Pie Recipe
Garnishes
A dollop of freshly whipped cream or a scoop of vanilla ice cream instantly elevates your Homemade Apple Pie Recipe, creating a creamy contrast to the spiced fruit. For an extra special touch, sprinkle a pinch of cinnamon or a drizzle of caramel sauce on top. Fresh mint leaves can add a refreshing pop of color and an unexpected burst of flavor.
Side Dishes
Apple pie is a standout dessert on its own but pairs beautifully with warm beverages like cinnamon-spiced tea, freshly brewed coffee, or a glass of cold milk. For a more indulgent experience, serve alongside a slice of sharp cheddar cheese to contrast the sweet pie with some savory richness—a classic pairing that never disappoints.
Creative Ways to Present
For gatherings, consider serving your Homemade Apple Pie Recipe as mini hand pies or in mason jars layered with pre-baked crust and apple filling for an elegant twist. You can also cut the pie into bite-size squares and serve as a dessert buffet option, making it easy for guests to enjoy multiple bites paired with toppings of their choice.
Make Ahead and Storage
Storing Leftovers
Once cooled, cover your pie tightly with plastic wrap or foil and store it at room temperature if you plan to eat it within a day. For longer storage, keep it in the refrigerator for up to four days—just bring it back to room temperature before serving for the best flavor and texture.
Freezing
If you want to prepare ahead for a special occasion, this Homemade Apple Pie Recipe freezes beautifully. Wrap the unbaked assembled pie tightly in plastic wrap and foil, then freeze for up to two months. When ready, bake it directly from the freezer, adding extra baking time as needed to ensure the crust cooks through and the filling bubbles.
Reheating
To enjoy leftover pie warm, reheat slices gently in a preheated oven at 350°F (175°C) for 10 to 15 minutes. Avoid the microwave if possible to preserve the flakiness of the crust and prevent the filling from becoming soggy. This way, you’ll enjoy each slice almost as much as the first bite.
FAQs
Can I use a different type of apple for this pie?
Absolutely! While Granny Smith and Honeycrisp offer a great balance of tartness and sweetness, feel free to experiment with Fuji, Pink Lady, or Braeburn apples. Just try to use a mix of tart and sweet varieties to keep the flavor bright and complex.
How can I make my crust extra flaky?
Keeping your butter cold and handling the dough gently are key. Using ice water and chilling the dough before rolling it out helps the butter create steam pockets during baking, resulting in that sought-after flakiness. Avoid overworking the dough to prevent developing too much gluten which can make it tough.
Do I need to add lemon juice to the filling?
Yes, lemon juice not only brightens the flavor but also prevents the apples from browning as you prepare the filling. It adds a subtle zing that complements the spices and sweetness beautifully.
Can I make this pie vegan?
With some simple swaps, yes! Use a plant-based butter alternative for the crust and filling dotting, and replace the egg wash with a mixture of plant milk and maple syrup to achieve a similar golden crust. The filling itself is vegan-friendly as is.
How long does it take to cool before serving?
Allow the pie to cool for at least two hours on a wire rack. This resting time ensures the filling thickens and sets so the slices hold together beautifully without oozing out. Patience here is rewarded with perfect, clean slices every time.
Final Thoughts
There’s something truly magical about baking a Homemade Apple Pie Recipe. It’s a rewarding experience that fills your home with heartwarming aromas and results in a dessert everyone will cherish. So gather your ingredients, roll up your sleeves, and dive into the joyful process of pie-making—you’ll be amazed at how this classic treat can brighten any day.
Print
Homemade Apple Pie Recipe
- Prep Time: 30 minutes
- Cook Time: 55 minutes
- Total Time: 2 hours 25 minutes
- Yield: 8 servings
- Category: Dessert
- Method: Baking
- Cuisine: American
- Diet: Vegetarian
Description
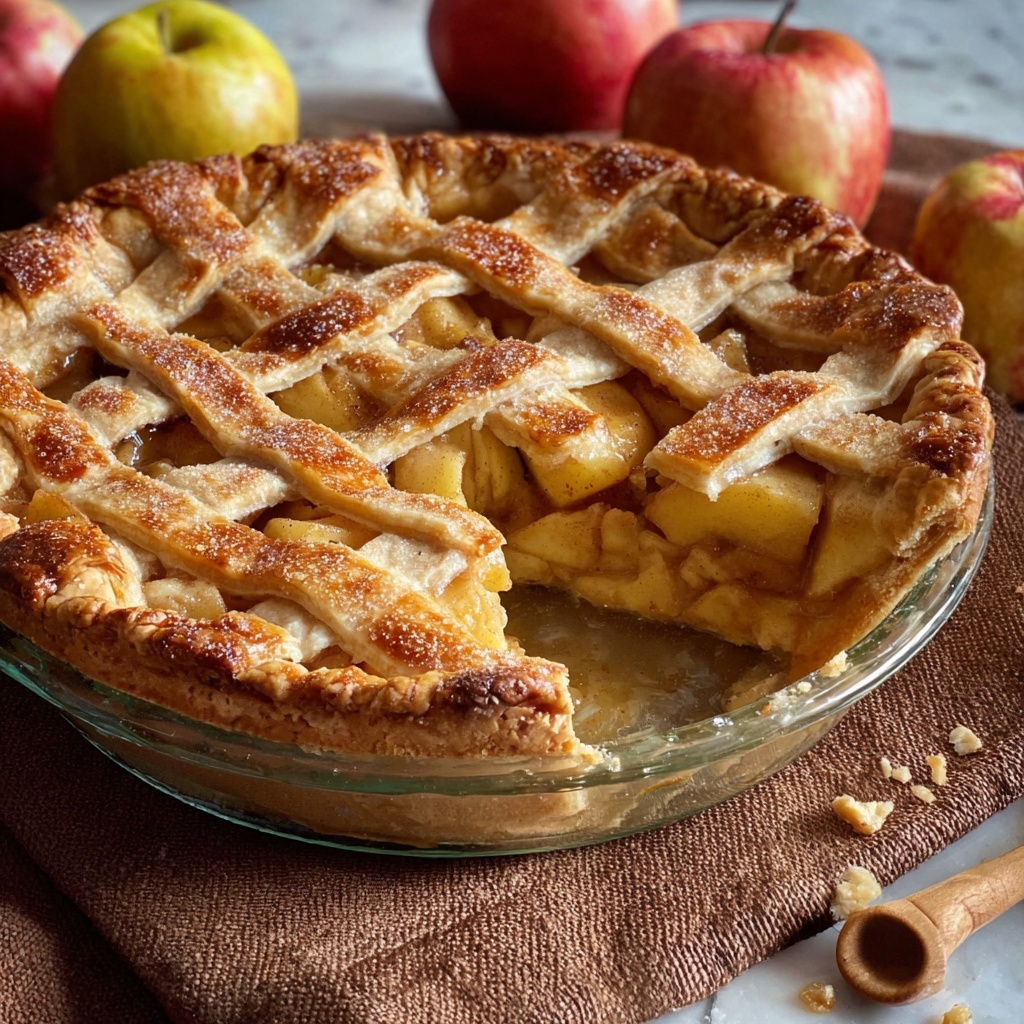
This classic Homemade Apple Pie recipe features a flaky, buttery crust and a sweet-tart apple filling seasoned with cinnamon and nutmeg. Perfect for fall and holiday baking, this dessert combines the crisp texture of Granny Smith and Honeycrisp apples with a rich, golden-brown crust for a comforting and timeless treat.
Ingredients
For the Crust
- 2 1/2 cups all-purpose flour
- 1 teaspoon salt
- 1 tablespoon granulated sugar
- 1 cup unsalted butter, cold and cubed
- 6 to 8 tablespoons ice water
For the Filling
- 6 cups thinly sliced apples (Granny Smith or Honeycrisp)
- 3/4 cup granulated sugar
- 1/4 cup brown sugar
- 1/4 cup all-purpose flour
- 1 tablespoon lemon juice
- 1 teaspoon ground cinnamon
- 1/4 teaspoon ground nutmeg
- 1/4 teaspoon salt
- 1 tablespoon unsalted butter, cut into small pieces
For Assembly
- 1 egg beaten with 1 tablespoon milk (egg wash)
- 1 tablespoon coarse sugar for sprinkling (optional)
Instructions
- Prepare the Crust Dough: In a large bowl, whisk together the flour, salt, and sugar. Using a pastry cutter or your fingertips, cut in the cold, cubed butter until the mixture resembles coarse crumbs. Gradually add ice water one tablespoon at a time, mixing just until the dough begins to come together.
- Chill the Dough: Divide the dough in half, shape each half into a disc, wrap tightly in plastic wrap, and refrigerate for at least 1 hour to rest and firm up.
- Make the Apple Filling: In a large bowl, combine the thinly sliced apples, granulated sugar, brown sugar, flour, lemon juice, cinnamon, nutmeg, and salt. Toss everything until the apples are evenly coated with the mixture.
- Preheat Oven: Set your oven temperature to 425°F (220°C) to start baking.
- Roll Out Bottom Crust: On a lightly floured surface, roll out one chilled dough disc to fit a 9-inch pie dish. Carefully transfer the rolled dough into the pie dish, pressing it into the bottom and sides.
- Add Filling and Butter: Pour the apple filling into the crust-lined dish and evenly dot the top with small pieces of unsalted butter.
- Roll Out Top Crust and Assemble: Roll out the second dough disc and place it over the filling. Trim any excess dough, crimp the edges to seal the pie securely, and cut several small slits in the top crust for steam to escape during baking.
- Apply Egg Wash and Sugar: Brush the top crust with the beaten egg and milk mixture to give it a beautiful golden shine during baking. Sprinkle with coarse sugar if you want added crunch and sweetness.
- Bake the Pie: Bake at 425°F for 20 minutes to set the crust, then reduce oven temperature to 375°F (190°C) and continue baking for an additional 35 to 40 minutes until the crust is golden brown and the filling is bubbling.
- Cool Before Serving: Remove the pie from the oven and place it on a wire rack. Let it cool for at least 2 hours so the filling can set properly before slicing and serving.
Notes
- Use a mix of tart and sweet apples (like Granny Smith and Honeycrisp) for a balanced flavor profile.
- If the crust edges brown too quickly while baking, cover them with foil to prevent burning during the last part of baking.
- This pie can be prepared a day in advance and stored at room temperature wrapped loosely with foil or plastic wrap.


