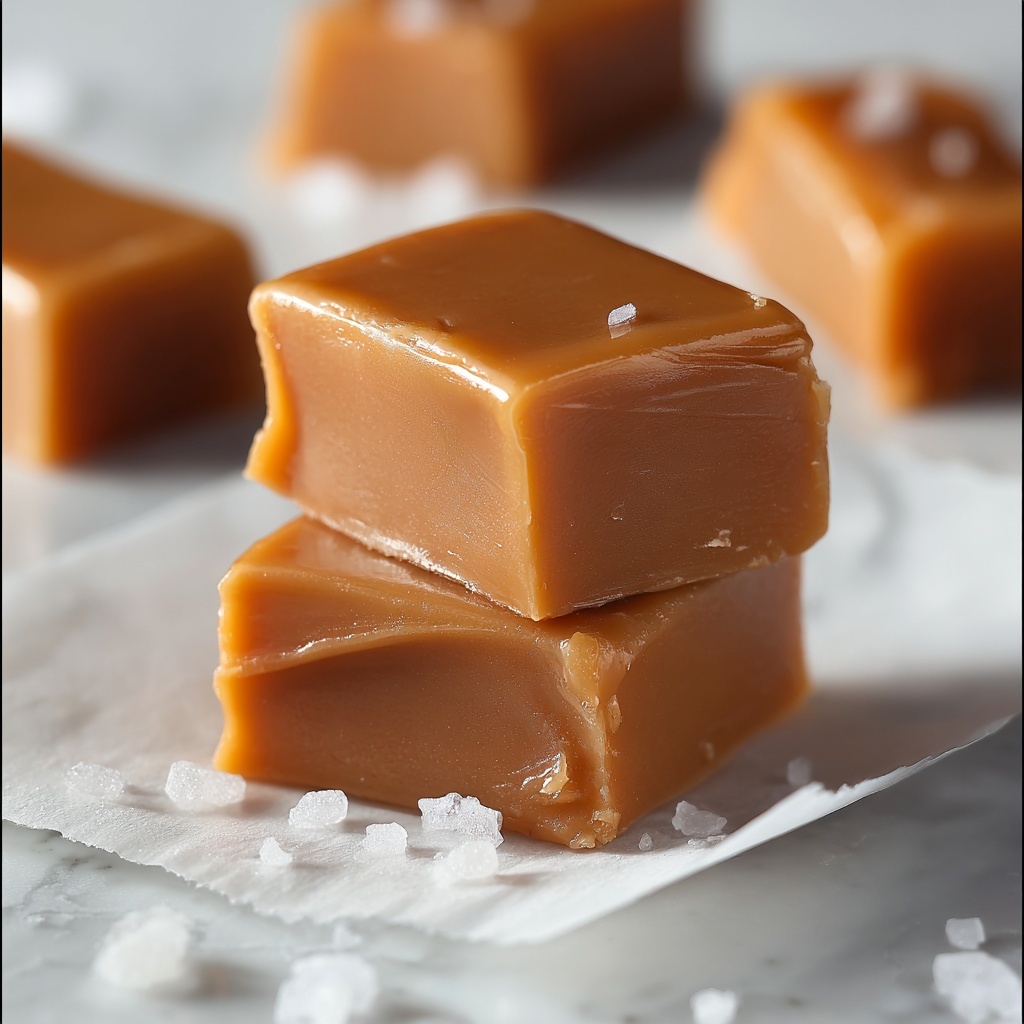
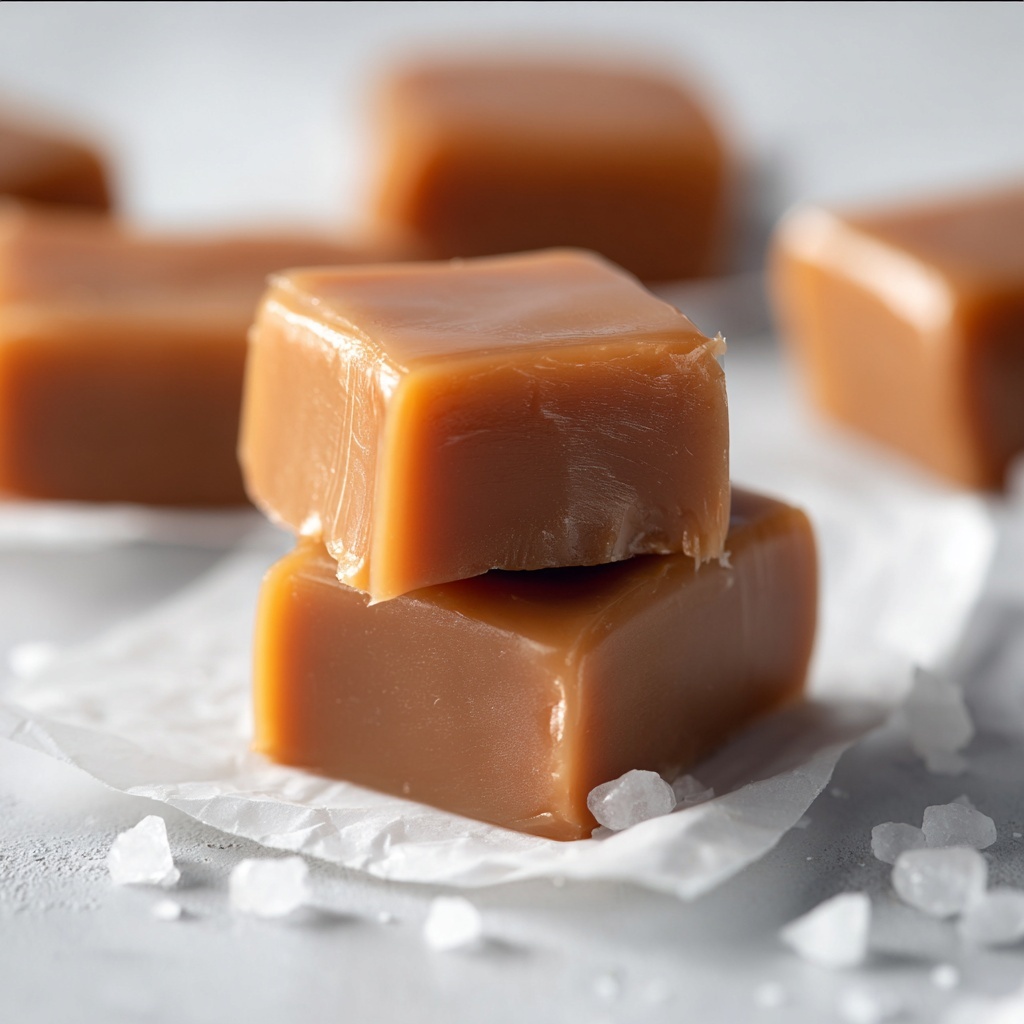
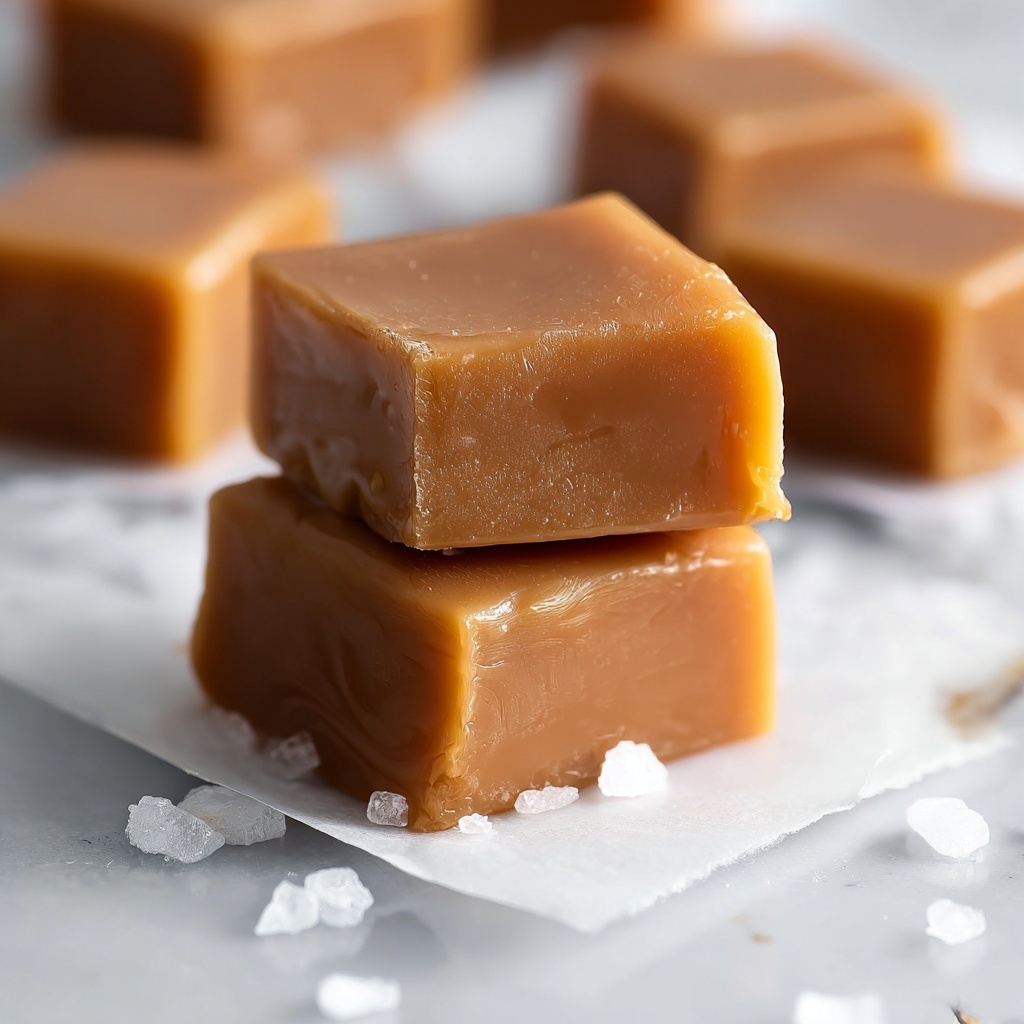
If you’ve ever dreamed of creating that perfect, rich, gooey treat right at home, then this Homemade Caramels Recipe is exactly what you need. Imagine biting into a soft, buttery caramel that melts slowly on your tongue with a beautiful balance of sweetness and a hint of vanilla warmth. This recipe is wonderfully straightforward yet yields impressive results that can transform a simple candy craving into a cherished homemade tradition. Whether you’re gifting these delightful squares or savoring them yourself, making caramels from scratch is a delicious adventure you won’t want to miss.
Ingredients You’ll Need
With just a handful of essential ingredients, this recipe keeps things simple but purposeful. Each element plays a key role in achieving the ideal texture, flavor, and color that make these caramels irresistible.
- Unsalted butter: Adds a rich creaminess and controls salt levels perfectly in the caramel.
- Granulated sugar: The primary sweetener that caramelizes beautifully for that classic caramel color and taste.
- Light corn syrup: Prevents crystallization, ensuring your caramel stays smooth and chewy instead of grainy.
- Salt: Enhances the sweetness and balances the flavor for depth.
- Heavy cream: Makes the caramel luxuriously creamy and soft, giving it that iconic melt-in-your-mouth texture.
- Vanilla extract: Adds a warm, fragrant note that completes the flavor profile with subtle sweetness and complexity.
How to Make Homemade Caramels Recipe
Step 1: Prepare Your Pan
Start by lining an 8×8-inch baking pan with parchment paper, allowing an overhang on the sides. This simple step lets you lift the caramel out with ease once it has cooled and set, preventing any sticky frustration.
Step 2: Melt the Butter
In a large, heavy-bottomed saucepan, gently melt one cup of unsalted butter over medium heat. Using a heavy pan helps distribute heat evenly and prevents burning — a key to perfect caramel consistency.
Step 3: Combine Sugar, Corn Syrup, and Salt
Once the butter is melted, add 2 ½ cups of granulated sugar, 1 ¼ cups of light corn syrup, and ½ teaspoon of salt. Stir them thoroughly until well combined; this mixture forms the concentrated sweetness and controls crystallization for a smooth finish.
Step 4: Slowly Add Heavy Cream
Gradually pour in 2 cups of heavy cream while continuously stirring. This helps temper the temperature and seamlessly integrates creamy richness into the sugary base, creating the luxurious texture caramels are known for.
Step 5: Boil and Monitor Temperature
Bring the mixture to a boil over medium heat, stirring frequently to avoid scorching. Use a candy thermometer to watch the temperature closely; when the caramel reaches 245°F (118°C), it has reached the perfect firmness for chewy caramels.
Step 6: Stir in Vanilla
Remove the saucepan from heat and stir in 1 teaspoon of vanilla extract. This final flavor touch elevates your caramels with delicate aromatic notes that linger beautifully.
Step 7: Pour and Set
Carefully pour the hot caramel into your prepared pan, spreading it evenly. Allow it to cool completely at room temperature for 3 to 4 hours until fully firm but still pliable, ready for slicing and wrapping.
Step 8: Cut and Wrap
Lift the caramel slab out using the parchment overhang and place it on a cutting board. Slice into small squares or rectangles — whatever size you prefer. Wrap each individual caramel in wax paper to keep them fresh and prevent sticking.
How to Serve Homemade Caramels Recipe
Garnishes
While these caramels are delightful on their own, consider tossing a pinch of flaky sea salt on top before the caramel sets for that perfect salty-sweet contrast. For special occasions, you might lightly dust them with cocoa powder or finely chopped toasted nuts for an extra layer of texture and flavor.
Side Dishes
Homemade caramels pair wonderfully with a cup of freshly brewed coffee or a creamy hot chocolate. They also complement a cheese board featuring mild, buttery cheeses like brie or gouda, offering a sweet counterpoint that surprises and delights your palate.
Creative Ways to Present
These caramels make incredible gifts, especially when presented in a pretty box or tied with rustic twine. You can arrange them in small cellophane bags with personalized tags for parties or holidays. For a fun touch, stack them in a vintage jar layered with colorful parchment paper, turning your homemade treat into a charming centerpiece.
Make Ahead and Storage
Storing Leftovers
If you find yourself with extra caramel, no worries! Store leftover pieces in an airtight container at room temperature, separated by wax paper layers to prevent sticking. Properly stored, they’ll stay fresh and chewy for up to two weeks.
Freezing
Caramels freeze beautifully. Wrap each piece tightly in wax paper, then place them in a freezer-safe container or bag. When frozen, they maintain their texture well and can be thawed at room temperature for a sweet treat anytime you crave it.
Reheating
If your caramels get a little too firm over time, you can soften them gently by leaving them at room temperature for a few hours. Warm hands can also help slightly when you unwrap them before enjoying that perfect melt-in-your-mouth bite.
FAQs
Can I use salted butter instead of unsalted?
While salted butter can work, using unsalted butter gives you full control over the saltiness, ensuring the perfect flavor balance. If you use salted butter, consider reducing or omitting the additional salt in the recipe.
How do I know when the caramel is done?
The best way is to use a candy thermometer and cook until the mixture reaches 245°F (118°C). This temperature gives you firm yet chewy caramel. Without a thermometer, testing with a small amount dropped into cold water for a soft-ball consistency can help.
Why is corn syrup important in this recipe?
Corn syrup prevents sugar crystallization, which can ruin the smooth texture of your caramel. It keeps the candy soft, chewy, and shiny, giving you that perfect homemade caramel every time.
Can I add flavors other than vanilla?
Absolutely! You can experiment by adding a touch of almond extract, sea salt flakes, or even a splash of bourbon after removing the caramel from heat. Just remember to balance any added flavors so they enhance rather than overpower the caramel.
How long does it take for the caramels to set?
Plan on letting the caramel cool at room temperature for about 3 to 4 hours. This resting period ensures the perfect chewiness and that the candy holds its shape when cut.
Final Thoughts
Making your own caramels might sound like a task reserved for professionals, but with this Homemade Caramels Recipe, you have a foolproof way to create luscious, buttery treats that stun everyone around you. It’s a joyful journey from a few simple ingredients to a batch of delightful candies that taste like they came from a gourmet shop, but with the warmth and pride of home. Go ahead and treat yourself or surprise your loved ones — this recipe is sure to become a sweet staple in your kitchen!
Print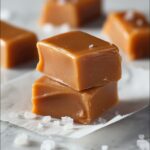
Homemade Caramels Recipe
- Prep Time: 15 minutes
- Cook Time: 25 minutes
- Total Time: 3 hours 40 minutes
- Yield: 64 pieces
- Category: Dessert
- Method: Stovetop
- Cuisine: American
Description
This homemade caramel recipe yields rich, buttery caramels with a perfectly chewy texture. Made from simple ingredients like butter, sugar, heavy cream, and vanilla, these classic candies are cooked on the stovetop to the perfect temperature before cooling and cutting into bite-sized pieces. Ideal for gifting or indulging in a sweet treat, this recipe produces about 64 pieces of delicious, creamy caramel.
Ingredients
Caramel Ingredients
- 1 cup unsalted butter
- 2 1/2 cups granulated sugar
- 1 1/4 cups light corn syrup
- 1/2 teaspoon salt
- 2 cups heavy cream
- 1 teaspoon vanilla extract
Instructions
- Prepare the pan: Line an 8×8-inch baking pan with parchment paper, leaving an overhang on the sides to allow easy removal of the caramel once set.
- Melt the butter: In a large, heavy-bottomed saucepan, melt the unsalted butter over medium heat until fully liquefied.
- Add sugar mixture: Stir in the granulated sugar, light corn syrup, and salt to the melted butter, mixing thoroughly to combine all ingredients evenly.
- Add cream and boil: Gradually pour in the heavy cream while stirring. Bring the entire mixture to a boil over medium heat, stirring frequently to keep the mixture smooth and prevent sticking.
- Cook to temperature: Continue cooking the caramel, stirring constantly, until it reaches 245°F (118°C) on a candy thermometer. This is the firm-ball stage ideal for chewy caramels.
- Add vanilla and remove from heat: Remove the saucepan from heat and stir in the vanilla extract to infuse the caramel with a rich flavor.
- Pour and cool: Carefully pour the hot caramel mixture into the prepared baking pan. Allow it to cool at room temperature for 3-4 hours or until it is fully set and firm.
- Cut and wrap: Use the parchment paper overhang to lift the caramel block from the pan. Cut into small squares or rectangles, then individually wrap each piece in wax paper for storage and serving.
Notes
- Use a heavy-bottomed saucepan to ensure even heat distribution and prevent burning.
- A candy thermometer is essential for reaching the correct caramel temperature.
- Be careful when handling hot caramel as it can cause serious burns.
- Store wrapped caramels in an airtight container at room temperature for up to two weeks.
- For a different flavor twist, add a pinch of sea salt on top before the caramel sets.


