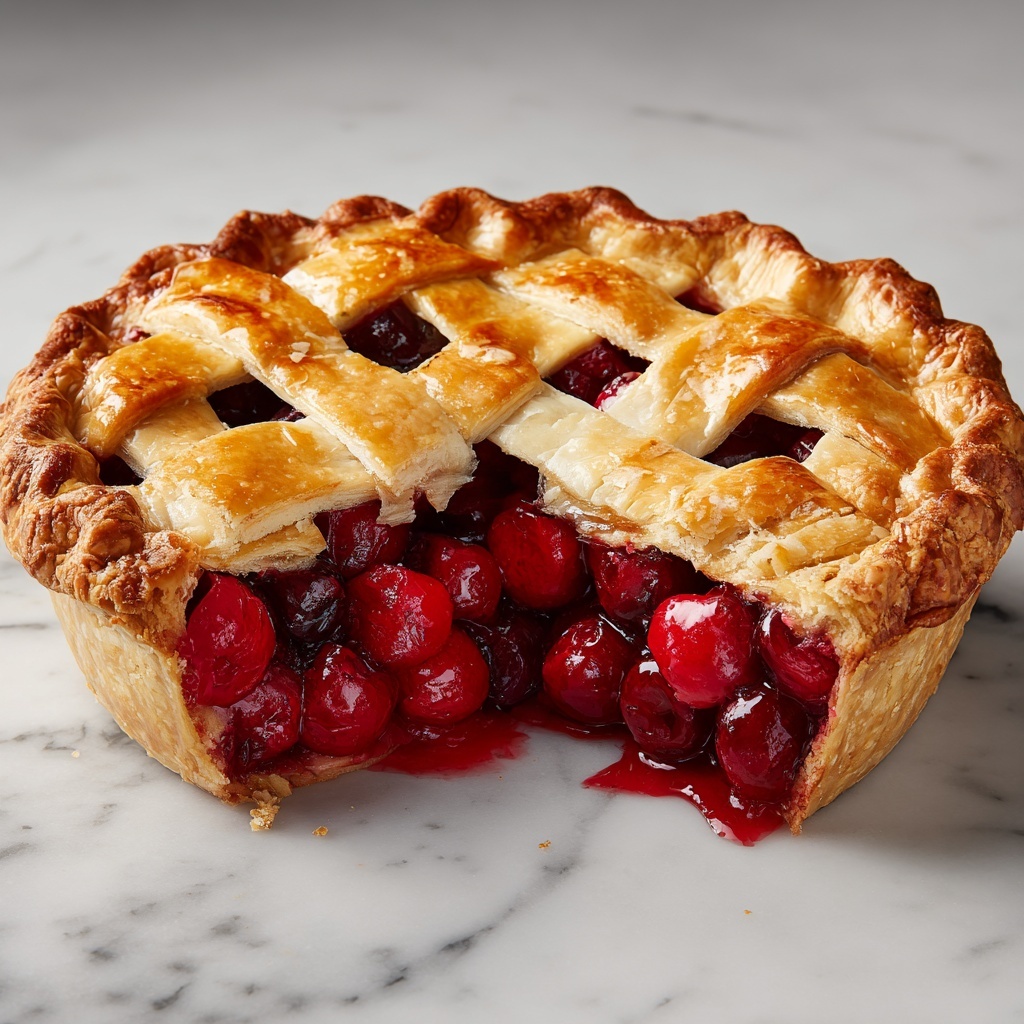
If you’ve ever dreamed of biting into a perfect slice of pie bursting with sweet-tart cherries and wrapped in a flaky, golden crust, then this Homemade Cherry Pie Recipe is just the delight you’ve been waiting for. Combining simple, fresh ingredients with easy steps, this pie captures the essence of summer and tradition in every bite. Whether you want to impress guests or treat yourself to a timeless dessert, this recipe brings together vibrant cherries, subtle hints of vanilla and lemon, and a beautifully baked crust that makes each slice unforgettable.
Ingredients You’ll Need
Creating a fantastic cherry pie is easier than you might think. The ingredients are straightforward yet crucial, each adding its own magic—from the juicy cherries delivering bright flavor to the cornstarch ensuring the filling sets just right.
- 4 cups fresh cherries, pitted: The star of the show, bursting with natural sweetness and color.
- 1 cup sugar: Perfect for balancing the tartness of the cherries without overpowering them.
- 1 pie crust (store-bought or homemade): A flaky foundation that cradles the cherry filling beautifully.
- 2 tablespoons cornstarch: Thickens the filling so it’s luscious, not runny.
- 1 tablespoon lemon juice: Adds brightness and enhances the cherries’ natural flavor.
- 1 teaspoon vanilla extract: A subtle warmth that rounds out the fruity filling.
How to Make Homemade Cherry Pie Recipe
Step 1: Prepare Your Cherries
The first step is all about the cherries. Rinse them thoroughly, then pit every single one with care so you don’t lose any juicy fruit. Fresh, pitted cherries provide the freshest taste, though you could opt for frozen if fresh aren’t in season. The better the cherry, the better your pie will taste!
Step 2: Mix the Filling
Next, toss your cherries in a bowl with sugar, cornstarch, lemon juice, and vanilla extract. This combination not only sweetens the cherries but helps thicken the filling while baking, so every spoonful feels like pure indulgence. Letting the mixture sit for a few minutes allows those flavors to weave together beautifully.
Step 3: Prepare the Pie Crust Base
Roll out half of your pie dough on a lightly floured surface and gently fit it into your pie dish without stretching it. This step is essential to avoid shrinking or cracking during baking. A well-fitted crust serves as the perfect base for your luscious cherry filling.
Step 4: Assemble the Pie
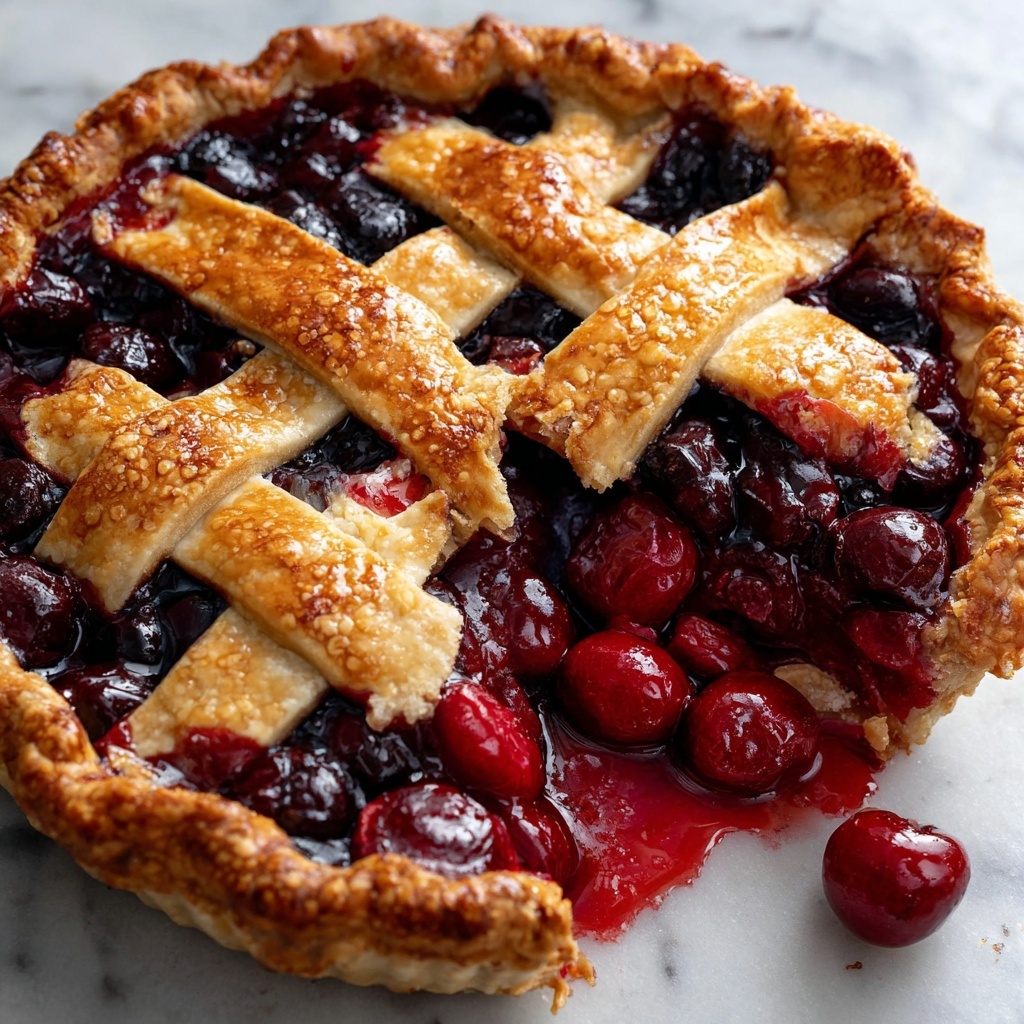
Pour the cherry filling evenly into the prepared crust. Roll out the remaining dough for the top—whether you choose a classic full top with steam slits or a charming lattice design is up to your decorative flair. The slits let out steam during baking, preventing your crust from sogginess and ensuring a crisp, flaky top.
Step 5: Bake to Golden Perfection
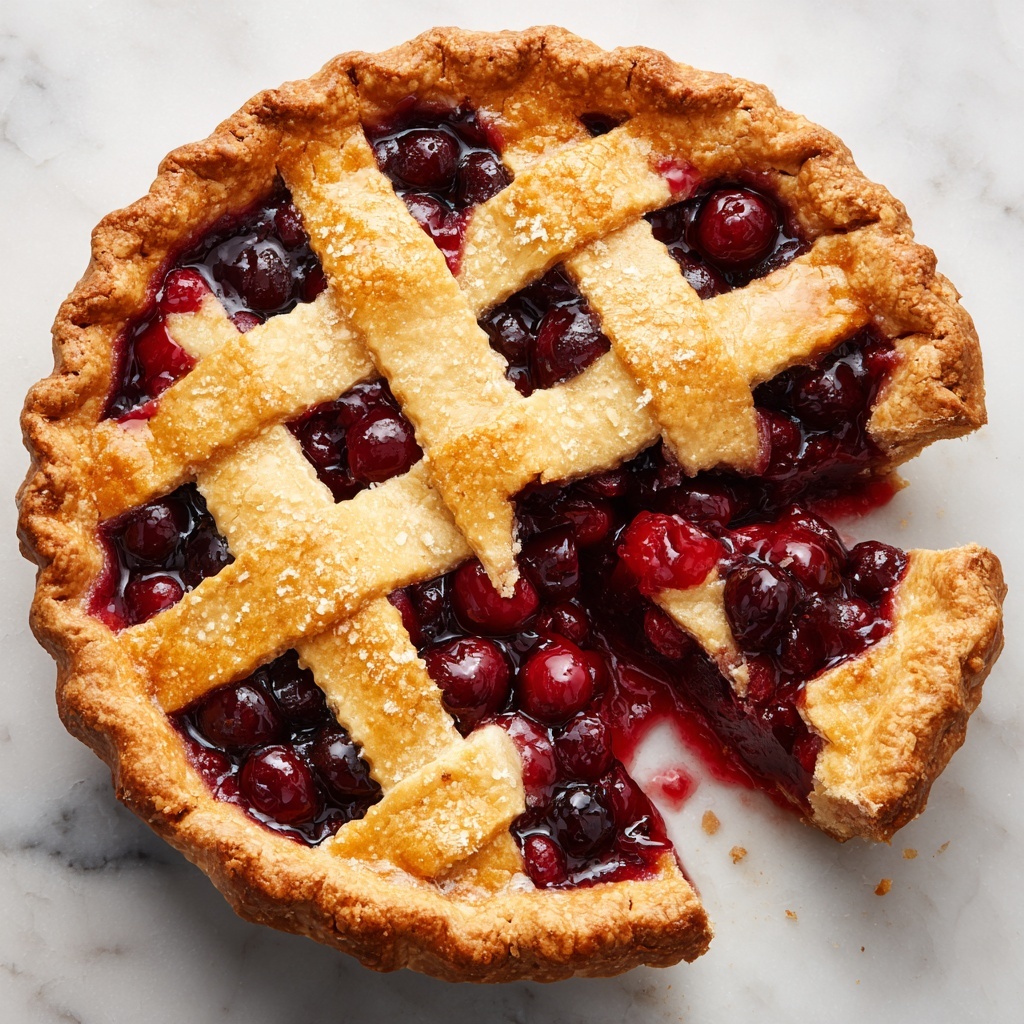
Set your oven to 425°F (220°C) and bake the pie for roughly 45 to 50 minutes, watching out for that gorgeous golden crust bubbling away. The smell wafting through your kitchen will be irresistible, signaling that your pie is ready to be enjoyed.
Step 6: Cool and Enjoy
Allow your pie to cool for at least an hour before slicing. This critical resting period lets the filling thicken fully so slices hold their shape. Serve it warm with a scoop of vanilla ice cream or a dollop of whipped cream for a perfectly satisfying finish.
How to Serve Homemade Cherry Pie Recipe
Garnishes
A simple garnish can elevate your cherry pie presentation. Fresh mint leaves add a pop of green and freshness, while a sprinkle of powdered sugar dusted lightly over the crust adds just the right touch of elegance. If you love nuts, toasted almonds or pecans sprinkled on serve both as a flavor and texture contrast.
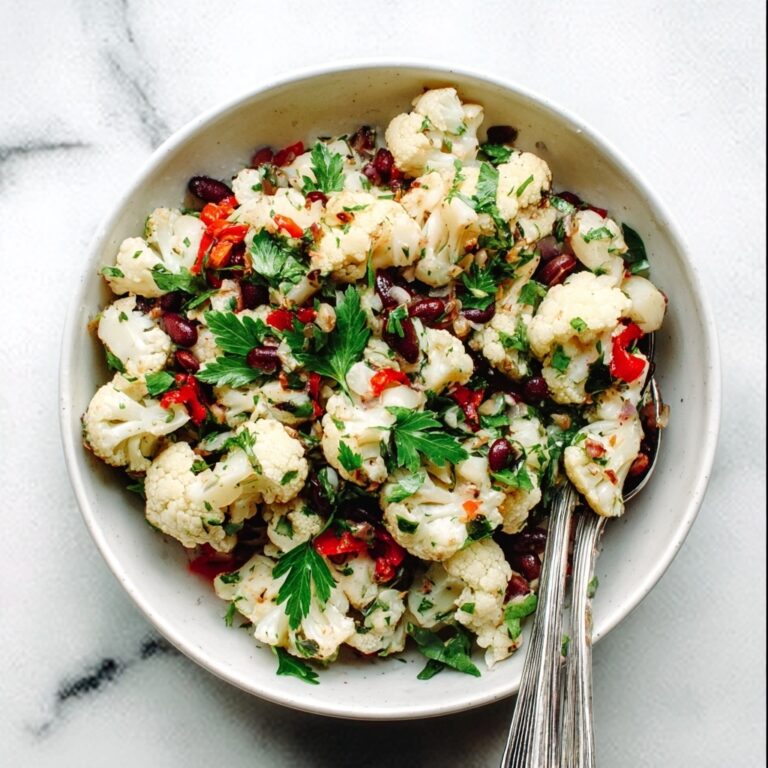
Side Dishes
This pie is lovely on its own but can be paired with creamy accompaniments. Vanilla or cinnamon ice cream creates a delightful temperature contrast, while lightly sweetened whipped cream softens the tart bite of cherries. For a brunch spread, small cheese plates or a cup of strong coffee make excellent partners.
Creative Ways to Present
Want to surprise your guests with something extra special? Try serving individual mini cherry pies in ramekins or prepared as hand pies for a casual gathering. You can also add a drizzle of chocolate or caramel sauce over each slice for a decadent twist that makes this Homemade Cherry Pie Recipe even more memorable.
Make Ahead and Storage
Storing Leftovers
Once baked and cooled, cover your cherry pie tightly with plastic wrap or foil, and store it in the refrigerator. Properly stored, it keeps wonderfully for up to three days without losing its flavor or texture.
Freezing
Cherry pie freezes beautifully if you want to enjoy it later. Freeze the unbaked pie wrapped securely in plastic and foil for up to two months. When ready to bake, thaw it overnight in the refrigerator before putting it into the oven. You can also freeze baked slices wrapped carefully for quick treats.
Reheating
When reheating leftover pie, warm it in an oven set to 350°F (175°C) for about 15 minutes to bring back that fresh-from-the-oven crispness. Avoid microwaving if you want to keep the crust flaky — warming in the oven preserves texture perfectly.
FAQs
Can I use frozen cherries for this Homemade Cherry Pie Recipe?
Absolutely! Frozen cherries work well if fresh are unavailable. Just thaw and drain them to reduce excess moisture so your filling isn’t too runny.
Do I have to make the pie crust from scratch?
Not at all. Store-bought pie crusts are convenient and taste great, making this recipe accessible for any baker.
Why is cornstarch important in the filling?
Cornstarch acts as a thickener, helping the cherry juices set during baking so your pie slices hold together rather than run.
Can I make this pie ahead of time?
Yes! You can prepare the pie and refrigerate it before baking, or bake it fully and reheat before serving. Both methods work well for planning ahead.
What is the best way to pit cherries quickly?
Using a cherry pitter speeds up the process, but if you don’t have one, pressing with a sturdy straw through the cherry works well too.
Final Thoughts
There’s something truly heartwarming about making this Homemade Cherry Pie Recipe from scratch — it’s comfort in every bite. Whether it’s a special family gathering or a simple weekend treat, the combination of fresh cherries with a flaky crust never fails to delight. So roll up your sleeves, give this recipe a try, and share the joy of homemade pie with your loved ones!
Print
Homemade Cherry Pie Recipe
- Prep Time: 20 minutes
- Cook Time: 50 minutes
- Total Time: 1 hour 10 minutes
- Yield: 8 servings
- Category: Dessert
- Method: Baking
- Cuisine: American
Description
This homemade cherry pie recipe delivers a classic, sweet and tangy dessert with a flaky, golden crust and luscious cherry filling. Perfectly balanced with fresh cherries, sugar, and a hint of vanilla and lemon juice, it’s an ideal treat for any occasion, offering a comforting homemade flavor that pairs wonderfully with whipped cream or ice cream.
Ingredients
Filling
- 4 cups fresh cherries, pitted
- 1 cup sugar
- 2 tablespoons cornstarch
- 1 tablespoon lemon juice
- 1 teaspoon vanilla extract
Crust
- 1 pie crust (store-bought or homemade)
Instructions
- Prepare Cherries: Wash and pit the cherries thoroughly to remove all pits and ensure a clean filling.
- Mix Filling: In a large bowl, combine the pitted cherries with sugar, cornstarch, lemon juice, and vanilla extract. Stir well and let the mixture sit for a few minutes to meld the flavors and begin thickening.
- Roll Bottom Crust: On a lightly floured surface, roll out half of the pie dough and carefully place it into a pie dish without stretching it to prevent shrinkage during baking.
- Add Filling: Pour the cherry filling evenly over the prepared crust base.
- Roll Top Crust: Roll out the remaining dough to form the top crust. You can cut slits to create steam vents or arrange strips for a lattice design over the pie.
- Bake the Pie: Preheat your oven to 425°F (220°C) and bake the pie for 45 to 50 minutes, until the crust is golden brown and the filling is bubbling.
- Cool and Serve: Allow the pie to cool for at least an hour to let the filling set before slicing. Serve warm, optionally with whipped cream or ice cream for an extra indulgent touch.
Notes
- Be sure not to stretch the pie dough when lining the dish to avoid shrinking during baking.
- If using store-bought crust, check packaging instructions for handling and baking tips.
- To prevent sogginess, you can blind bake the bottom crust slightly before adding filling (optional).
- Letting the pie cool fully enhances the filling’s consistency, making slicing cleaner and easier.
- Feel free to substitute fresh cherries with frozen cherries; just adjust sugar and cornstarch if needed.


