If you are looking to delight your taste buds with a sweet, luscious treat, this Waffles with Filling and Chocolate Glaze Recipe is exactly what you need. Combining the crispy, golden exterior of classic waffles with a creamy, indulgent filling and a silky chocolate glaze, this recipe turns ordinary waffles into a heavenly dessert or decadent brunch option. The contrast of textures and rich flavors will leave you craving more and is perfect for sharing with friends or savoring solo on a cozy morning.
Ingredients You’ll Need
These ingredients are simple but carefully chosen to create the perfect balance of texture, flavor, and richness that make this recipe truly shine. Each element plays its role to perfection, whether it’s the fluffiness of the waffle or the smooth, glossy finish of the glaze.
- 2 cups all-purpose flour: The base that gives the waffles their structure and lightness
- 2 tablespoons sugar: Adds a touch of sweetness to complement the chocolate glaze and filling
- 1 tablespoon baking powder: Ensures the waffles rise beautifully and stay fluffy
- ½ teaspoon salt: Enhances the overall flavor by balancing sweetness
- 2 large eggs: Bind the ingredients and add richness and a tender crumb
- 1¾ cups milk: Keeps the batter smooth and moist for perfect cooking
- ⅓ cup melted butter or oil: Gives a deliciously crisp edge and golden color
- 1 teaspoon vanilla extract: Infuses the waffles with a warm, inviting aroma
- ½ cup Nutella, fruit jam, pastry cream, or sweetened cream cheese: Choose your favorite filling to add luscious creaminess and flavor contrasts
- ½ cup semisweet or dark chocolate chips: The star ingredient for the rich, glossy glaze
- 2 tablespoons heavy cream: Helps melt the chocolate smoothly and makes the glaze luxurious
- 1 teaspoon butter or coconut oil (optional): Adds shine and smooth texture to the chocolate glaze
How to Make Waffles with Filling and Chocolate Glaze Recipe
Step 1: Preheat and Mix Dry Ingredients
First things first, get your waffle iron preheated to ensure your waffles cook evenly with a perfect crispy crust. Meanwhile, in a large bowl, whisk together the flour, sugar, baking powder, and salt. This dry mix forms the foundation of your waffle batter, so make sure everything is well combined.
Step 2: Combine Wet Ingredients
In a separate bowl, beat the eggs until smooth. Add the milk, melted butter (or oil), and vanilla extract, mixing gently to combine. These wet components bring moisture, richness, and flavor to your batter.
Step 3: Make the Batter
Pour the wet mixture into the bowl with your dry ingredients. Stir just until everything is moistened; it’s very important not to overmix here to keep the waffles tender and fluffy. A few lumps are perfectly fine.
Step 4: Cook the Waffles
Pour the batter onto your hot waffle iron according to its size, then cook until the waffles turn golden brown and crisp on the outside. This typically takes a few minutes but follow your iron’s instructions for best results. Let the waffles cool slightly before assembling.
Step 5: Assemble the Waffle Sandwiches
Spread your favorite filling, whether Nutella’s creamy goodness, bright fruit jam, silky pastry cream, or sweetened cream cheese, over one waffle. Top with another waffle to create a delightful sandwich that’s bursting with flavor when you bite into it.
Step 6: Prepare the Chocolate Glaze
In a microwave-safe bowl, combine the chocolate chips and heavy cream. Heat in short 20-second bursts, stirring between each, until the chocolate is completely melted and smooth. For an extra glossy finish, stir in the optional butter or coconut oil while the glaze is still warm.
Step 7: Glaze and Serve
Drizzle or spread the chocolate glaze generously over your waffle sandwiches. Let the glaze set for a few minutes so it thickens slightly before digging in. This final touch adds rich chocolate decadence that makes this recipe truly unforgettable.
How to Serve Waffles with Filling and Chocolate Glaze Recipe
Garnishes
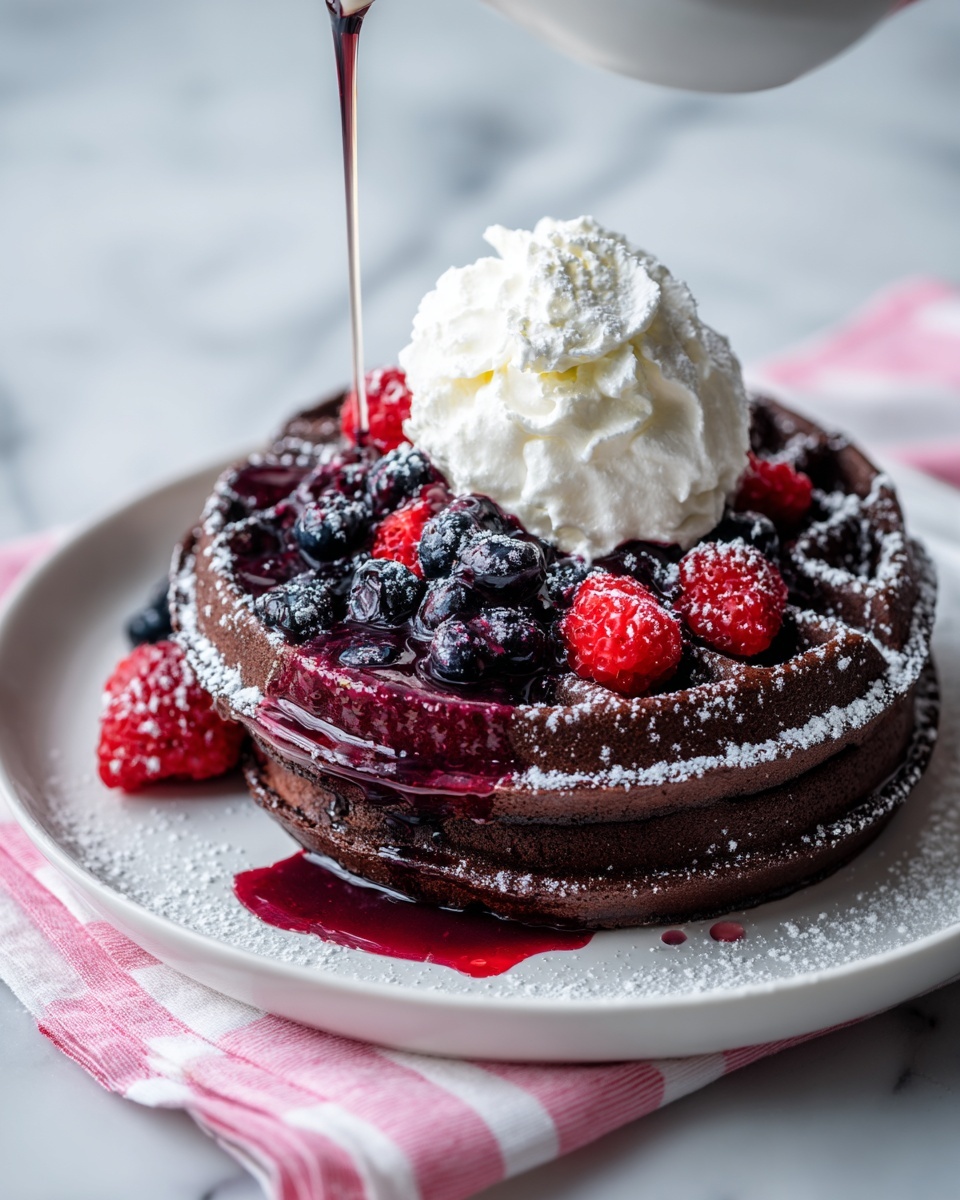
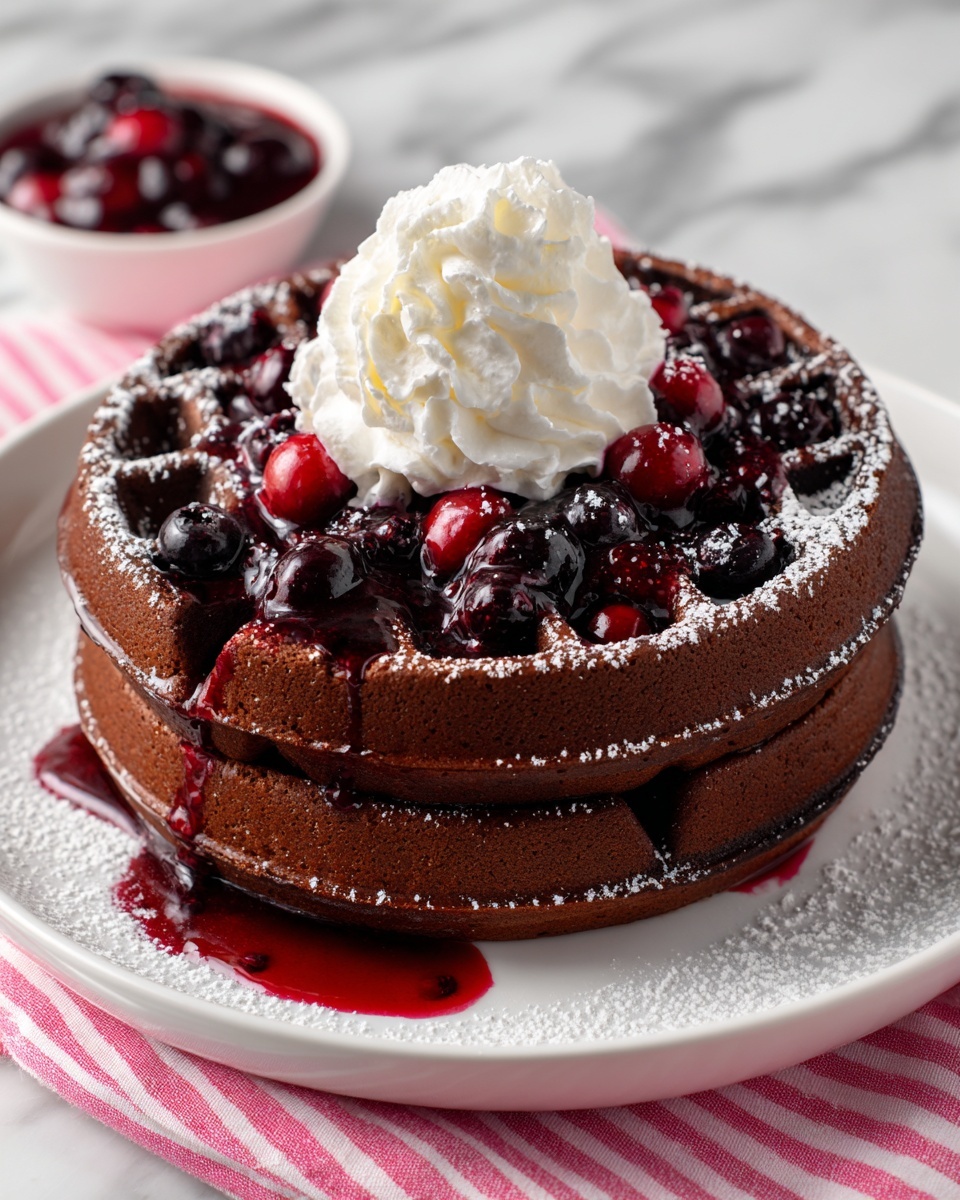
A sprinkle of powdered sugar, a handful of fresh berries, or a dollop of whipped cream instantly dress up your waffles with filling and chocolate glaze. These simple garnishes add a touch of elegance and a pop of color that makes each serving picture perfect.
Side Dishes
Pair these rich waffles with a light fruit salad or a refreshing yogurt parfait to balance the richness. A crisp green salad with a citrus dressing can also create a surprising and delicious contrast for a more adventurous brunch.
Creative Ways to Present
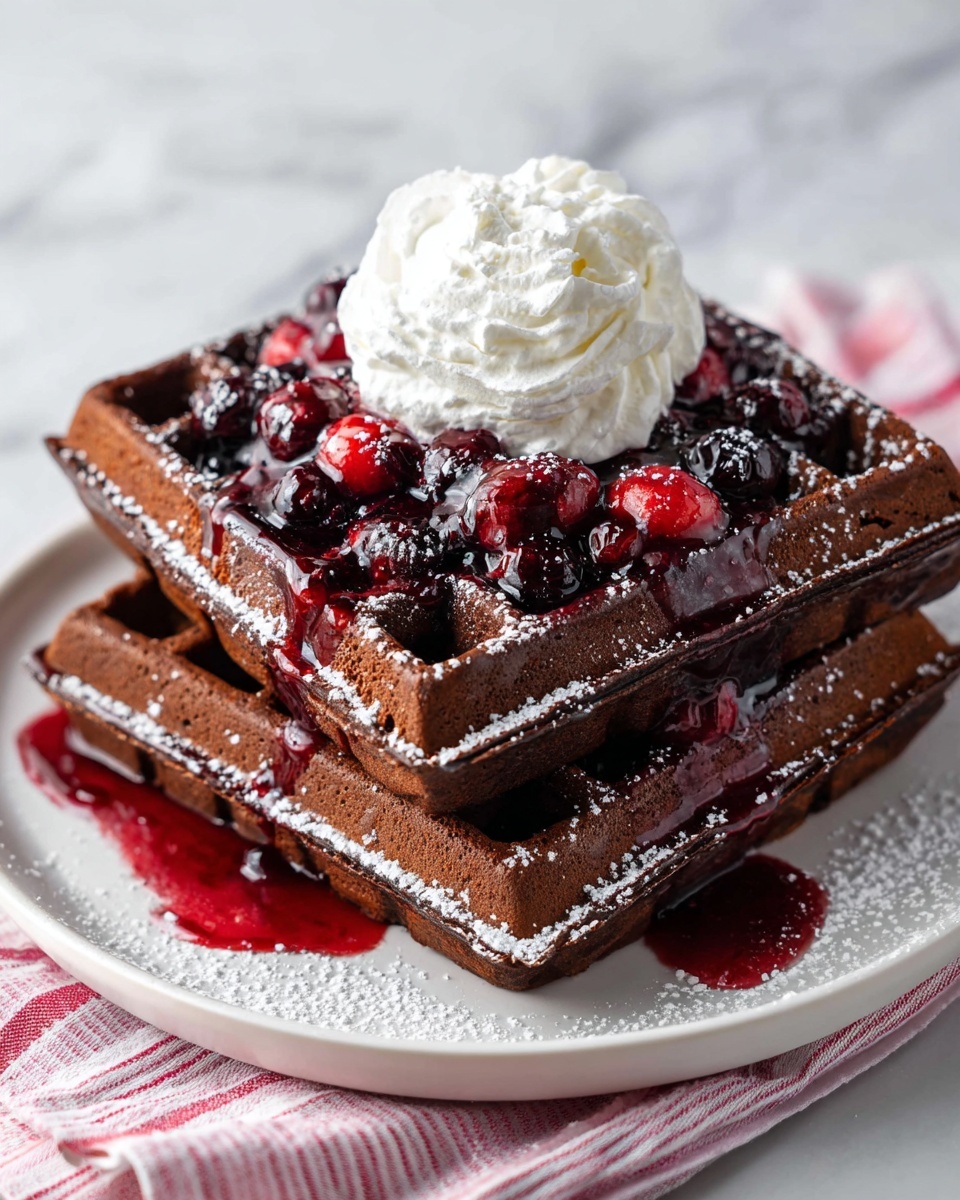
Try cutting the waffles into quarters and stacking them in a small tower drizzled with additional glaze. You can also create a waffle skewers platter by sliding smaller waffle pieces and fruits onto sticks, making it fun and easy to serve at parties.
Make Ahead and Storage
Storing Leftovers
If you have any leftover filled waffles with chocolate glaze, store them in an airtight container in the refrigerator to maintain freshness. They will keep well for up to 2 days, though it’s best to enjoy them sooner for optimal texture.
Freezing
For longer storage, you can freeze the waffles before assembling. Cool them completely, then separate each waffle with parchment paper and place them in a freezer bag. They freeze beautifully for up to one month. Freeze the filling and glaze separately to prevent sogginess.
Reheating
To warm up leftover or frozen waffles, toast them lightly or heat in a preheated oven at 350°F (175°C) for about 5-7 minutes until crisp again. If already filled and glazed, microwave briefly to soften the filling and gently melt the chocolate glaze for a freshly indulgent experience.
FAQs
Can I use gluten-free flour for this waffles with filling and chocolate glaze recipe?
Absolutely! Using a gluten-free all-purpose flour blend works well. Just make sure it contains xanthan gum or another binder to maintain the waffle’s structure.
What fillings work best for these waffles?
Classic Nutella and fruit jams are favorites, but pastry cream and sweetened cream cheese add a luxurious twist. You can even mix fillings like fresh berries with cream cheese for extra brightness.
Can I make the chocolate glaze ahead of time?
Yes, the glaze can be prepared in advance and kept in the refrigerator. Simply warm it gently before drizzling to restore its smooth consistency.
How do I keep my waffles crispy after assembling the sandwiches?
To preserve crunch, toast the waffles briefly before filling. Assemble just before serving and glaze last to keep the texture perfect.
Is this recipe suitable for vegetarians?
Yes! This recipe contains no meat and uses ingredients like eggs and dairy, making it suitable for vegetarians who consume those products.
Final Thoughts
I cannot recommend this Waffles with Filling and Chocolate Glaze Recipe enough for anyone looking to elevate their breakfast or dessert game. The marriage of crispy waffles, velvety filling, and melt-in-your-mouth chocolate glaze offers a truly unforgettable bite every time. So, grab your waffle iron and get ready to impress your loved ones (or just treat yourself) with this delightful indulgence!
Print
Waffles with Filling and Chocolate Glaze Recipe
- Prep Time: 15 minutes
- Cook Time: 15 minutes
- Total Time: 30 minutes
- Yield: 6 filled waffle sandwiches
- Category: Dessert, Breakfast
- Method: Waffle Iron
- Cuisine: European-Inspired
- Diet: Vegetarian
Description
Waffles with filling and chocolate glaze offer a delicious and indulgent twist on the classic waffle. These sandwich-style waffles are filled with creamy spreads such as Nutella, fruit jam, or pastry cream, and topped with a rich, silky chocolate glaze. Perfect for breakfast, brunch, dessert, or a special snack, this recipe combines the crispiness of golden waffles with luscious fillings and a glossy chocolate finish for a memorable treat.
Ingredients
For the waffles:
- 2 cups all-purpose flour
- 2 tablespoons sugar
- 1 tablespoon baking powder
- ½ teaspoon salt
- 2 large eggs
- 1¾ cups milk
- ⅓ cup melted butter or oil
- 1 teaspoon vanilla extract
For the filling:
- ½ cup Nutella, fruit jam, pastry cream, or sweetened cream cheese
For the chocolate glaze:
- ½ cup semisweet or dark chocolate chips
- 2 tablespoons heavy cream
- 1 teaspoon butter or coconut oil (optional, for shine)
Instructions
- Preheat the waffle iron: Start by heating your waffle iron so it’s ready when the batter is mixed.
- Make dry ingredients mixture: In a large bowl, whisk together the flour, sugar, baking powder, and salt to evenly distribute all dry ingredients.
- Prepare wet ingredients: In a separate bowl, beat the eggs then whisk in the milk, melted butter (or oil), and vanilla extract until well combined.
- Combine batter: Pour the wet ingredients into the dry ingredients and stir gently until just combined; avoid overmixing to keep the waffles light and tender.
- Cook the waffles: Pour appropriate batter amount onto the hot waffle iron and cook according to your iron’s instructions until the waffles turn golden brown and crisp on the outside.
- Cool waffles: Allow waffles to cool slightly on a wire rack to prevent sogginess before assembling.
- Assemble waffle sandwiches: Spread your choice of filling evenly over one waffle and top it with another waffle to form a sandwich.
- Prepare the chocolate glaze: In a microwave-safe bowl, melt the chocolate chips and heavy cream in 20-second increments, stirring between each until smooth and glossy.
- Add shine to glaze (optional): Stir in butter or coconut oil to enhance the glaze’s shine and texture.
- Glaze the waffles: Drizzle or spread the chocolate glaze over the assembled waffle sandwiches for a rich finish.
- Set glaze and serve: Let the glaze set for a few minutes before serving to allow it to firm slightly.
Notes
- Cut waffles into quarters before filling for easier, bite-sized servings.
- Add fresh sliced bananas or strawberries inside for added flavor and freshness.
- For extra crispiness, lightly toast the filled waffle sandwiches for about a minute before applying the chocolate glaze.


