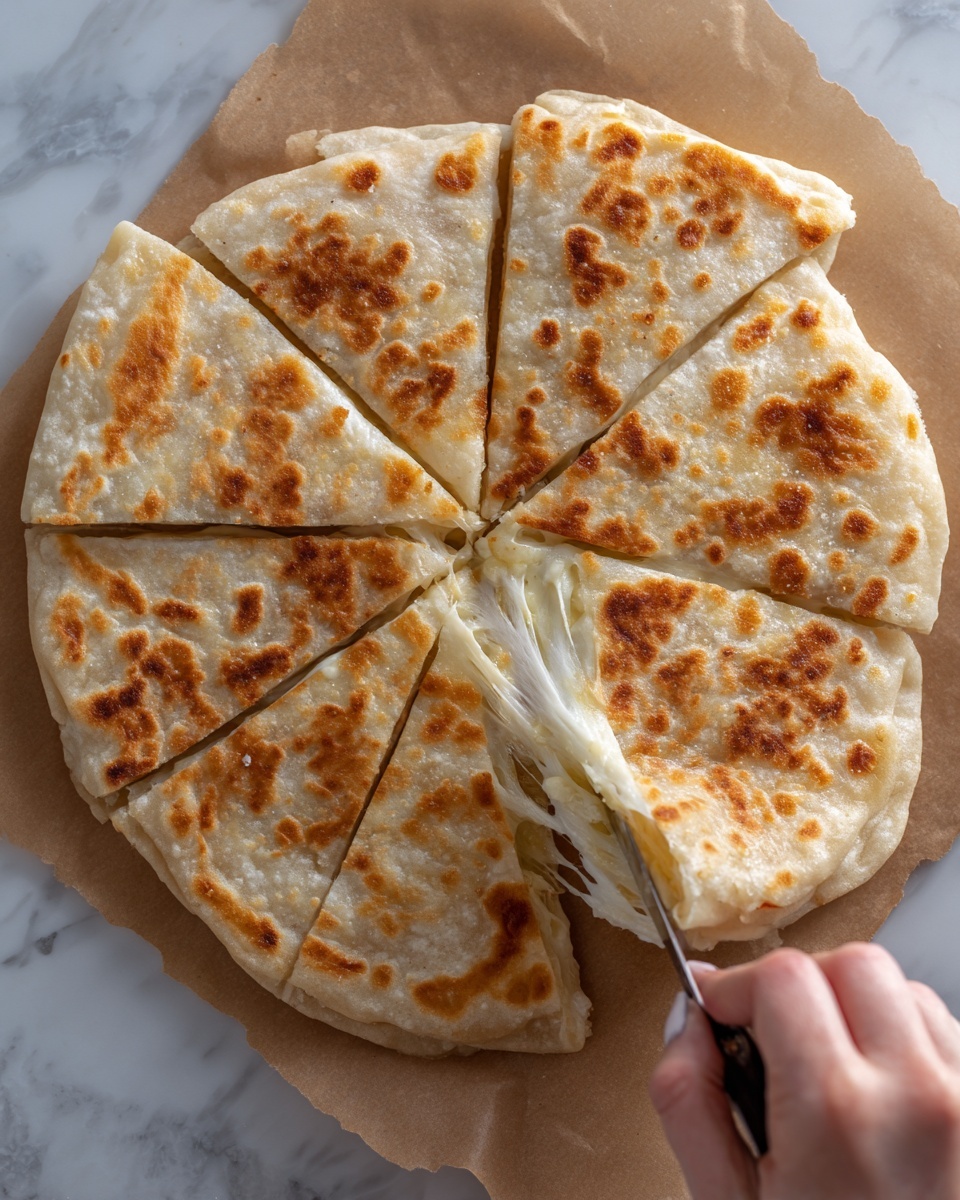
If you’ve ever wanted to master the art of bread baking at home, this Homemade Basic Yeast Bread Recipe is the perfect place to start. With simple pantry staples and straightforward techniques, it yields a fragrant, soft, and golden loaf that fills your kitchen with irresistible warmth. Not only is it wonderfully versatile for sandwiches, toast, or just savoring fresh out of the oven, but it also invites you to connect with the timeless joy of baking bread from scratch. Trust me, once you try this recipe, you’ll understand why it’s a beloved classic for bakers of all levels.

Ingredients You’ll Need
Each ingredient in this recipe plays a crucial role in building the perfect loaf. They are straightforward yet essential for the delicious taste, soft texture, and beautiful crust that make this bread so memorable.
- 3 cups all-purpose flour: The foundation for structure and chewiness; add more if the dough feels too sticky.
- 1 packet (2 ¼ teaspoons) active dry yeast: The magical leavening agent that makes the dough rise and become airy.
- 1 ¼ cups warm water (about 110°F): Activates the yeast and hydrates the flour for a supple dough.
- 1 tablespoon granulated sugar: Feeds the yeast to kickstart fermentation and adds a touch of sweetness.
- 1 teaspoon salt: Enhances flavor and controls yeast activity for balanced rising.
- 1 tablespoon olive oil (optional): Adds softness and a subtle richness to the crumb.
How to Make Homemade Basic Yeast Bread Recipe
Step 1: Activate the Yeast
Start by mixing warm water, sugar, and yeast in a small bowl. This step is the key to waking up your yeast cells gently and encouraging them to develop those delightful bubbles. Letting the mixture sit until it’s foamy, around 5 to 10 minutes, means your yeast is alive and well—a crucial check before moving forward.
Step 2: Combine Dry Ingredients
In a large bowl, whisk together the flour and salt. This ensures even distribution of the salt, which strengthens the gluten network and balances the sweetness of the yeast’s fermentation process. Good mixing here sets the stage for a well-textured bread.
Step 3: Form the Dough
Add the foamy yeast mixture and olive oil to the dry ingredients. Stir everything together until a shaggy dough forms. This dough will look rough and lumpy at first, but don’t worry—that’s completely normal and part of the magic unfolding in your mixing bowl.
Step 4: Knead for Perfect Texture
Turn the dough onto a floured surface and knead it by hand for 8 to 10 minutes, or for 5 to 6 minutes if you prefer using a mixer with a dough hook. This kneading develops the gluten strands that give your bread its elasticity and chew—so get ready to press, fold, and stretch your way to bread perfection.
Step 5: First Rise
Place your dough into a lightly oiled bowl and cover it with a towel or plastic wrap. Find a cozy, warm spot and let it rise for 1 to 1.5 hours, or until it doubles in size. This rise is when your dough puffs up beautifully as the yeast produces carbon dioxide—watch it grow and feel the excitement building!
Step 6: Shape and Second Rise
After punching down the dough to release the gas, shape it into a loaf. You can pop it into a greased 9×5-inch loaf pan for a classic shape or place it on a parchment-lined baking sheet for a more rustic freeform style. Cover it again for another 30 to 40 minutes to let the dough have its final rest and rise before baking.
Step 7: Baking Your Bread
Preheat your oven to 375°F and bake the loaf for 30 to 35 minutes. You’ll know it’s done when the crust turns a gorgeous golden brown and the loaf sounds hollow when tapped—a delightful indicator of that perfect bake. Let it cool in the pan for 10 minutes before transferring to a wire rack to cool completely.
How to Serve Homemade Basic Yeast Bread Recipe

Garnishes
This bread shines beautifully on its own, but you can elevate your serving with a simple brush of melted butter or olive oil right after baking. For a touch of herbs, sprinkle fresh rosemary or thyme on top while the crust is still warm—it infuses subtle aroma and makes every bite extra special.
Side Dishes
This homemade loaf pairs wonderfully with hearty soups like tomato basil or creamy butternut squash. It’s also fantastic alongside fresh salads, or as the base for open-faced sandwiches with your favorite spreads and veggies. The versatility of this bread means it complements almost any meal you choose.
Creative Ways to Present
Transform your loaf into a centerpiece by slicing and toasting the bread, then layering on avocado, smoked salmon, or rich cheeses. Consider turning slices into croutons to sprinkle over salad or soup, or use thick cuts to create homemade bread bowls filled with chowder or chili. The possibilities are endless once you master this basic bread!
Make Ahead and Storage
Storing Leftovers
Wrap your leftover bread tightly in plastic wrap or place it in an airtight container at room temperature. It will stay fresh for about 2 to 3 days, perfect for enjoying fresh sandwiches or toast without losing that beautiful texture.
Freezing
This loaf freezes beautifully if you want to keep it longer. Wrap the cooled bread tightly in plastic wrap and then in aluminum foil or place it in a freezer bag. It will keep well for up to 3 months—just thaw at room temperature when you’re ready to enjoy that fresh-baked goodness again.
Reheating
To revive your bread after storage or freezing, warm slices in a toaster or bake the entire loaf wrapped in foil at 350°F for 10 to 15 minutes. This refreshes the crust and softens the crumb, bringing the loaf back to its freshly baked glory.
FAQs
Can I substitute whole wheat flour in this recipe?
Absolutely! You can replace up to 1 cup of the all-purpose flour with whole wheat flour for added fiber and a nuttier flavor. Just keep in mind the dough might need a touch more water since whole wheat flour absorbs more moisture.
What if my dough doesn’t rise?
If your dough isn’t rising, it’s often due to inactive yeast or water that’s too hot or too cold. Make sure to use fresh yeast and that the water is warm (around 110°F). Also, rising works best in a warm, draft-free spot.
Can I add flavors like herbs or cheese to this bread?
Yes! Adding herbs, garlic, or shredded cheese to the dough before the first rise is a fantastic way to customize your homemade loaf. Just fold them in during mixing to incorporate evenly.
Is this bread vegan-friendly?
Definitely. If you make it without the olive oil or substitute it with a plant-based oil, and steer clear of any dairy, the bread is suitable for a vegan diet.
How do I know when the bread is fully baked?
The best test is the hollow sound when you tap the bottom of the loaf. You can also look for a deep golden crust and check that the internal temperature reaches about 190°F if you want to be precise.
Final Thoughts
I cannot recommend enough giving this Homemade Basic Yeast Bread Recipe a go in your own kitchen. It’s rewarding, accessible, and fills your home with the kind of comforting aromas that feel like a warm hug. Whether you’re new to bread baking or just want a simple, dependable loaf, this recipe will quickly become a treasured staple in your baking repertoire. So roll up your sleeves, dive in, and enjoy every step of making your own fresh bread!
Print
Homemade Basic Yeast Bread Recipe
- Prep Time: 20 minutes (plus 1.5–2 hours rising time)
- Cook Time: 35 minutes
- Total Time: 2 hours 25 minutes
- Yield: 1 loaf (about 12 slices)
- Category: Bread
- Method: Baking
- Cuisine: American
- Diet: Vegan
Description
This easy homemade bread recipe produces a soft, golden loaf perfect for sandwiches or toasting. It uses simple pantry ingredients and requires only basic kneading and rising time before baking to golden perfection.
Ingredients
Dry Ingredients
- 3 cups all-purpose flour (plus more as needed)
- 1 packet (2 ¼ teaspoons) active dry yeast
- 1 tablespoon granulated sugar
- 1 teaspoon salt
Wet Ingredients
- 1 ¼ cups warm water (about 110°F)
- 1 tablespoon olive oil (optional, for softer texture)
Instructions
- Activate Yeast: In a small bowl, combine the warm water, sugar, and yeast. Stir gently and let sit for 5–10 minutes until the mixture becomes foamy, indicating the yeast is active.
- Mix Dough: In a large mixing bowl, combine the flour and salt. Pour in the yeast mixture and olive oil if using. Stir with a wooden spoon or dough hook until a shaggy dough forms.
- Knead Dough: Knead the dough by hand on a floured surface for about 8–10 minutes, or alternatively use a mixer with a dough hook for 5–6 minutes until the dough is smooth and elastic.
- First Rise: Place the dough in a lightly oiled bowl, cover it with a clean towel or plastic wrap, and let it rise in a warm place for 1 to 1.5 hours, or until it has doubled in size.
- Shape and Second Rise: Punch down the dough to release the air, then shape it into a loaf. Place it in a greased 9×5-inch loaf pan or on a parchment-lined baking sheet for a freestanding loaf. Cover and let rise again for 30–40 minutes.
- Preheat Oven: Preheat your oven to 375°F (190°C) to prepare for baking.
- Bake: Bake the bread for 30–35 minutes until the crust is golden brown and the loaf sounds hollow when tapped on the bottom.
- Cool: Allow the bread to cool in the pan for 10 minutes, then transfer to a wire rack to cool completely before slicing.
Notes
- You can substitute up to 1 cup of whole wheat flour for added fiber.
- For extra flavor, add herbs, garlic, or shredded cheese to the dough.
